rustic

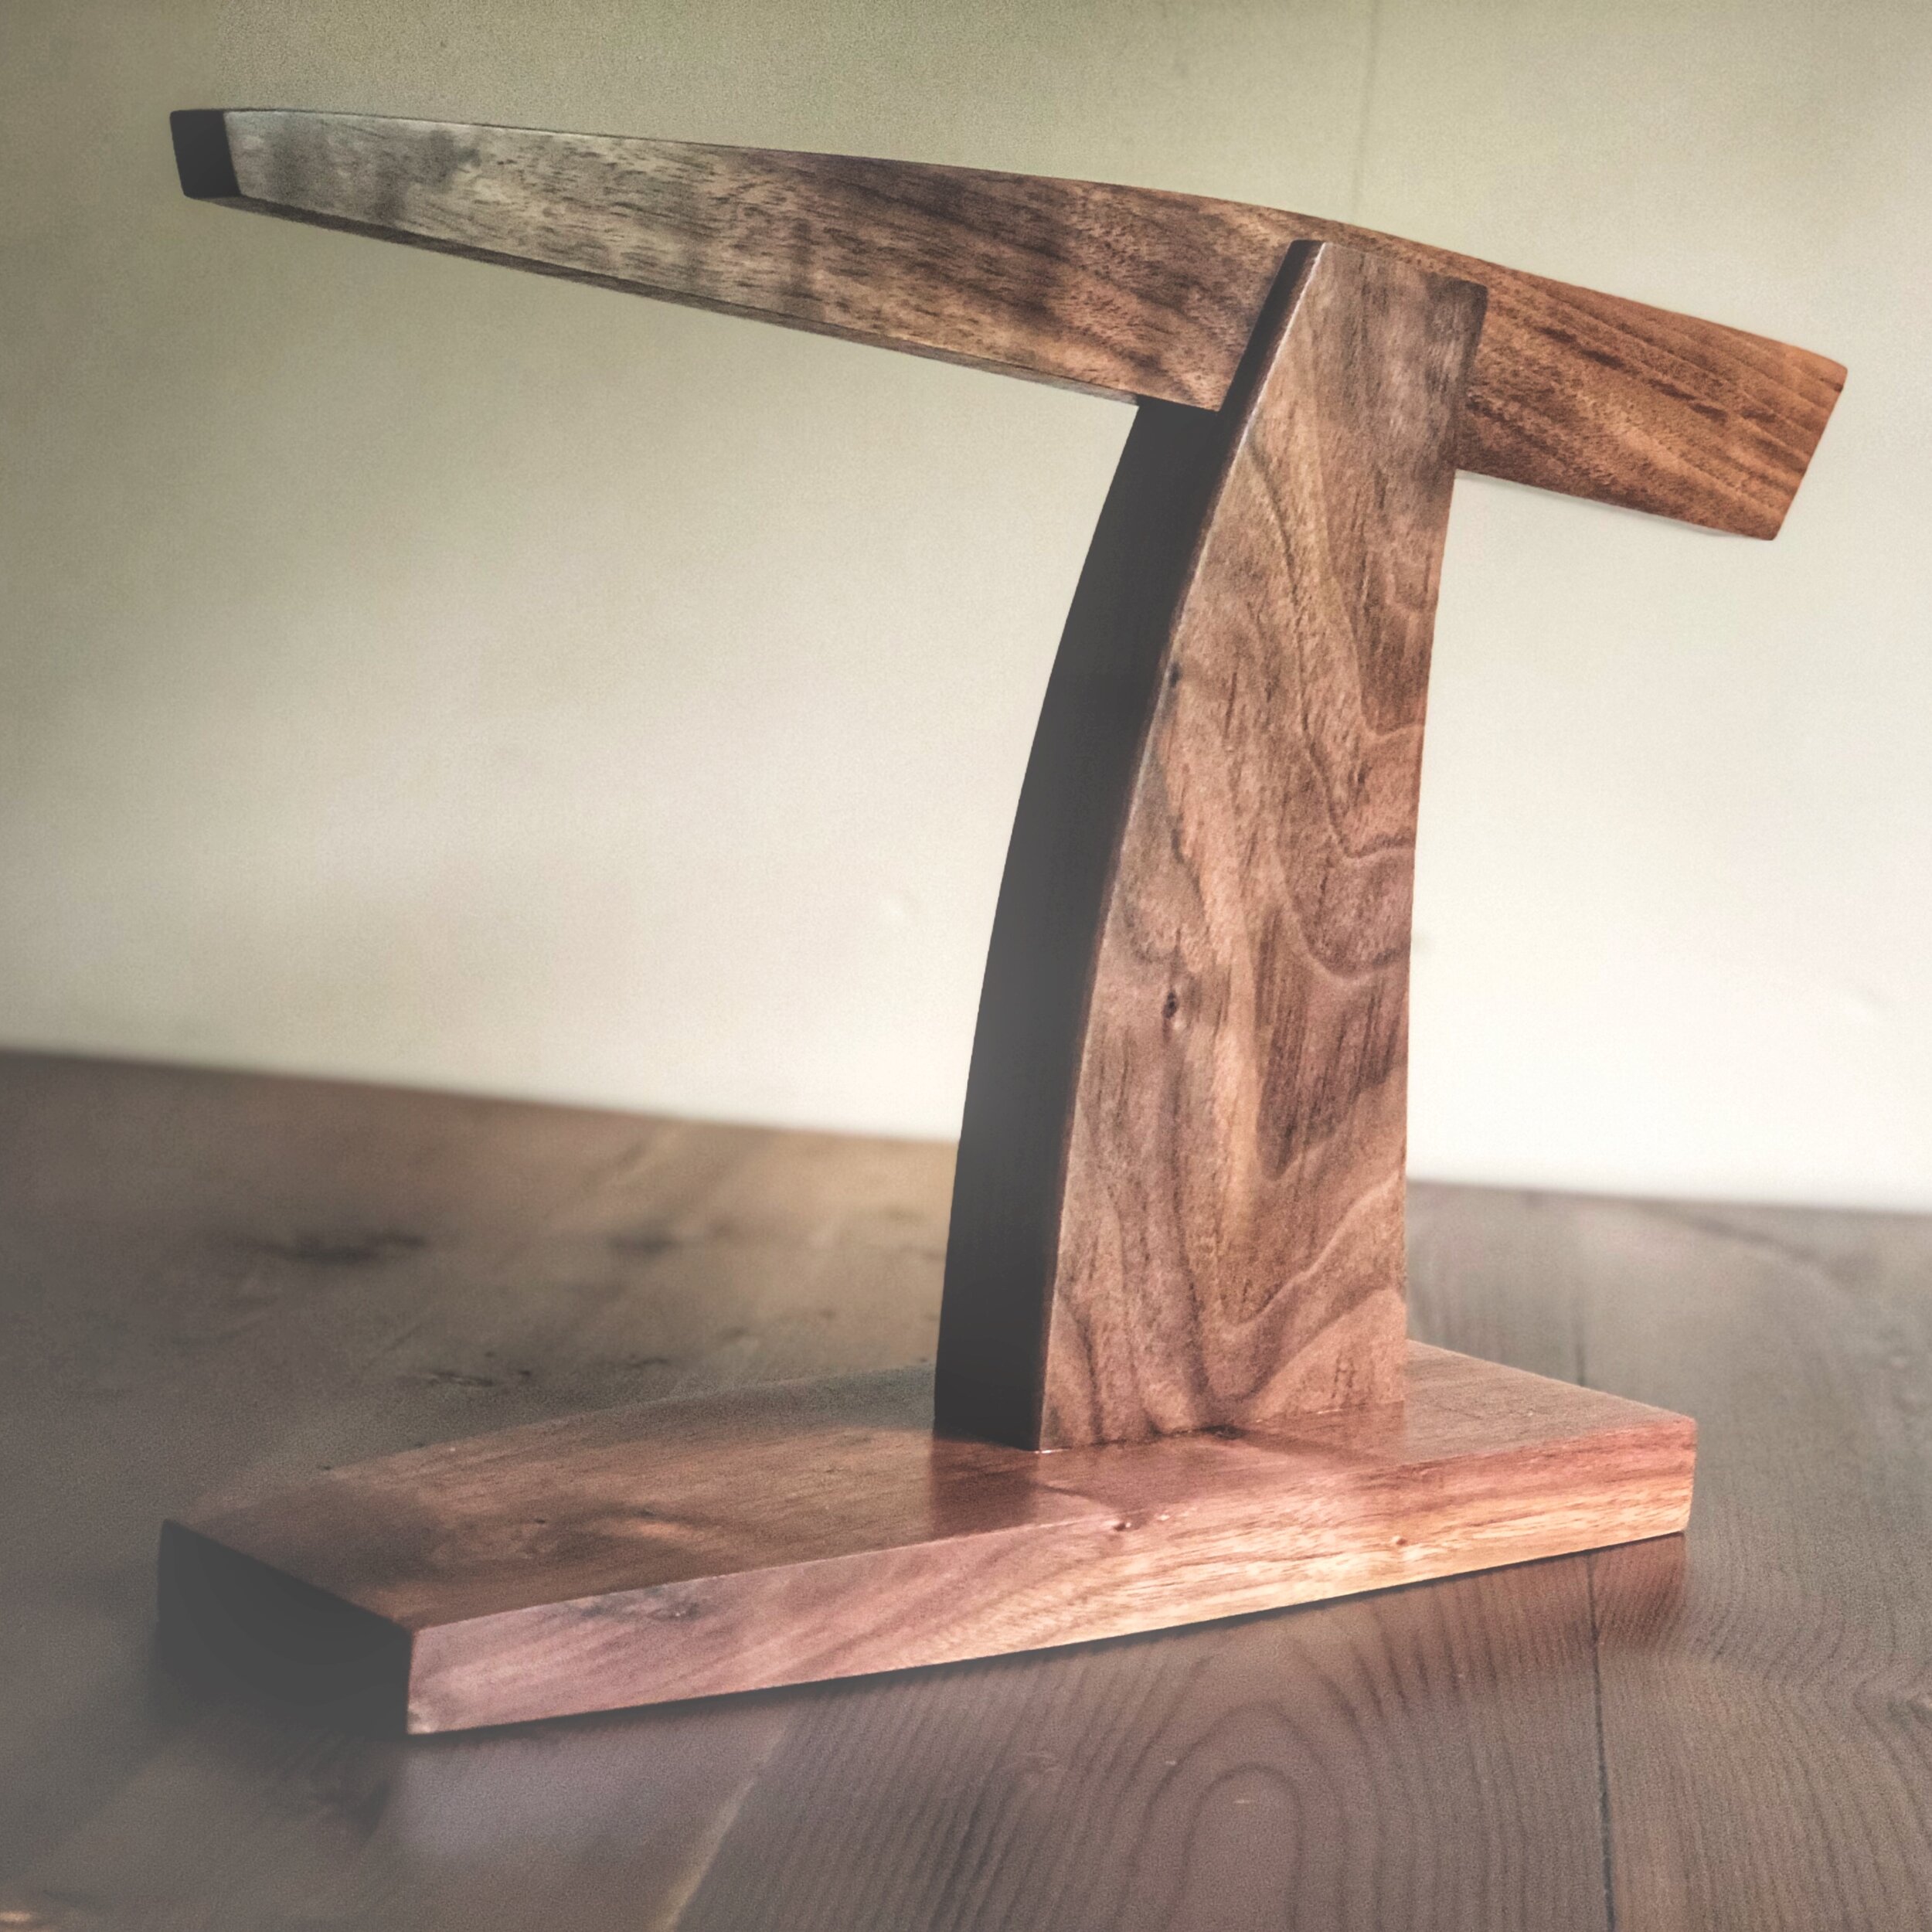
Walnut Headphone Stand and Audio Case

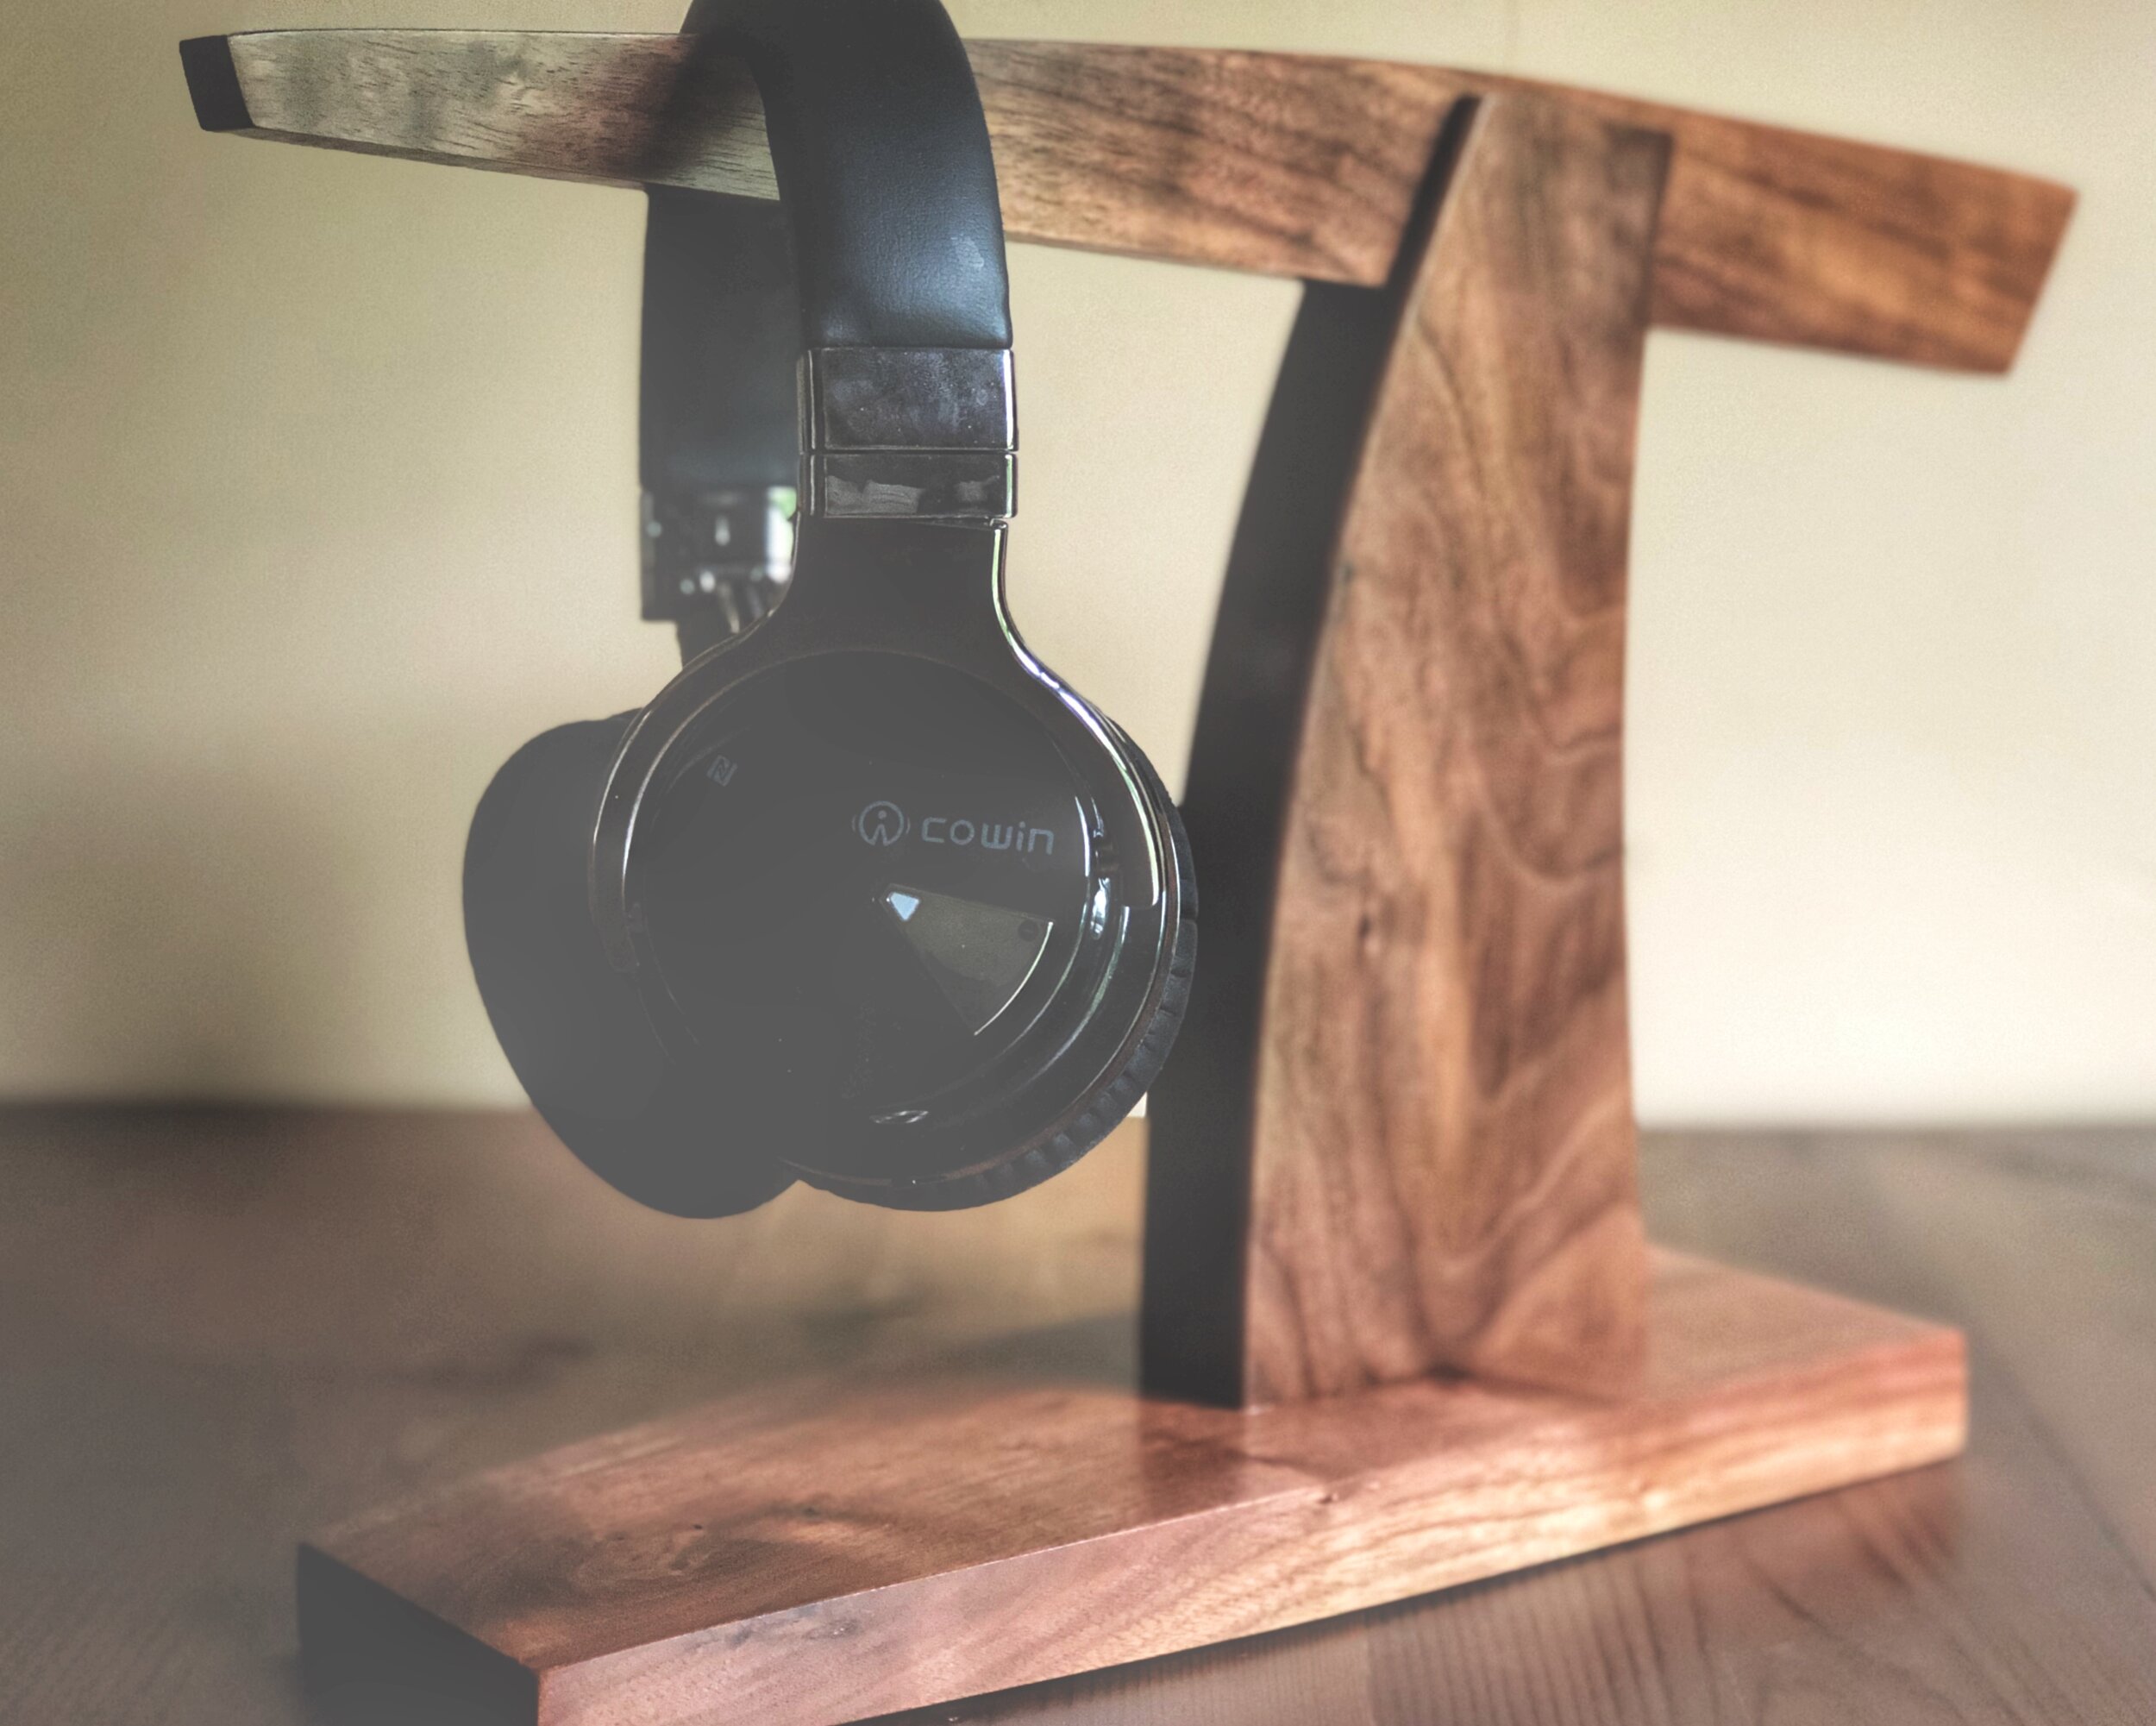
A past client reached out and asked if I could commission and build a headphone stand and case for some desk top audio equipment.

She sent over some pictures for inspiration and gave some basic direction for the scope of work.

“ I don't really have anything exact in mind. The only thing I really need is for the stand to hold the headphones in a way so the ear pads don't get crushed. So preferably they'll hang by the headband. Besides that, I'll leave everything else up to you.”

” feel free to make this as simple or complex as you'd like, or whatever is easiest/best for you or whatever you feel inspired to do.”

Anybody who knows me personally, knows this creative freedom is like opening Pandora’s box.

When a client gives free creative freedom, these are the projects that really energize me and keep me up at night. For me this is the crossover from maker to artist. This is truly the biggest compliment, the client trusts me enough to design, create, and build them a completely custom project.

My initial design with this headphone stand was to go the complicated route and incorporate a couple types of joinery. I sketched out a design and found some thicker pieces of cherry. I was going to use bridal joints for the “arms” and a bigger sliding dovetail to connect the “arms” to the base. After cutting some of the joints, something was just out of joint (yes, pun intended ;) ). I could see where the idea was going but it was just off. The pieces were going to end up in the burn pile, instead they went to the spare parts bin.

As much as complex and complicated seemed like the direction I wanted to go. Simple and clean was the destination. To me there was more with having less going on.

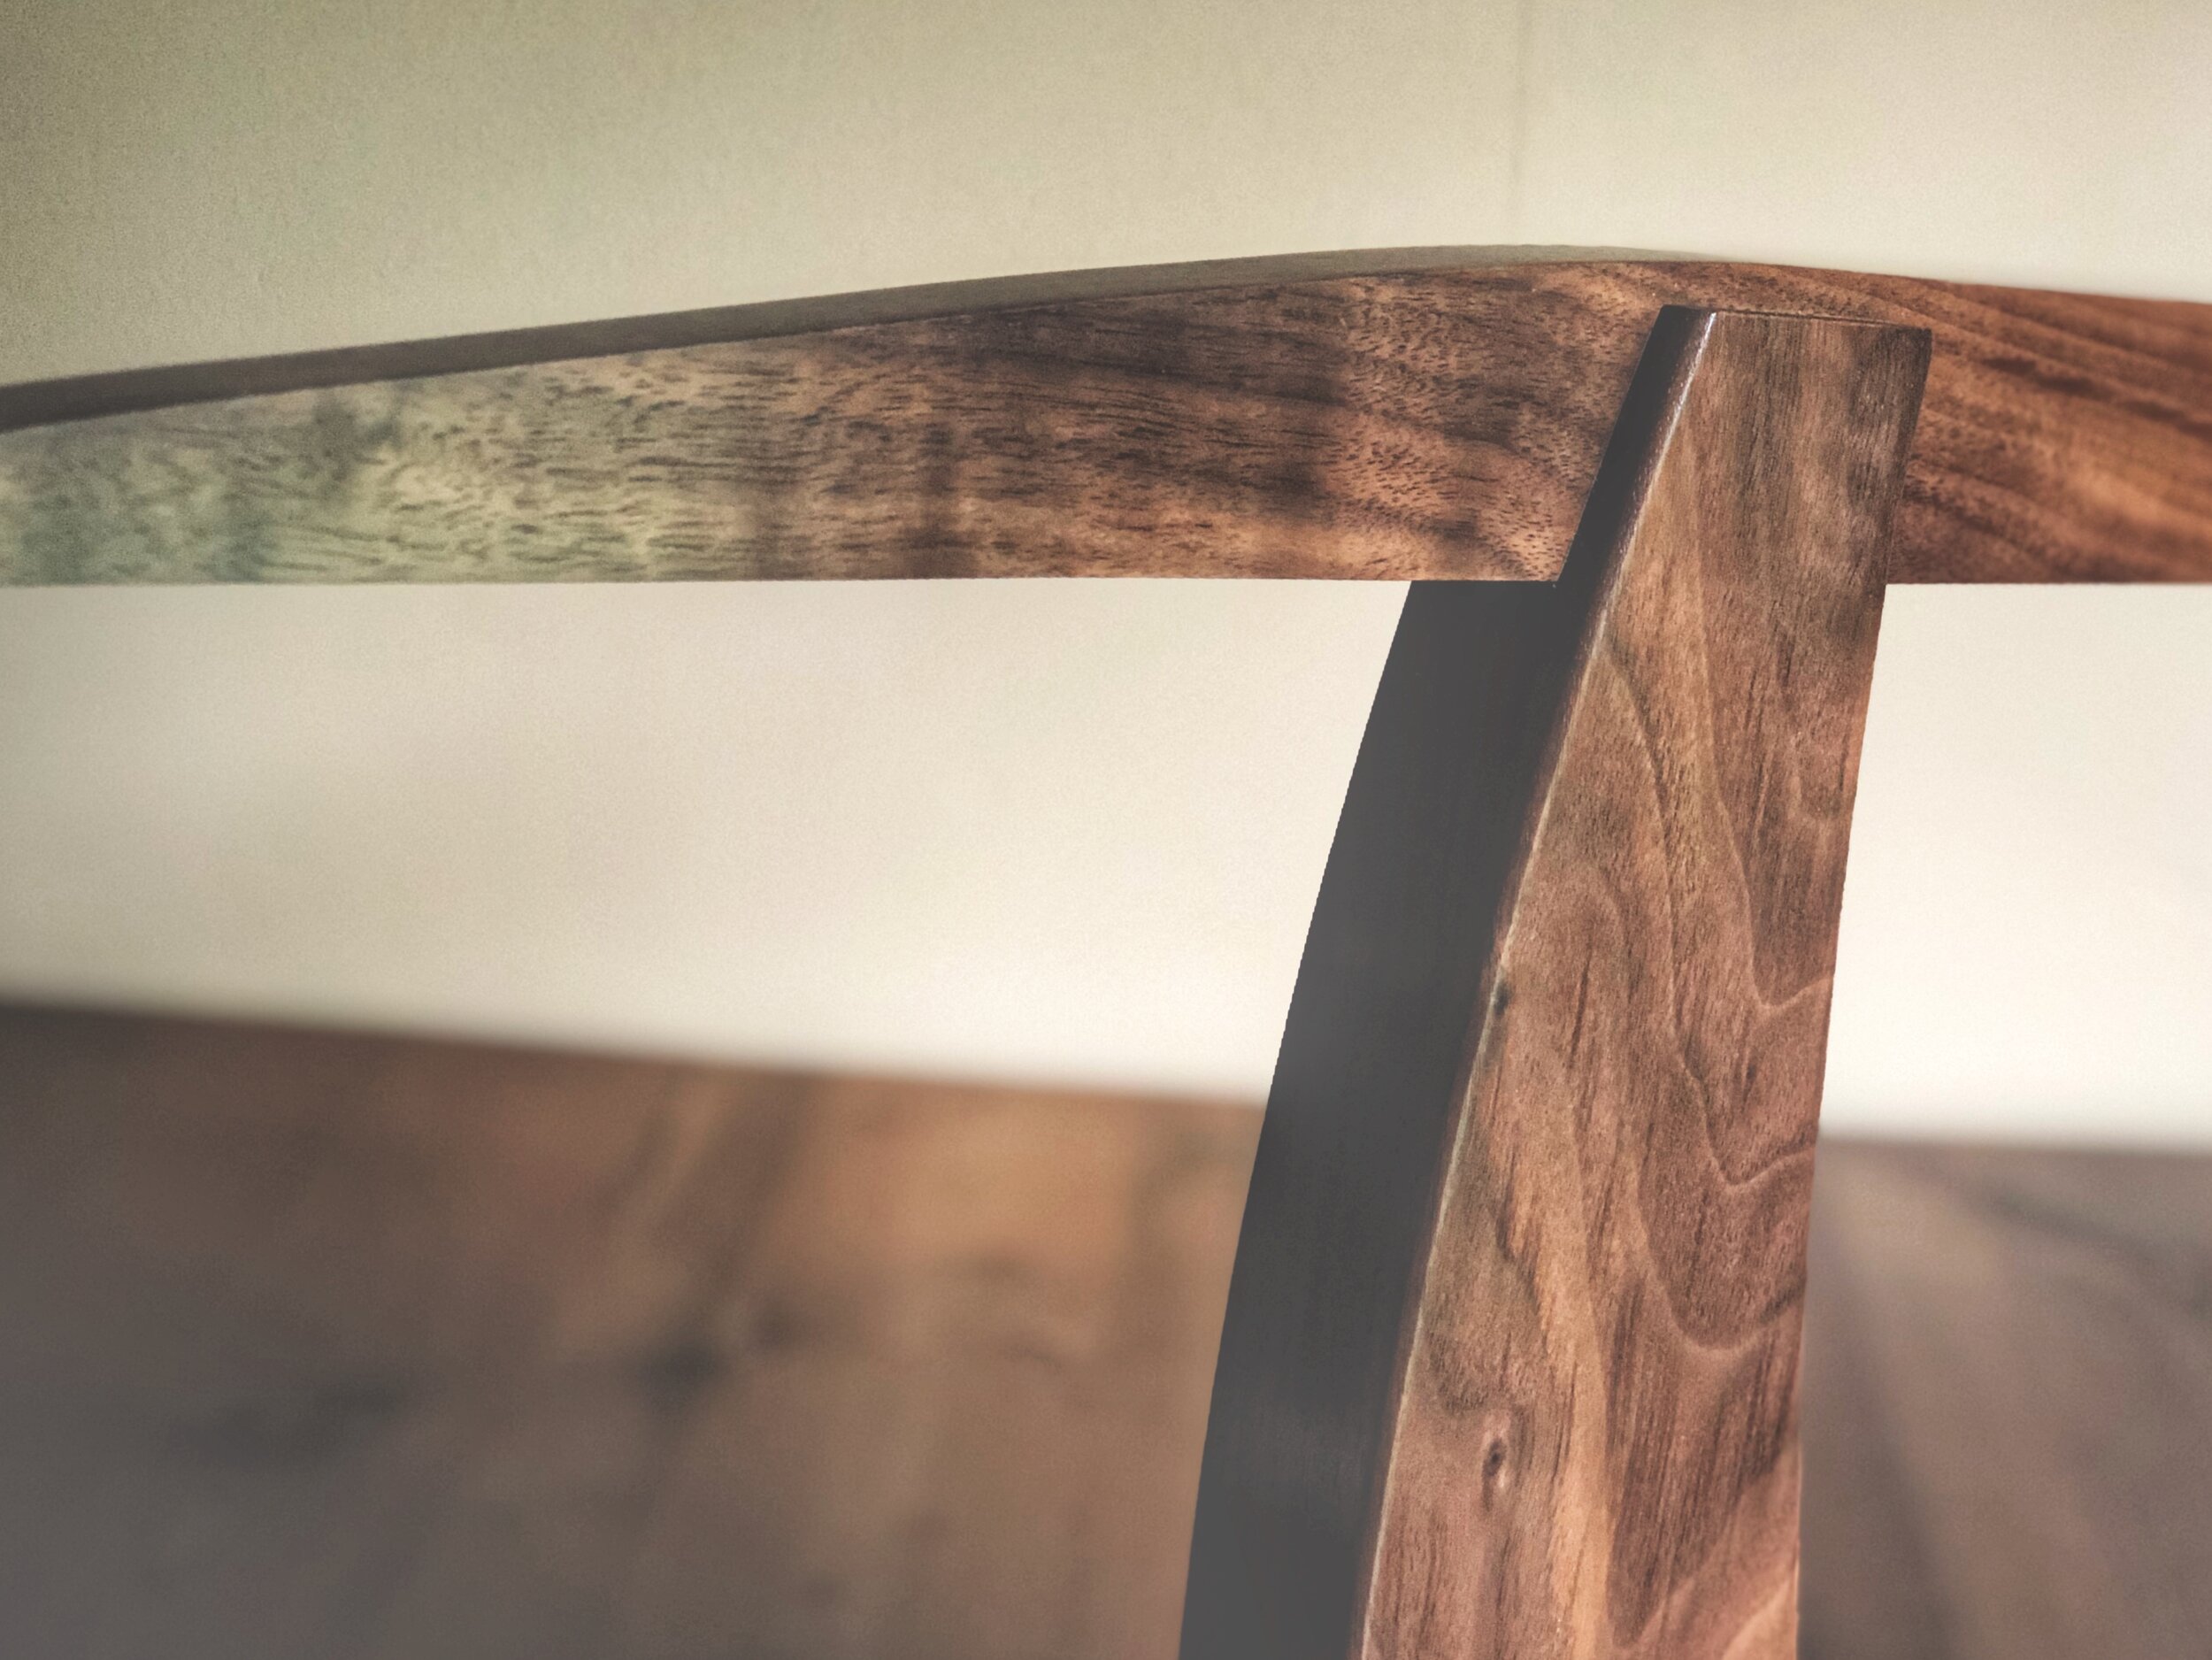
After seeing a lamp online now with another working idea, I went to the local hardwood store and picked out some pieces of walnut. I am no woodworking purist and I believe there is room for both technology and hand tools in the shop. Using Fusion 360 to design the vertical piece I was able to visualize and change my design without making firewood. After coming up with a design that felt right, I took the design to my shop helper C+C Creative Factory (my CNC machine for those that don’t get the reference).

What came out was beautiful. A little bit of hand tool work, and my vision was coming to live. The base and the “arm” both were designed with some scraps in the wood till their shape was refined then I could transfer that image to the walnut.

Finally the finished product was coming together. I have been experimenting with finishing and I ended up sanding to 800 grit using tung oil, shellac, and a wax finish. The result was a finish that begged to be touched.

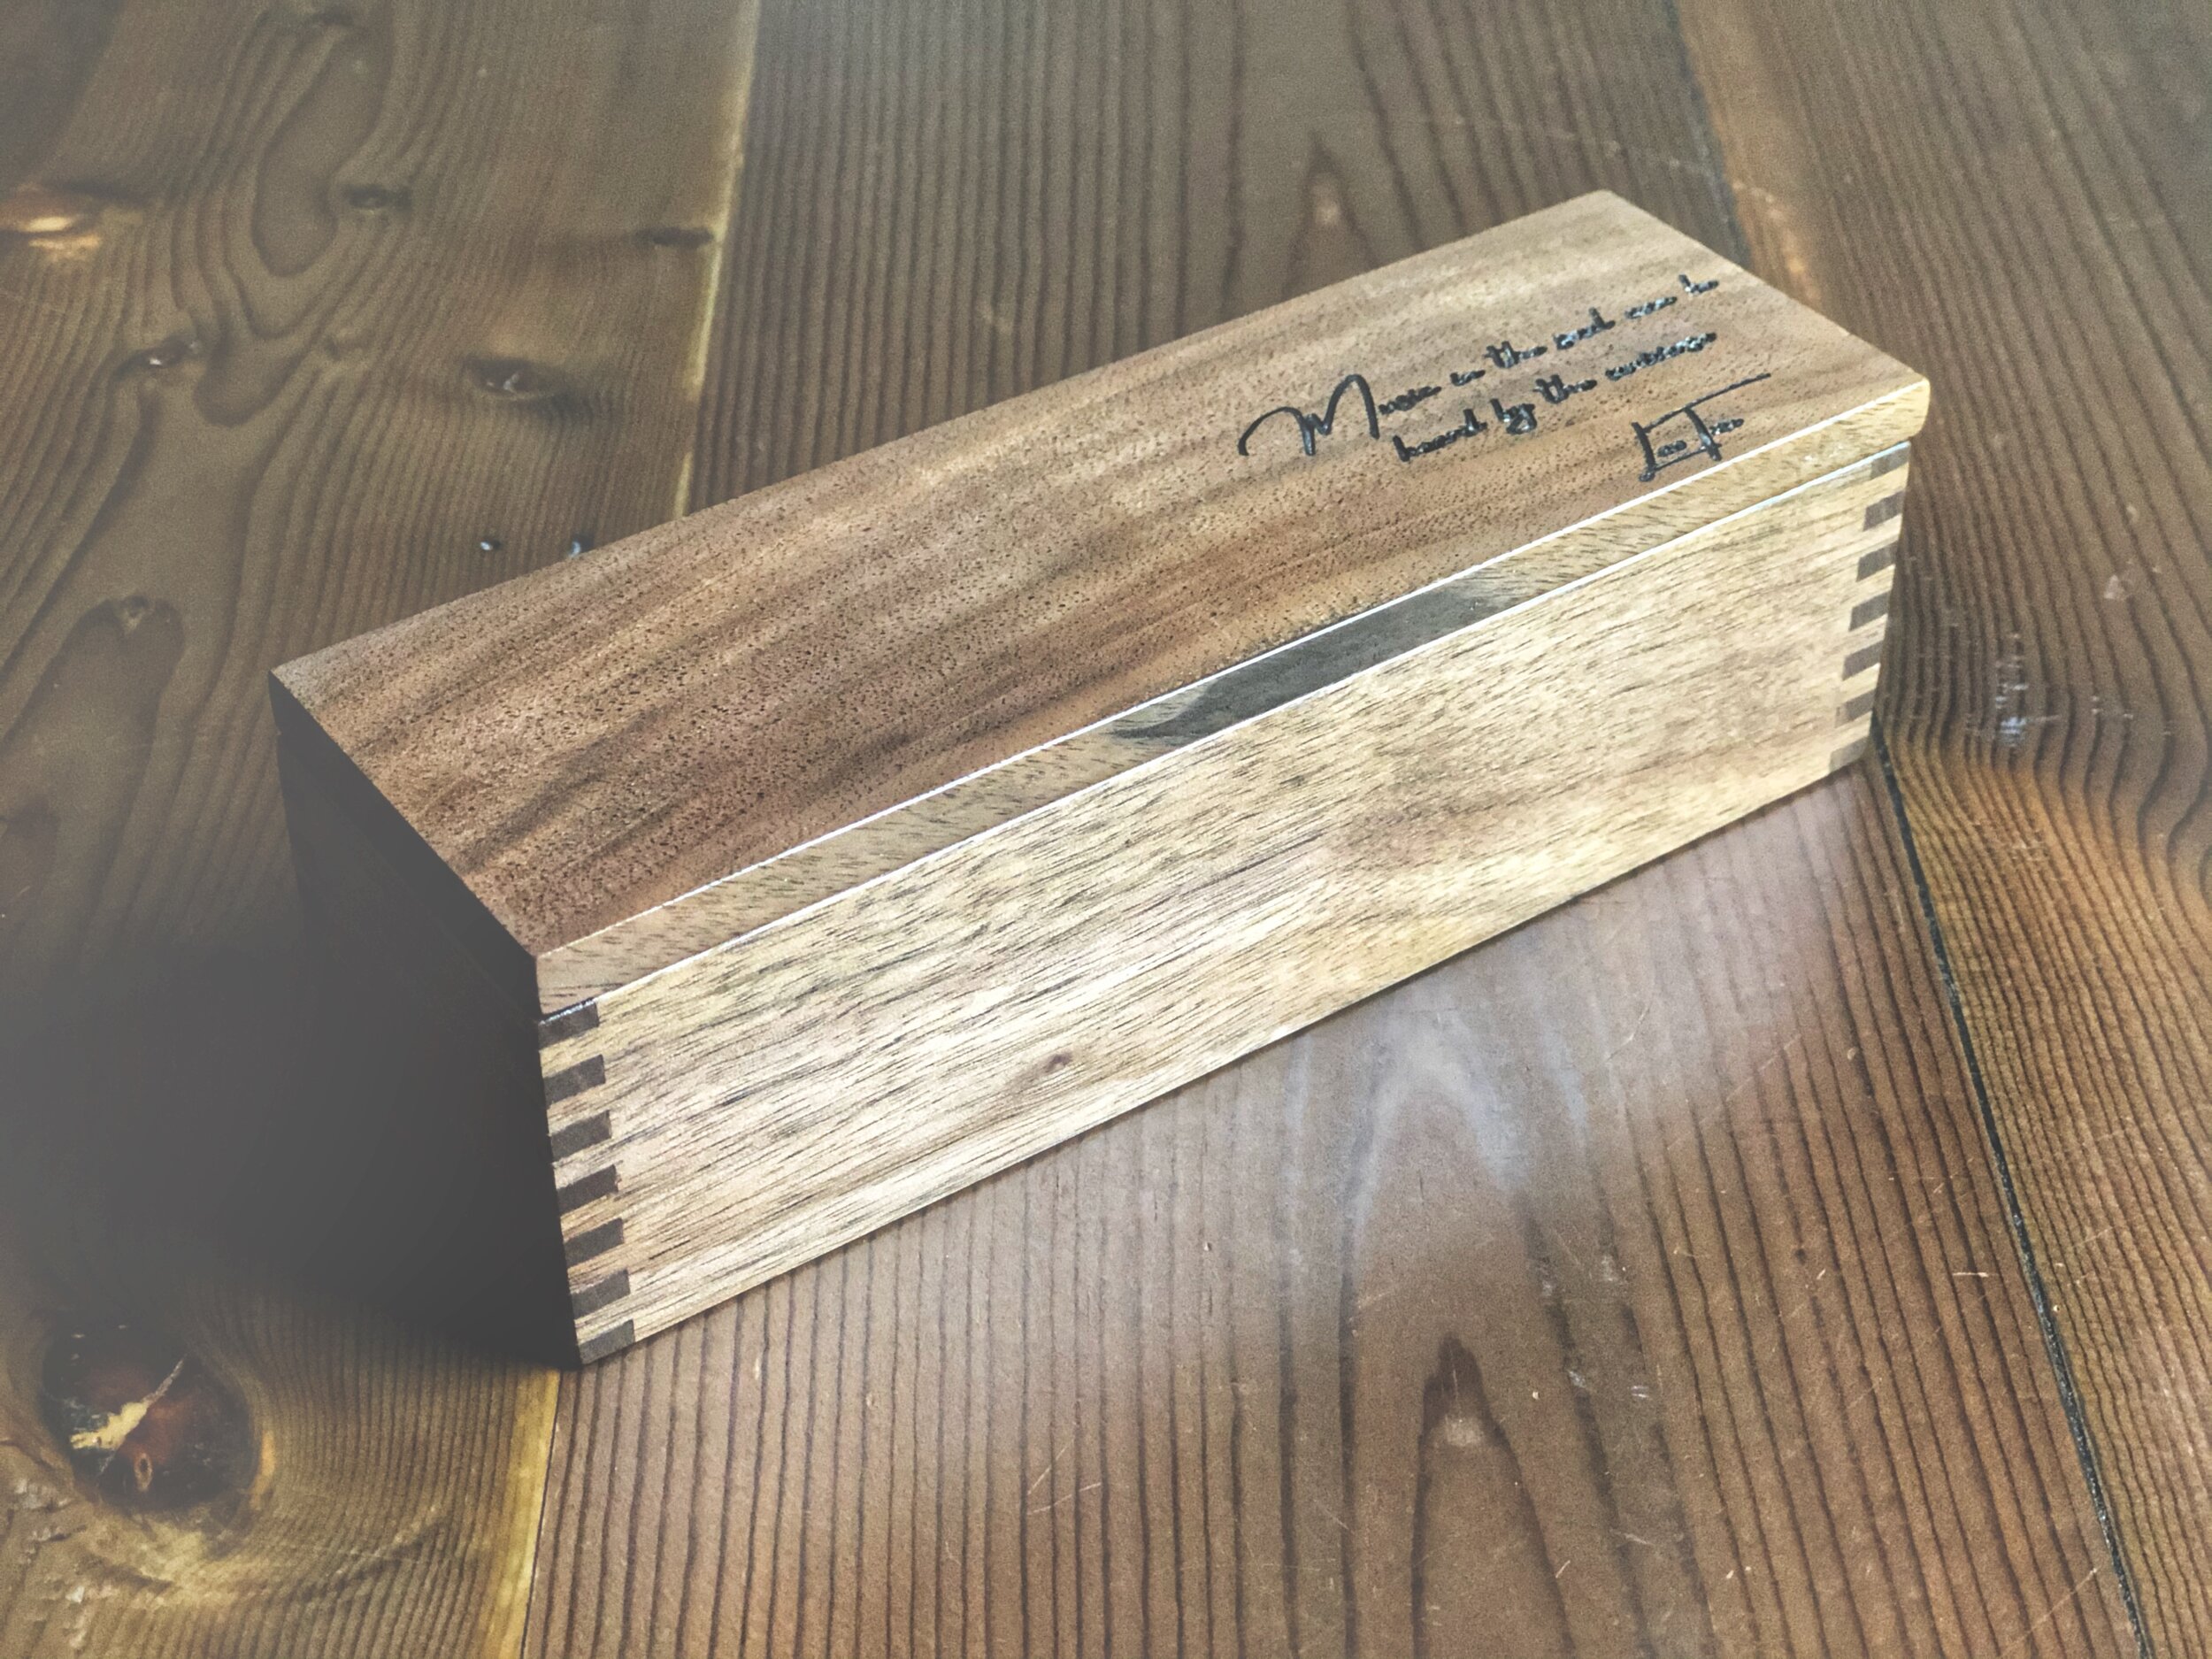
The next item on the list was a desk top audio case that was to hold a small headphone amp and in-ear monitors. The design process started again.

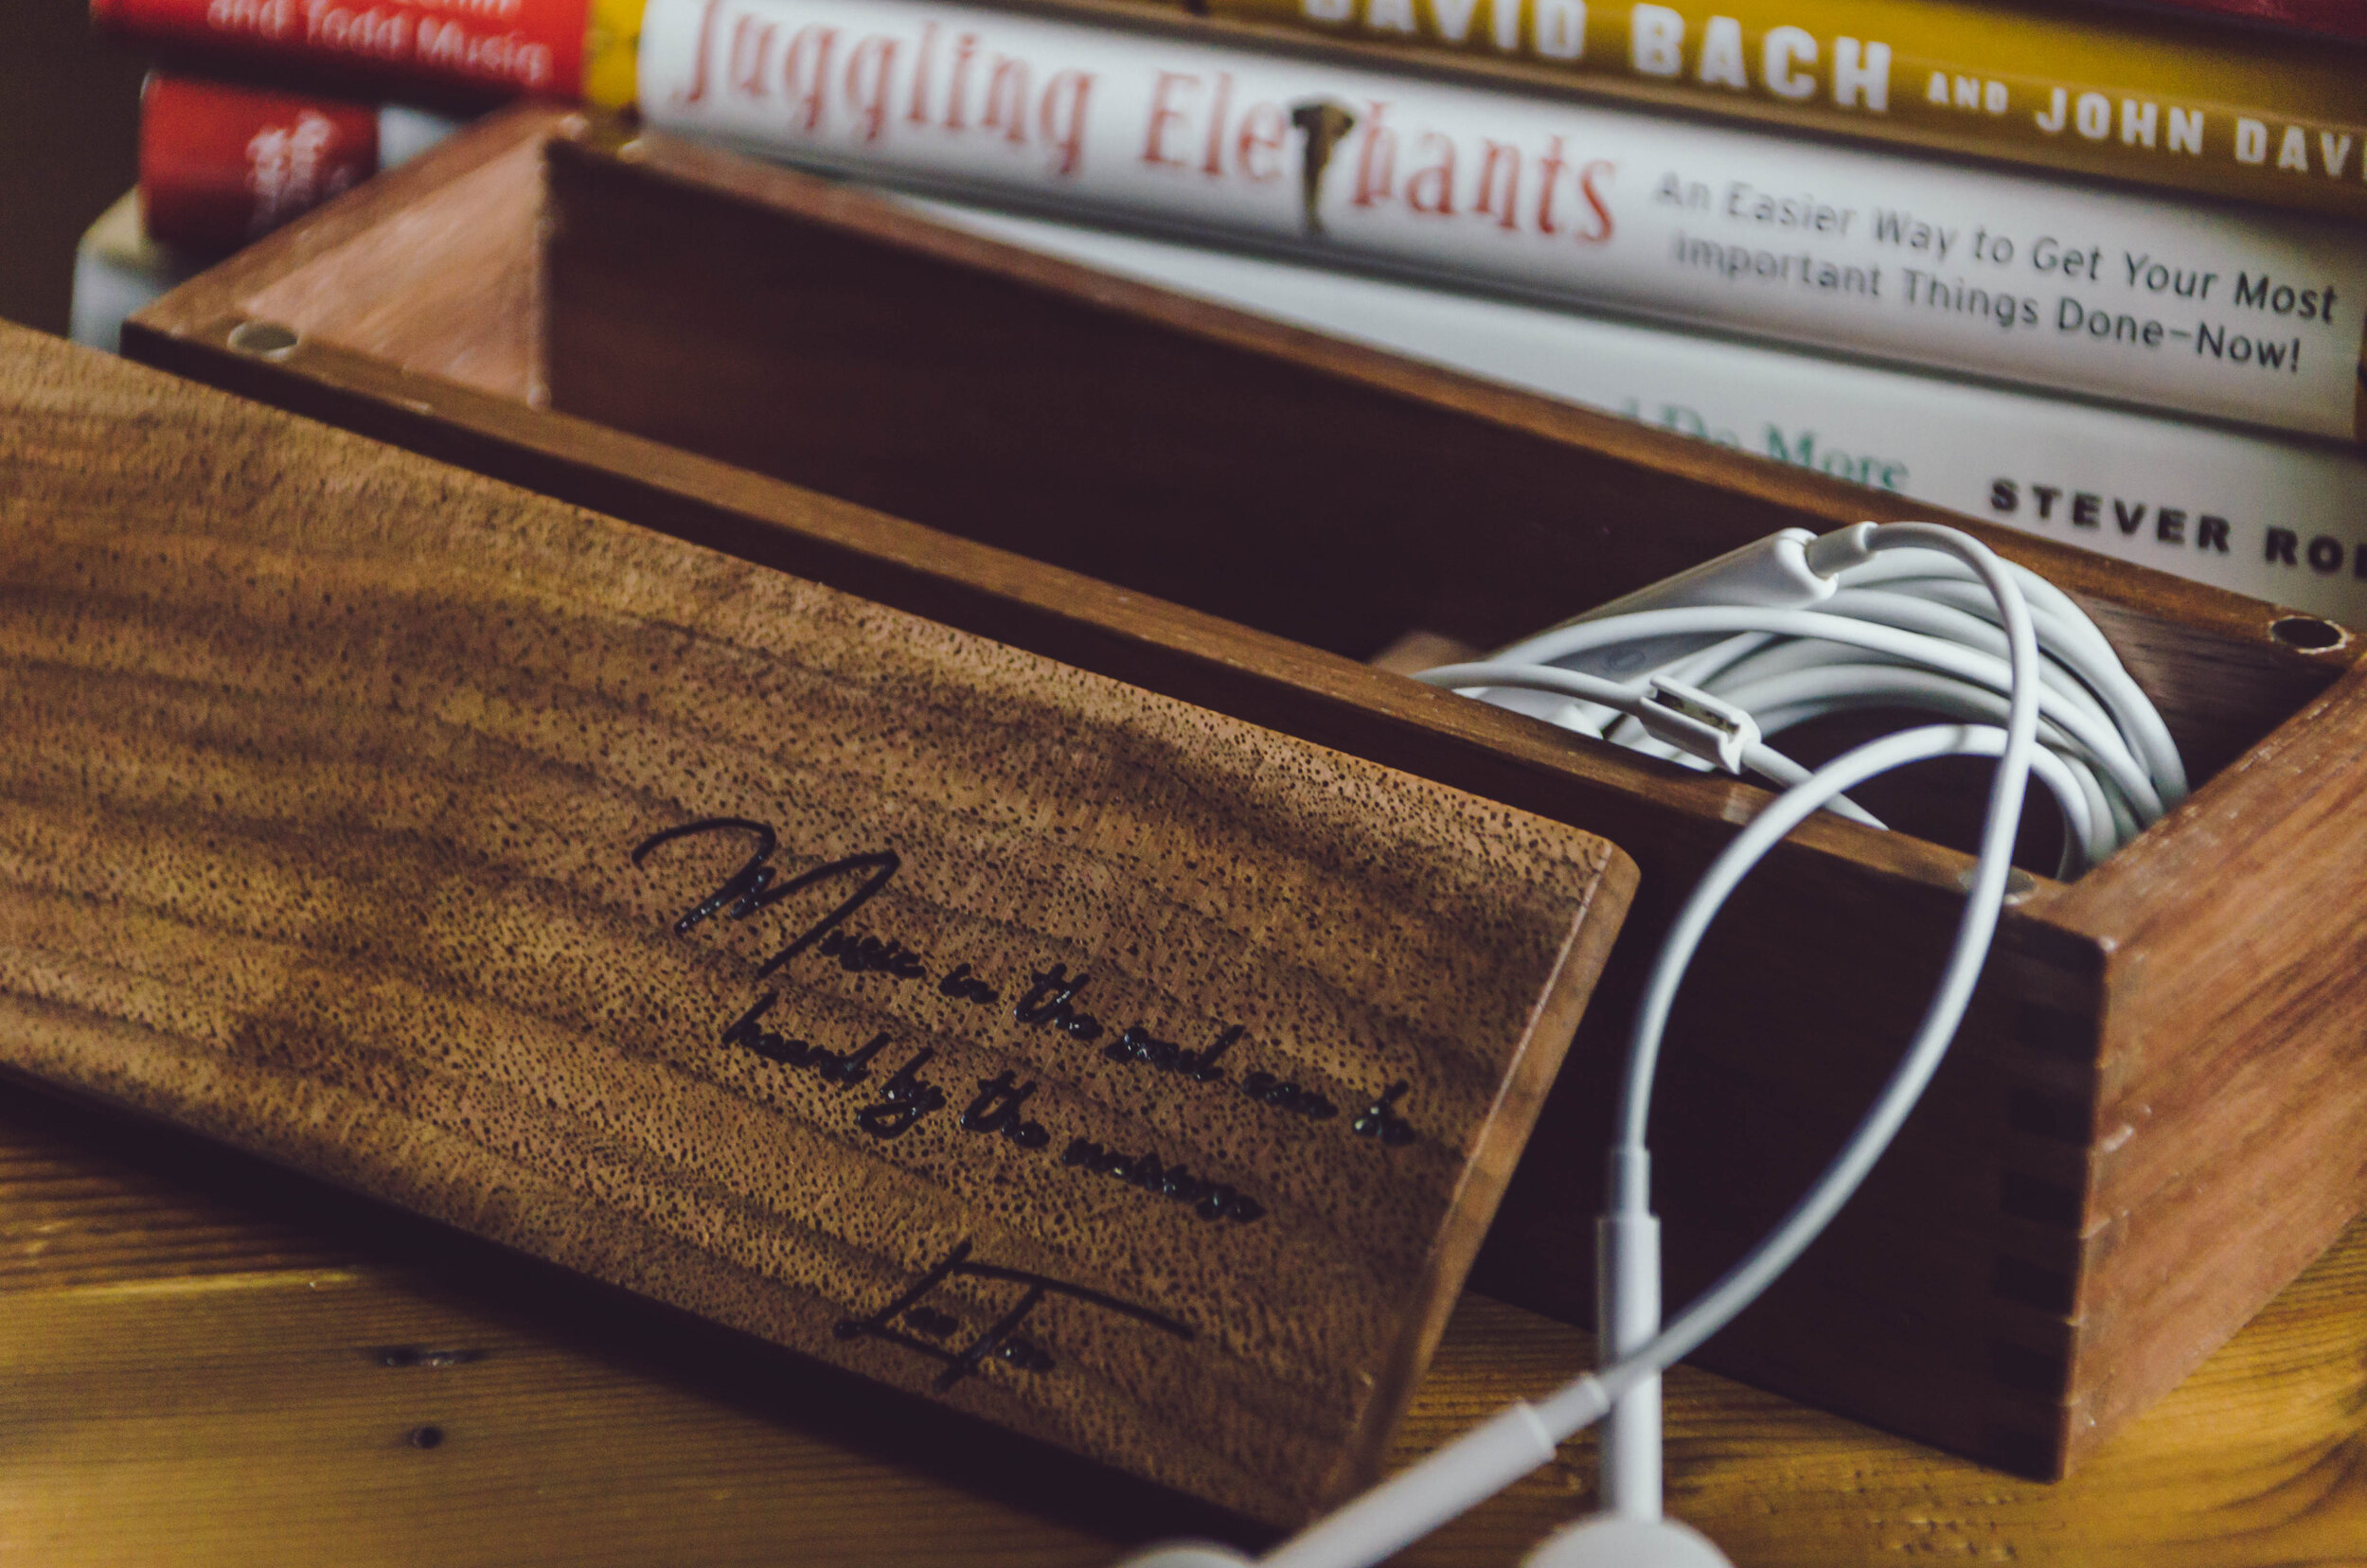
To match the headphone stand, I used more walnut. The case was constructed with box joints, and the interior divider was fitted with the smallest mortises I have made to date.

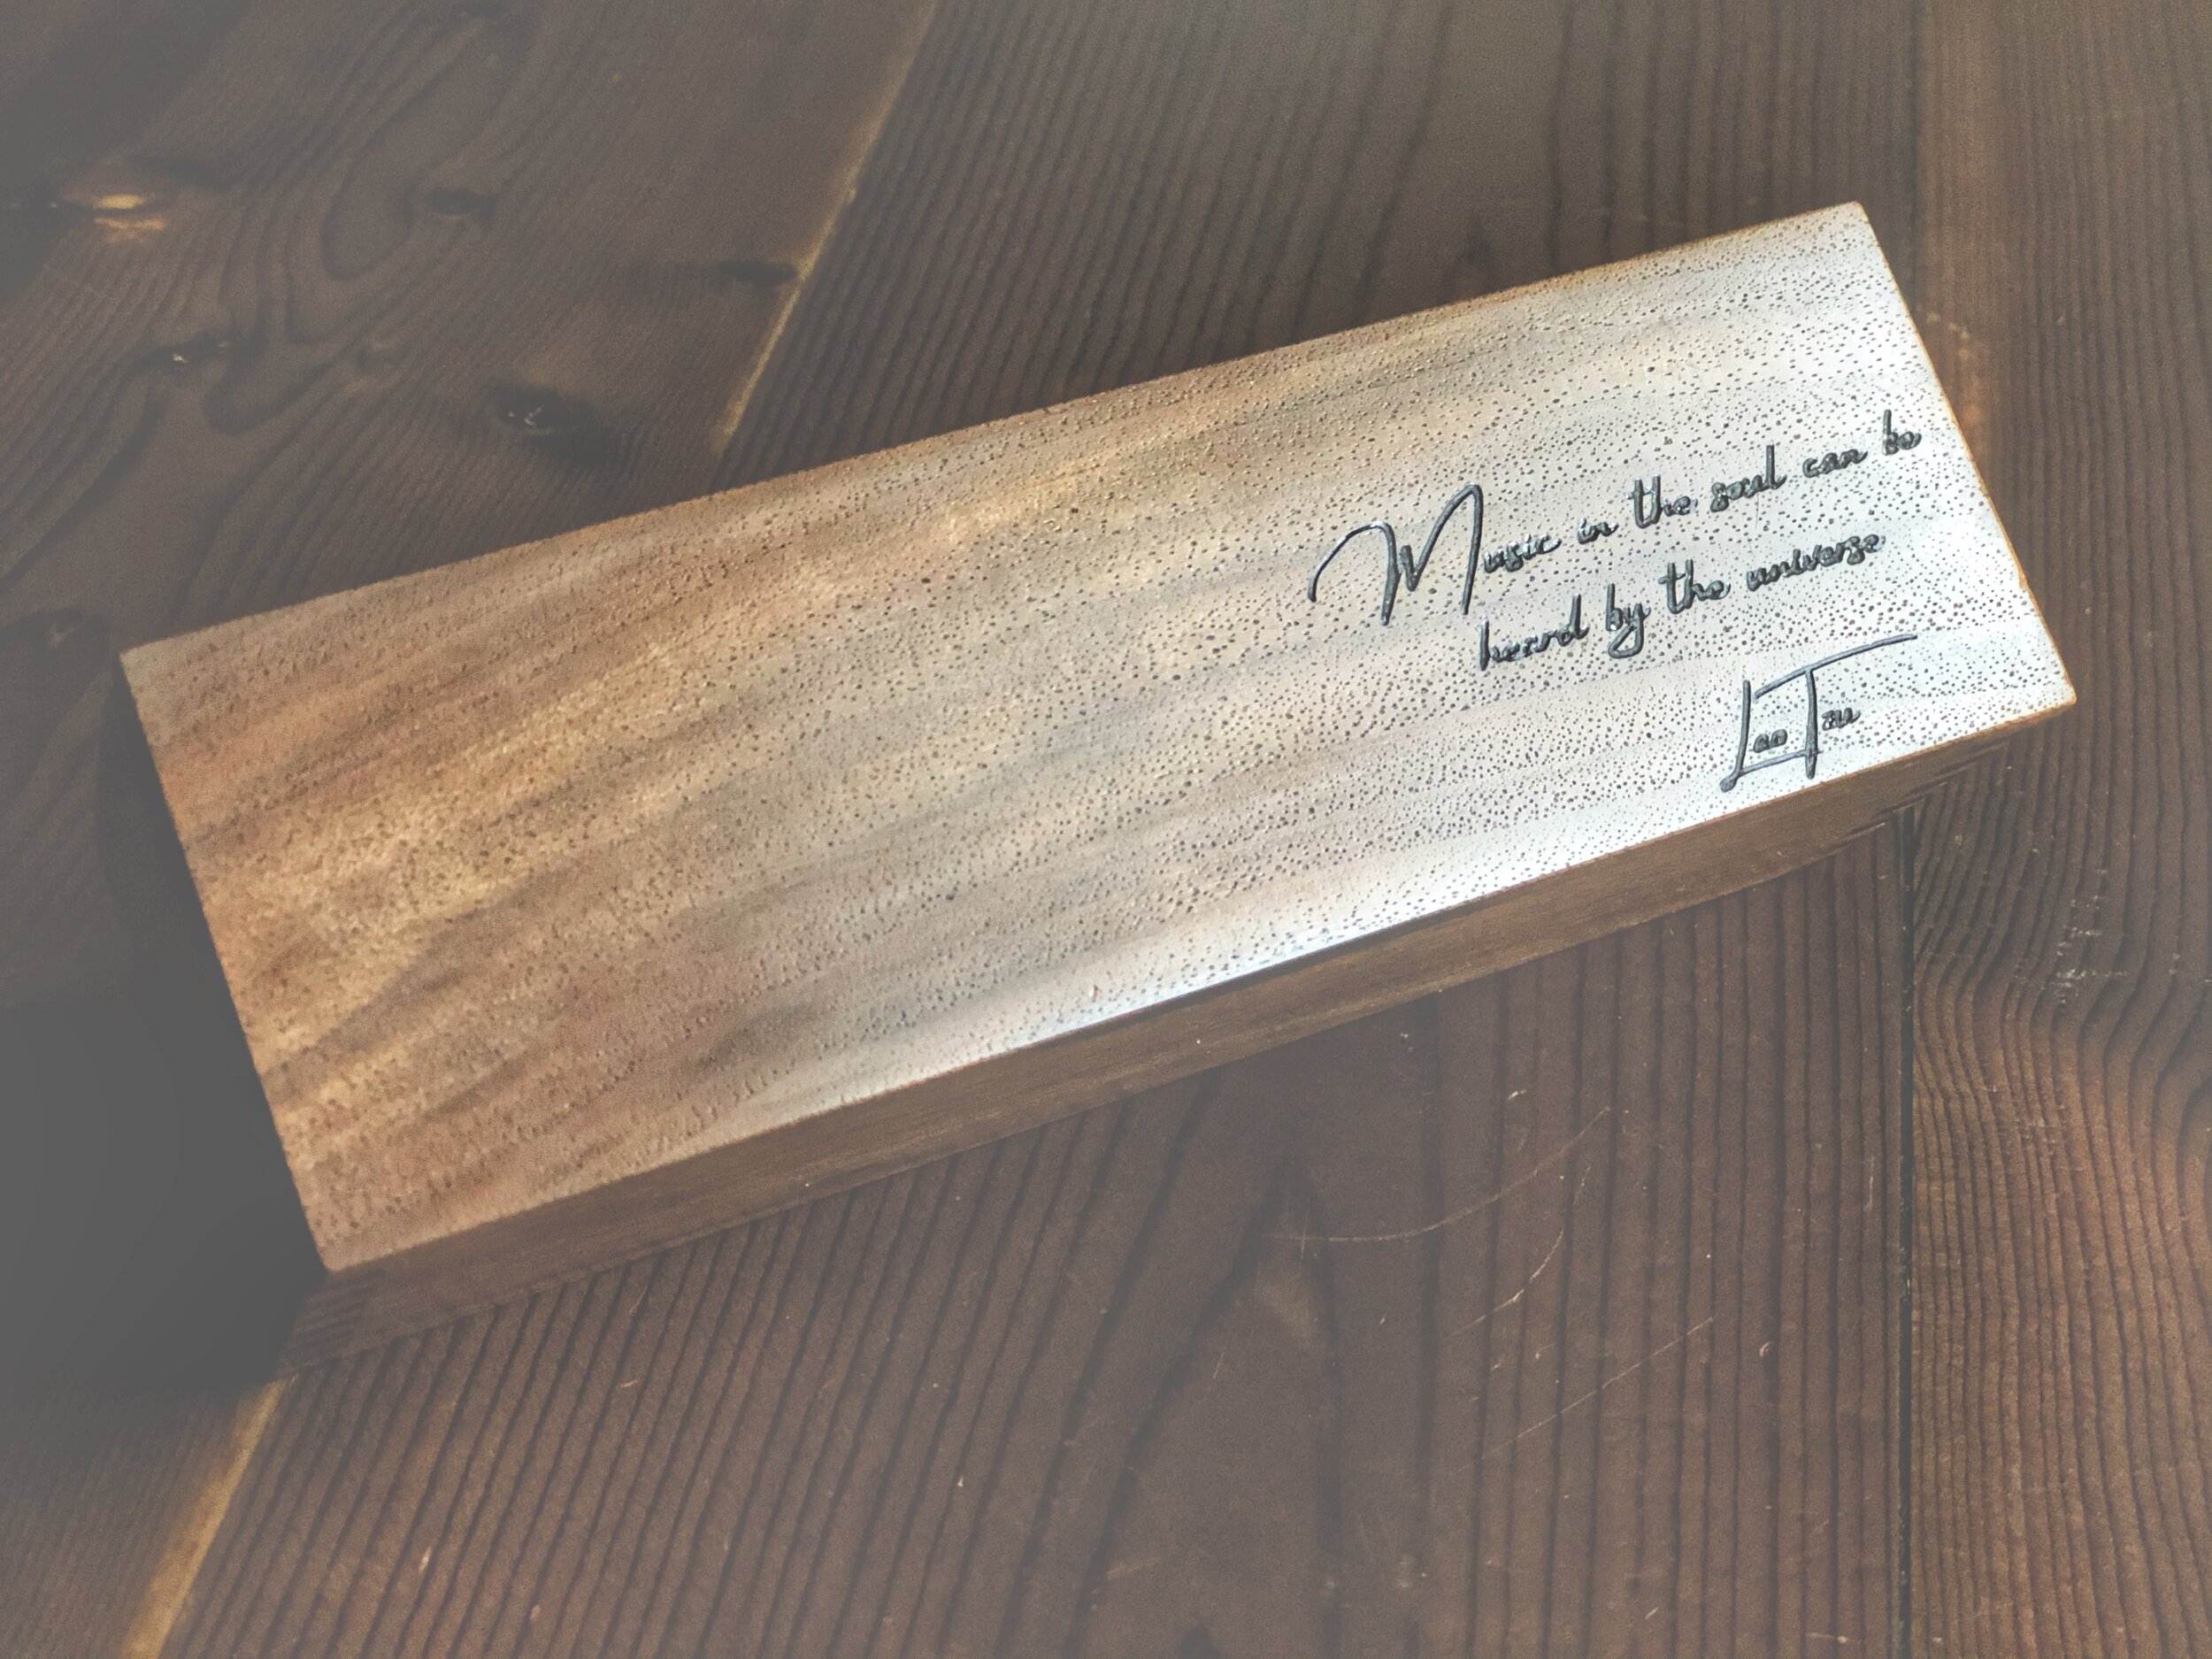
I asked the client for some favorite quotes and “Music in the soul can be heard by the universe (Lao Tzu)” was engraved on the lid. The lid is secured with magnets to hold the lid on tight.

The desktop audio box was finished using the same technique I used on the headphone stand with the same silky smooth result.

As the project progressed I kept in contact with the client to get feedback and to let her know how the progress was progressing. I really this is important to make sure my design is heading in the right direction, and to let the client see the project come together.

When it was all finished I staged the items for some glamour shots and then it was time to head to the shipping department. Each piece was wrapped in bubble wrap and wrapped in some special wrapping paper for some built in anticipation when the package arrived.

In the end the client loved the headphone stand and desktop audio equipment. I really do try to take into account every detail from the design, communication, pictures, and packaging because my clients aren’t just buying a product but I hope they have a great experience. To me that is what makes custom work so special.

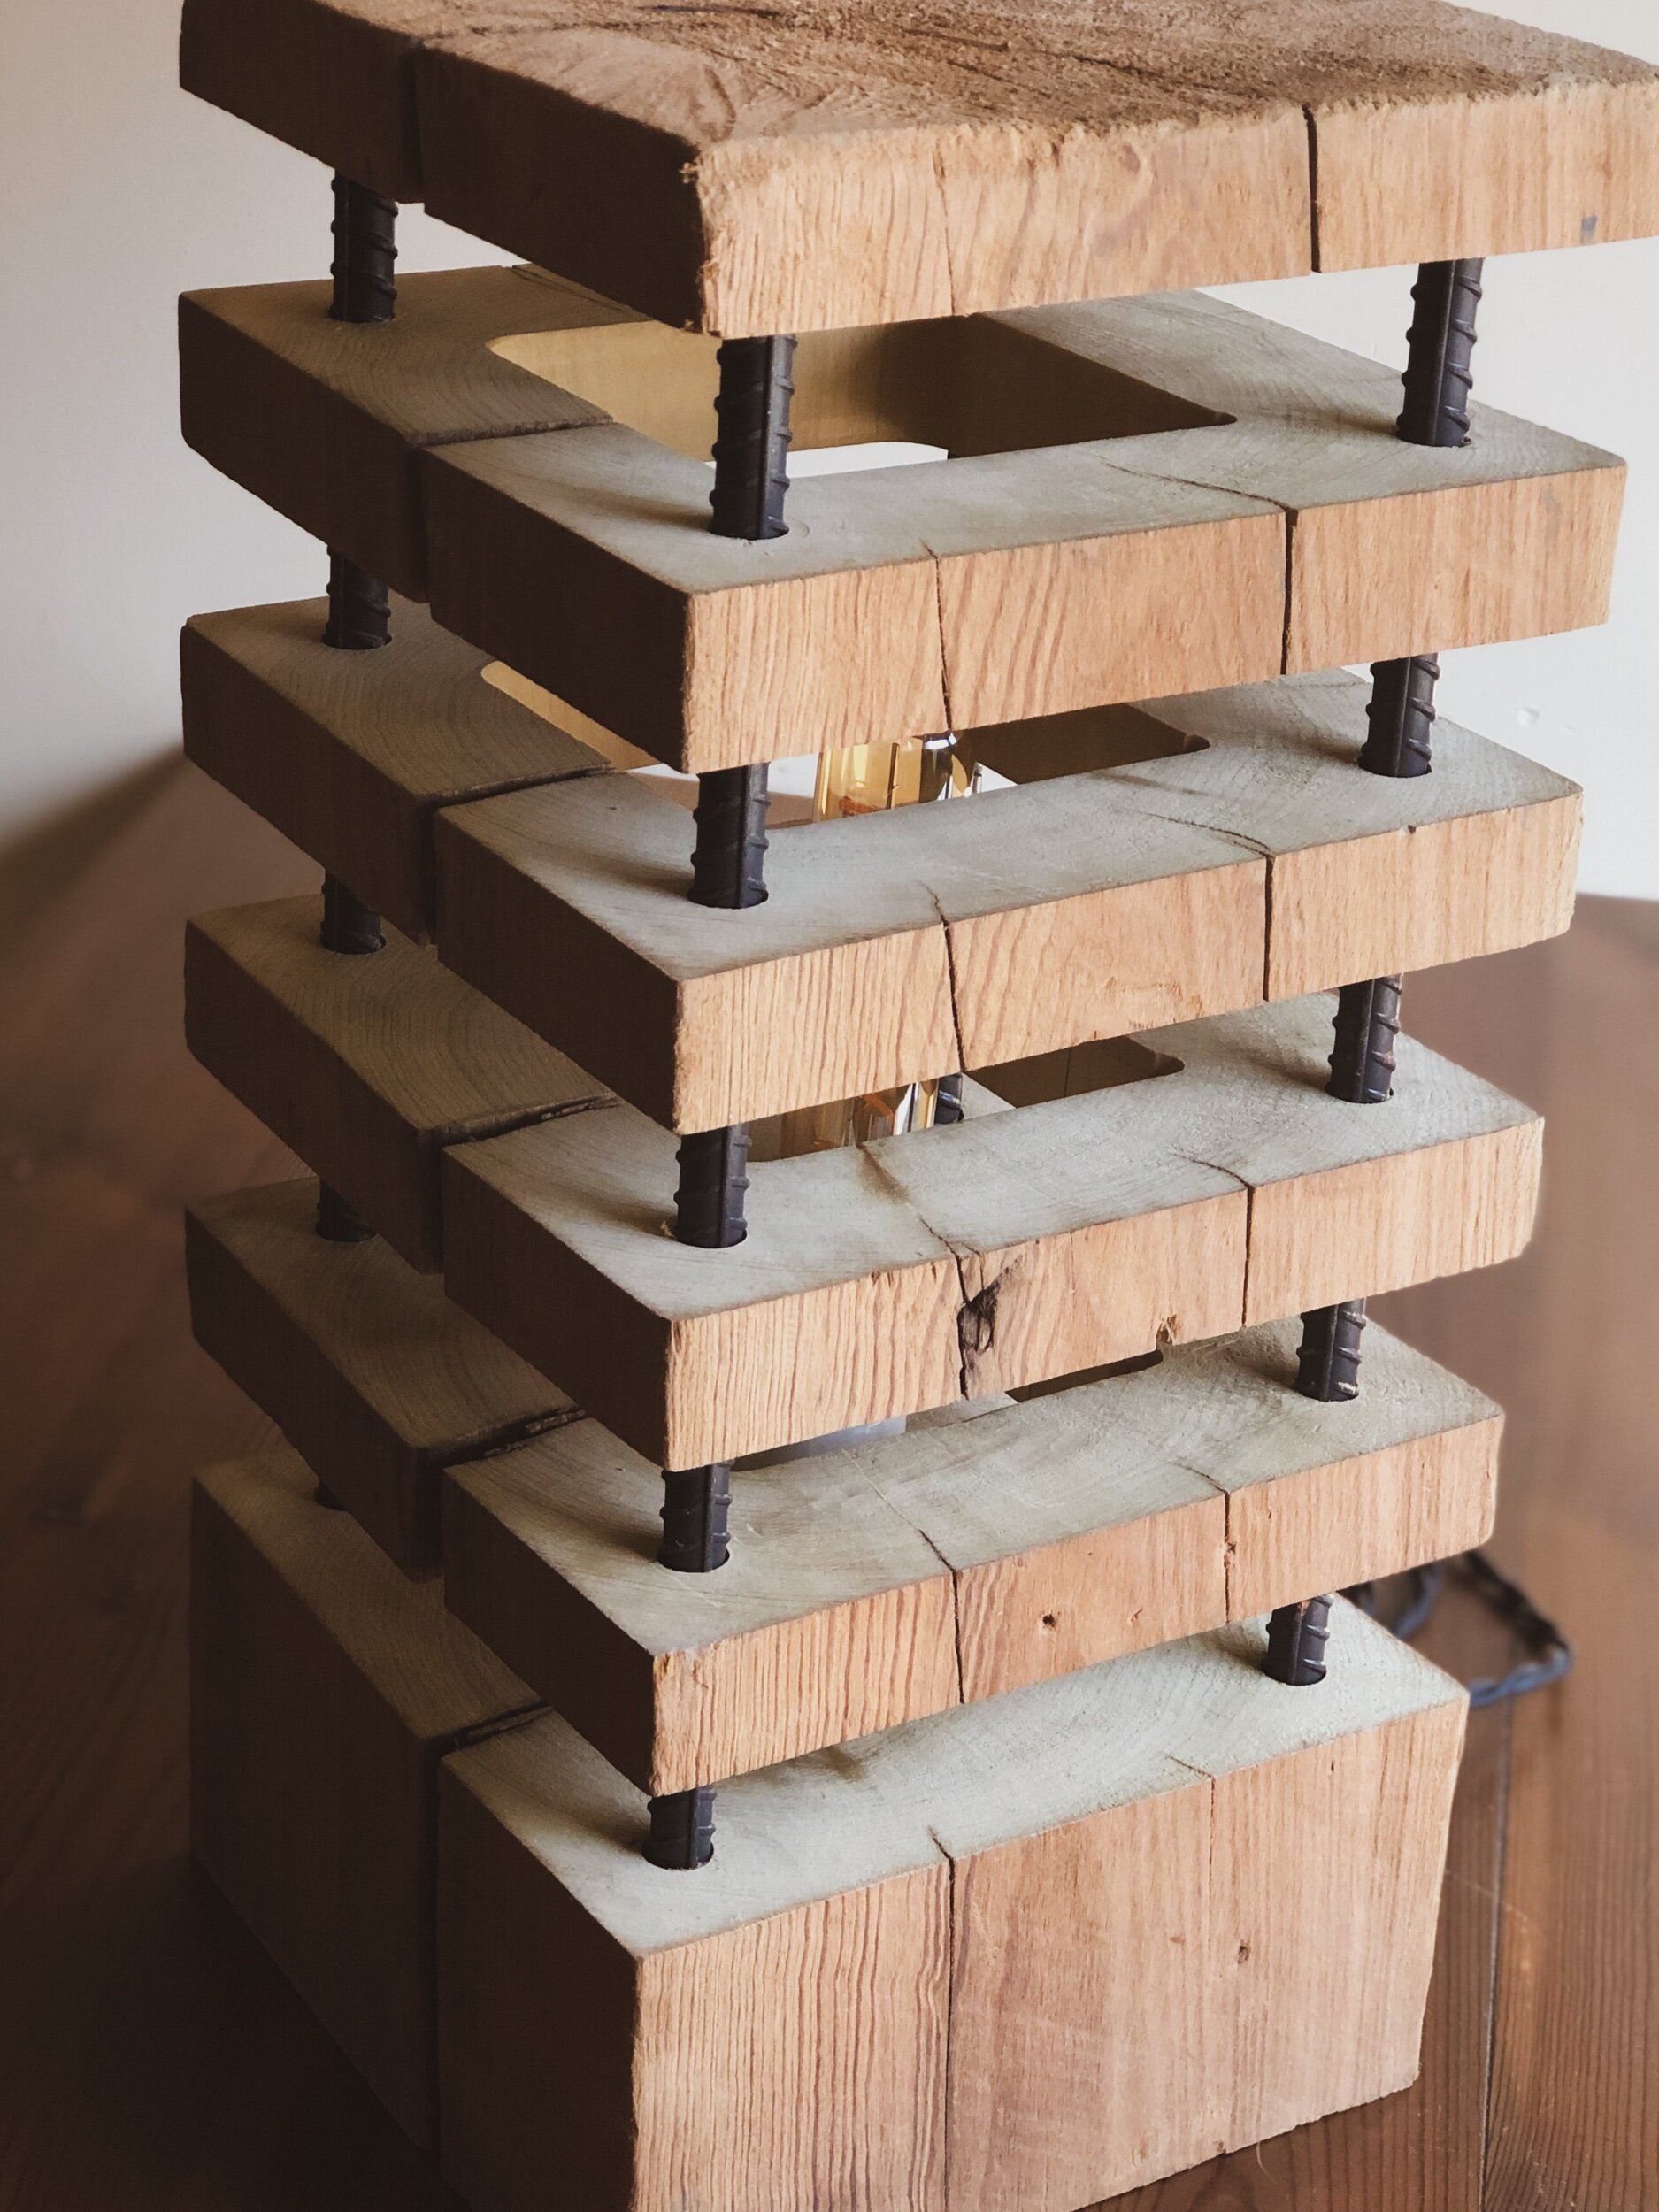
Wooden Beam Table Lamp

Wood and metal. Two strong materials that cities are built with. Two materials I enjoy working with.

I received some large pieces of wood from a friend. They were remnants from a house they were working on (timber frame house at that, my favorite). The chunks of wood sat in the shop, as most pieces do, until the inspiration bug struck.

Some random day the inspiration bug struck and I had a lightbulb moment (pun intended) of what to make with that piece of wood. As with most things when I get an idea everything else will stop, until I can start working on the idea (I don’t want to miss out on the momentum).

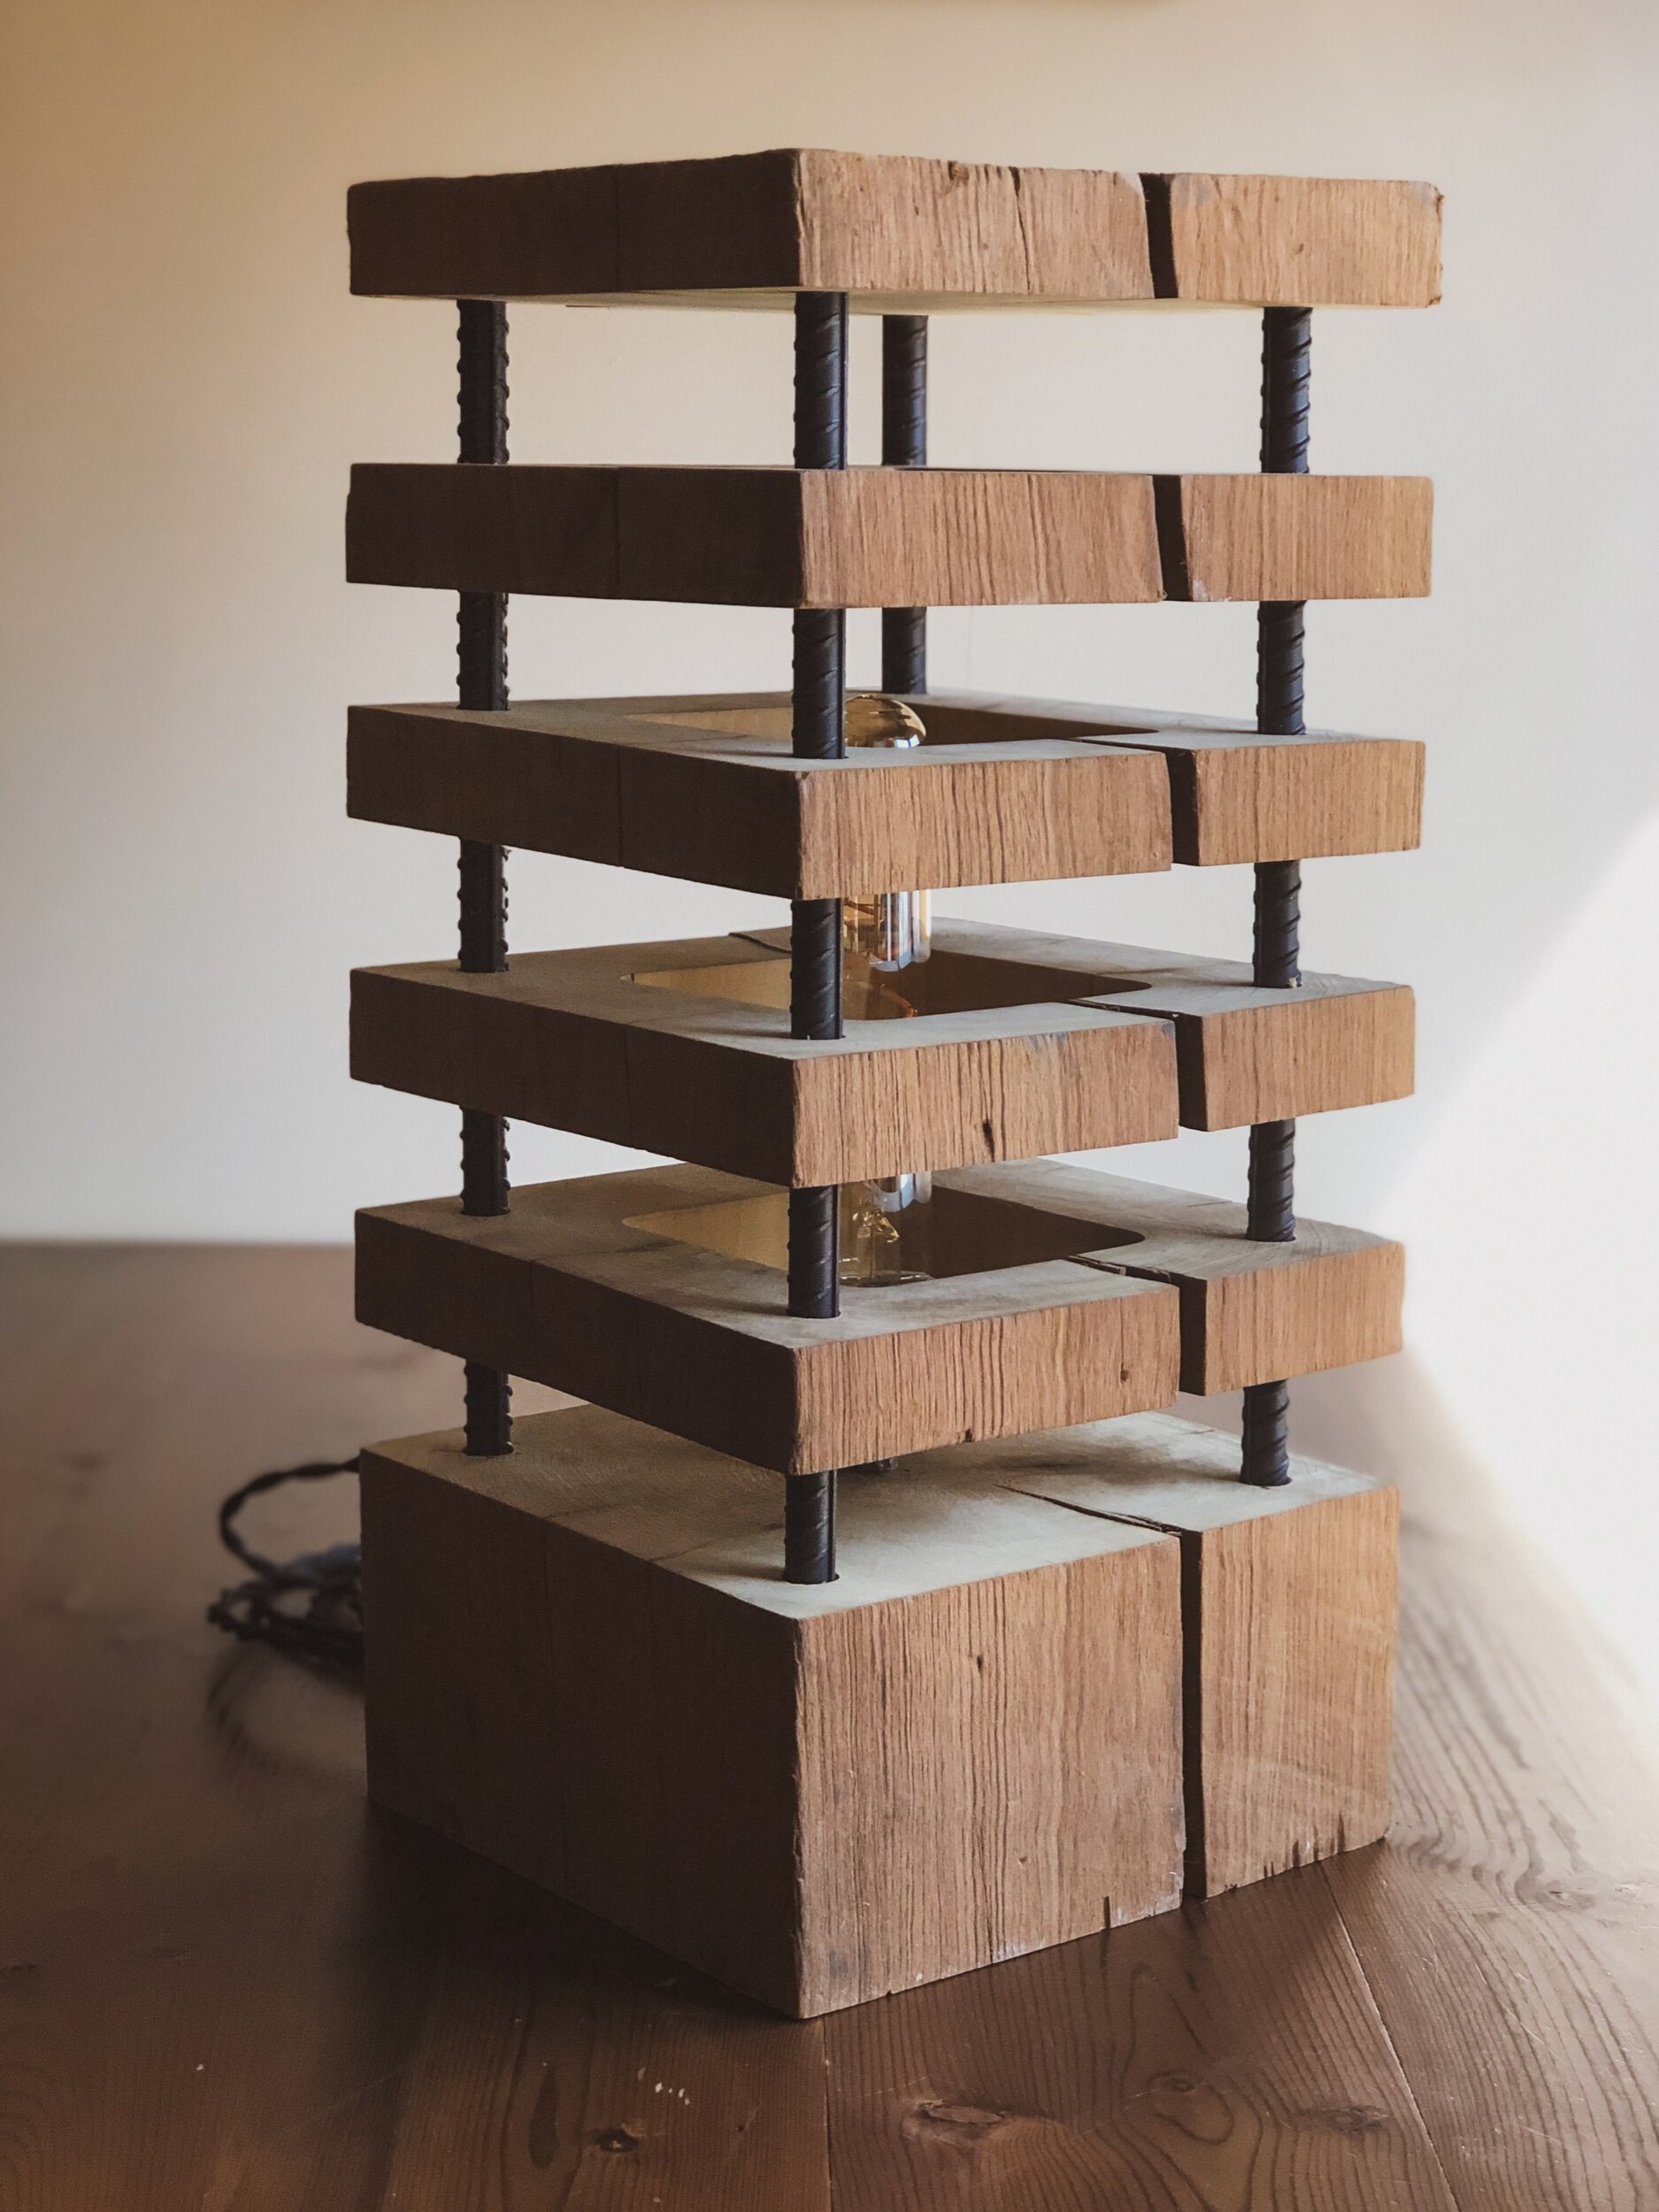
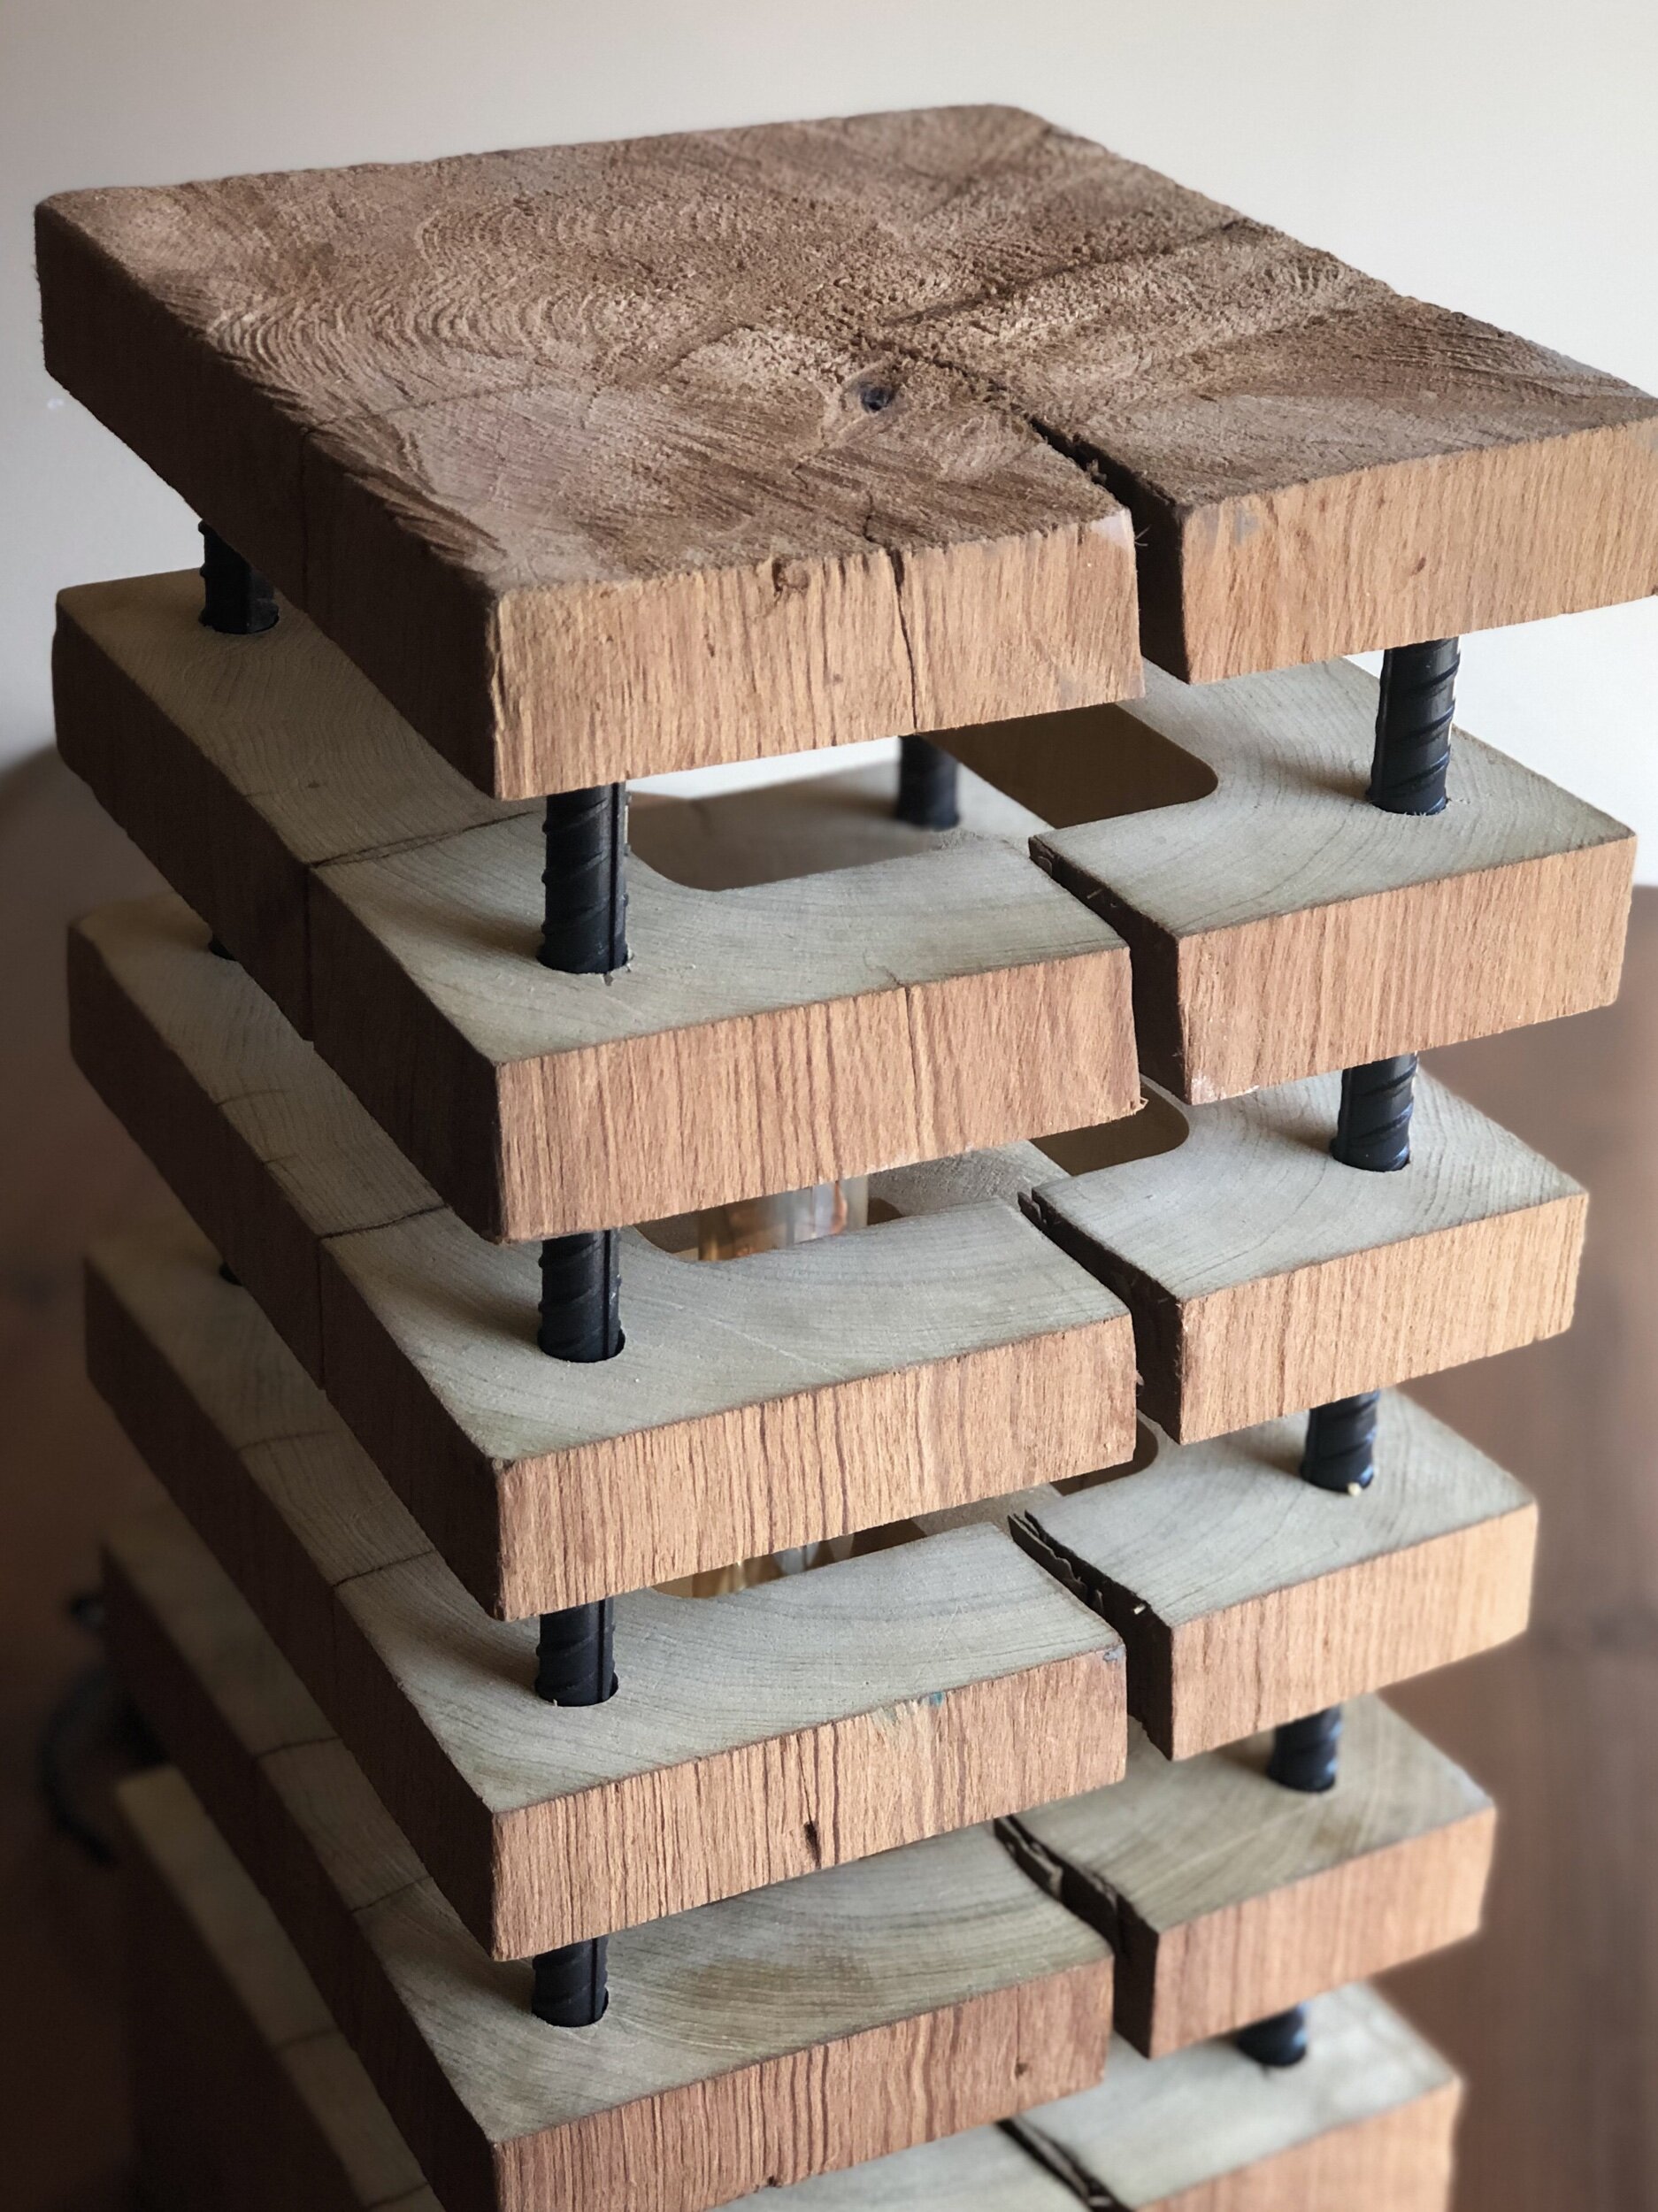
I wanted to build a lamp by segmenting the pieces of wood. I had some rebar laying around and the two pieces just went together. Challenge was the piece of wood was thicker than my table saw blade was high, so with creative thinking I rotated the beam around to cut most of the way through and finished the cut with my handy Japanese hand saw. Next came drilling some holes for the rebar to fit. The holes were drilled so the rebar would fit snuggly.

As the pieces were fit together the vision I had in my head was coming to life. I love thinking of an idea and being able to creatively express that idea into the physical world. I also love when somebody approaches me with an idea for something they want built and trusts me to create it for them.

With the last coat of finished applied and dried the light bulb was tightened into the socket. The lamp was plugged in and came to life. I love the sweet glow from the Edison bulb and really think this lamp would look make a great addition to a boutique hotel or a home office.

If you are interested in this lamp or would like me to design a lamp for your space I would love to hear from you.


Timber Framed Address Sign

The other day, my neighbor and I worked to replace an old rotten fence post. We replaced the old post with a new pressure treated post and got the fence back together. While I was walking back around to our house I seen the old post on his deck and I asked him if he was going to throw the old post away and he said he was and asked if I wanted it.

Its hard to say no to free wood and I had the perfect project in mind.

A couple of years ago I remodeled our house replacing all the siding. When I took off the old siding the house numbers came with and our house has sat unnumbered for a couple of years now (to the dismay of every delivery driver) with the intent I would make something eventually. Well the eventually came when my wife threatened to order numbers for the house because we were getting ready to host a BBQ at our unnumbered house.

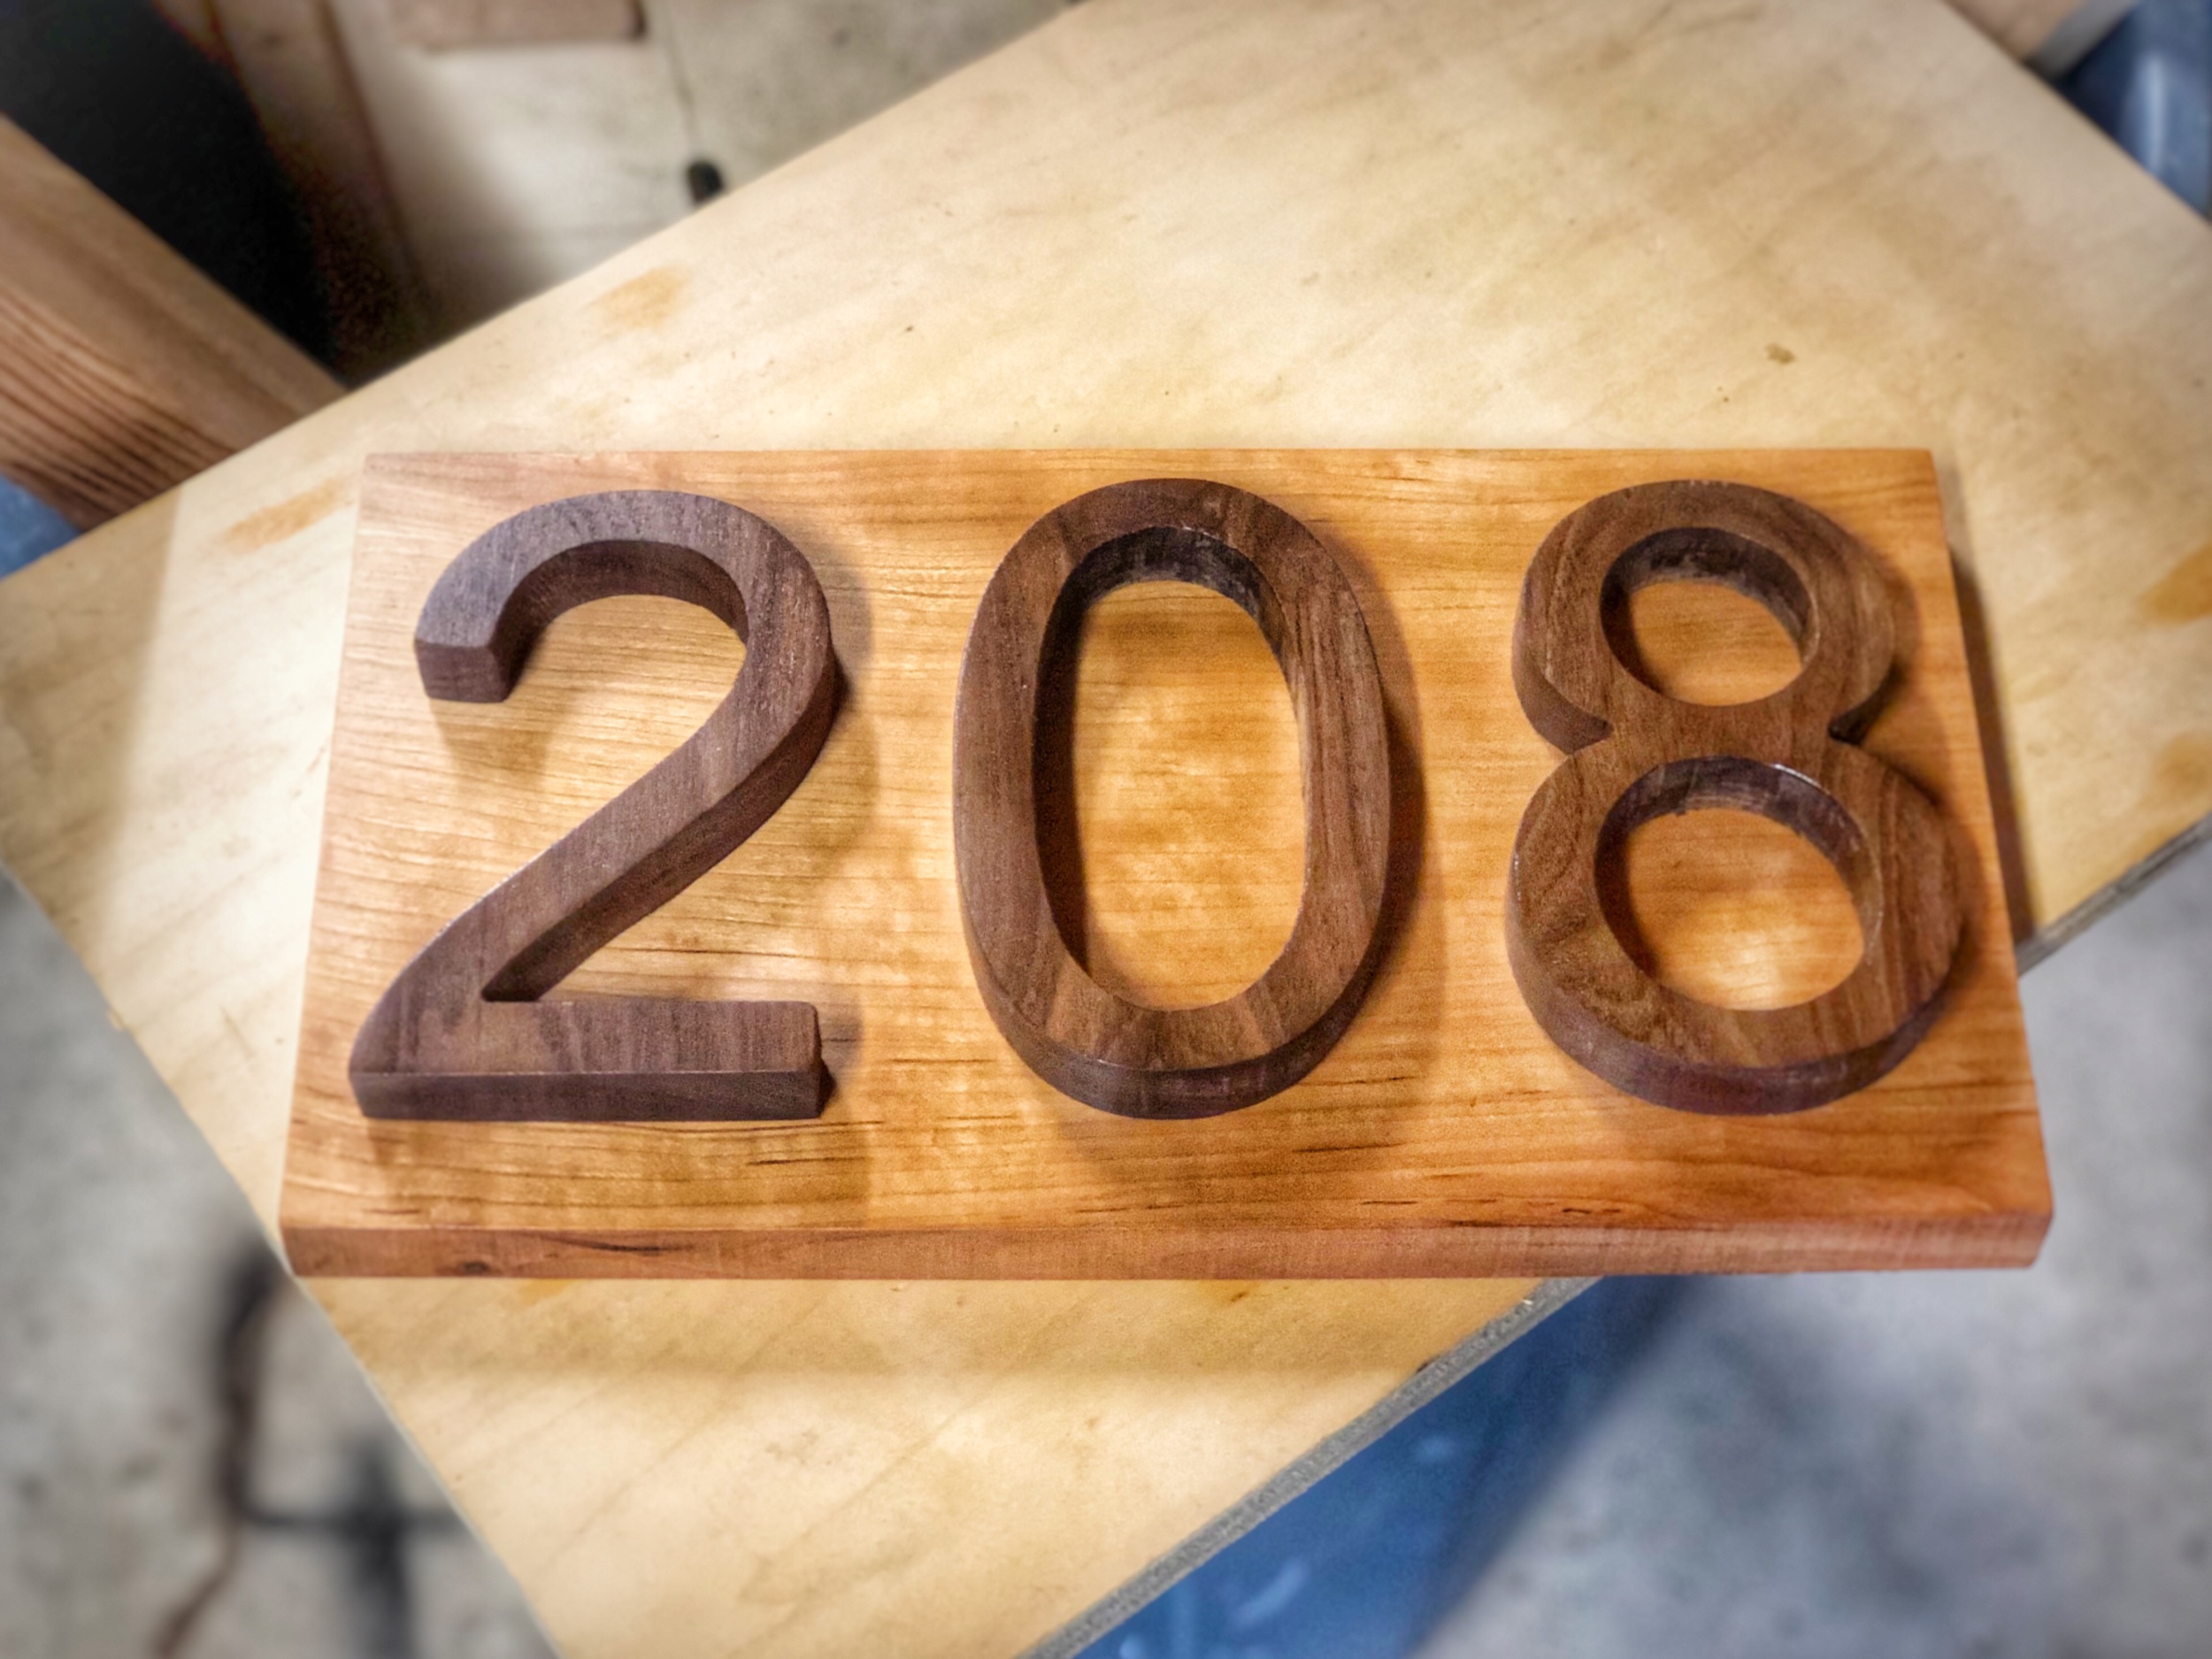
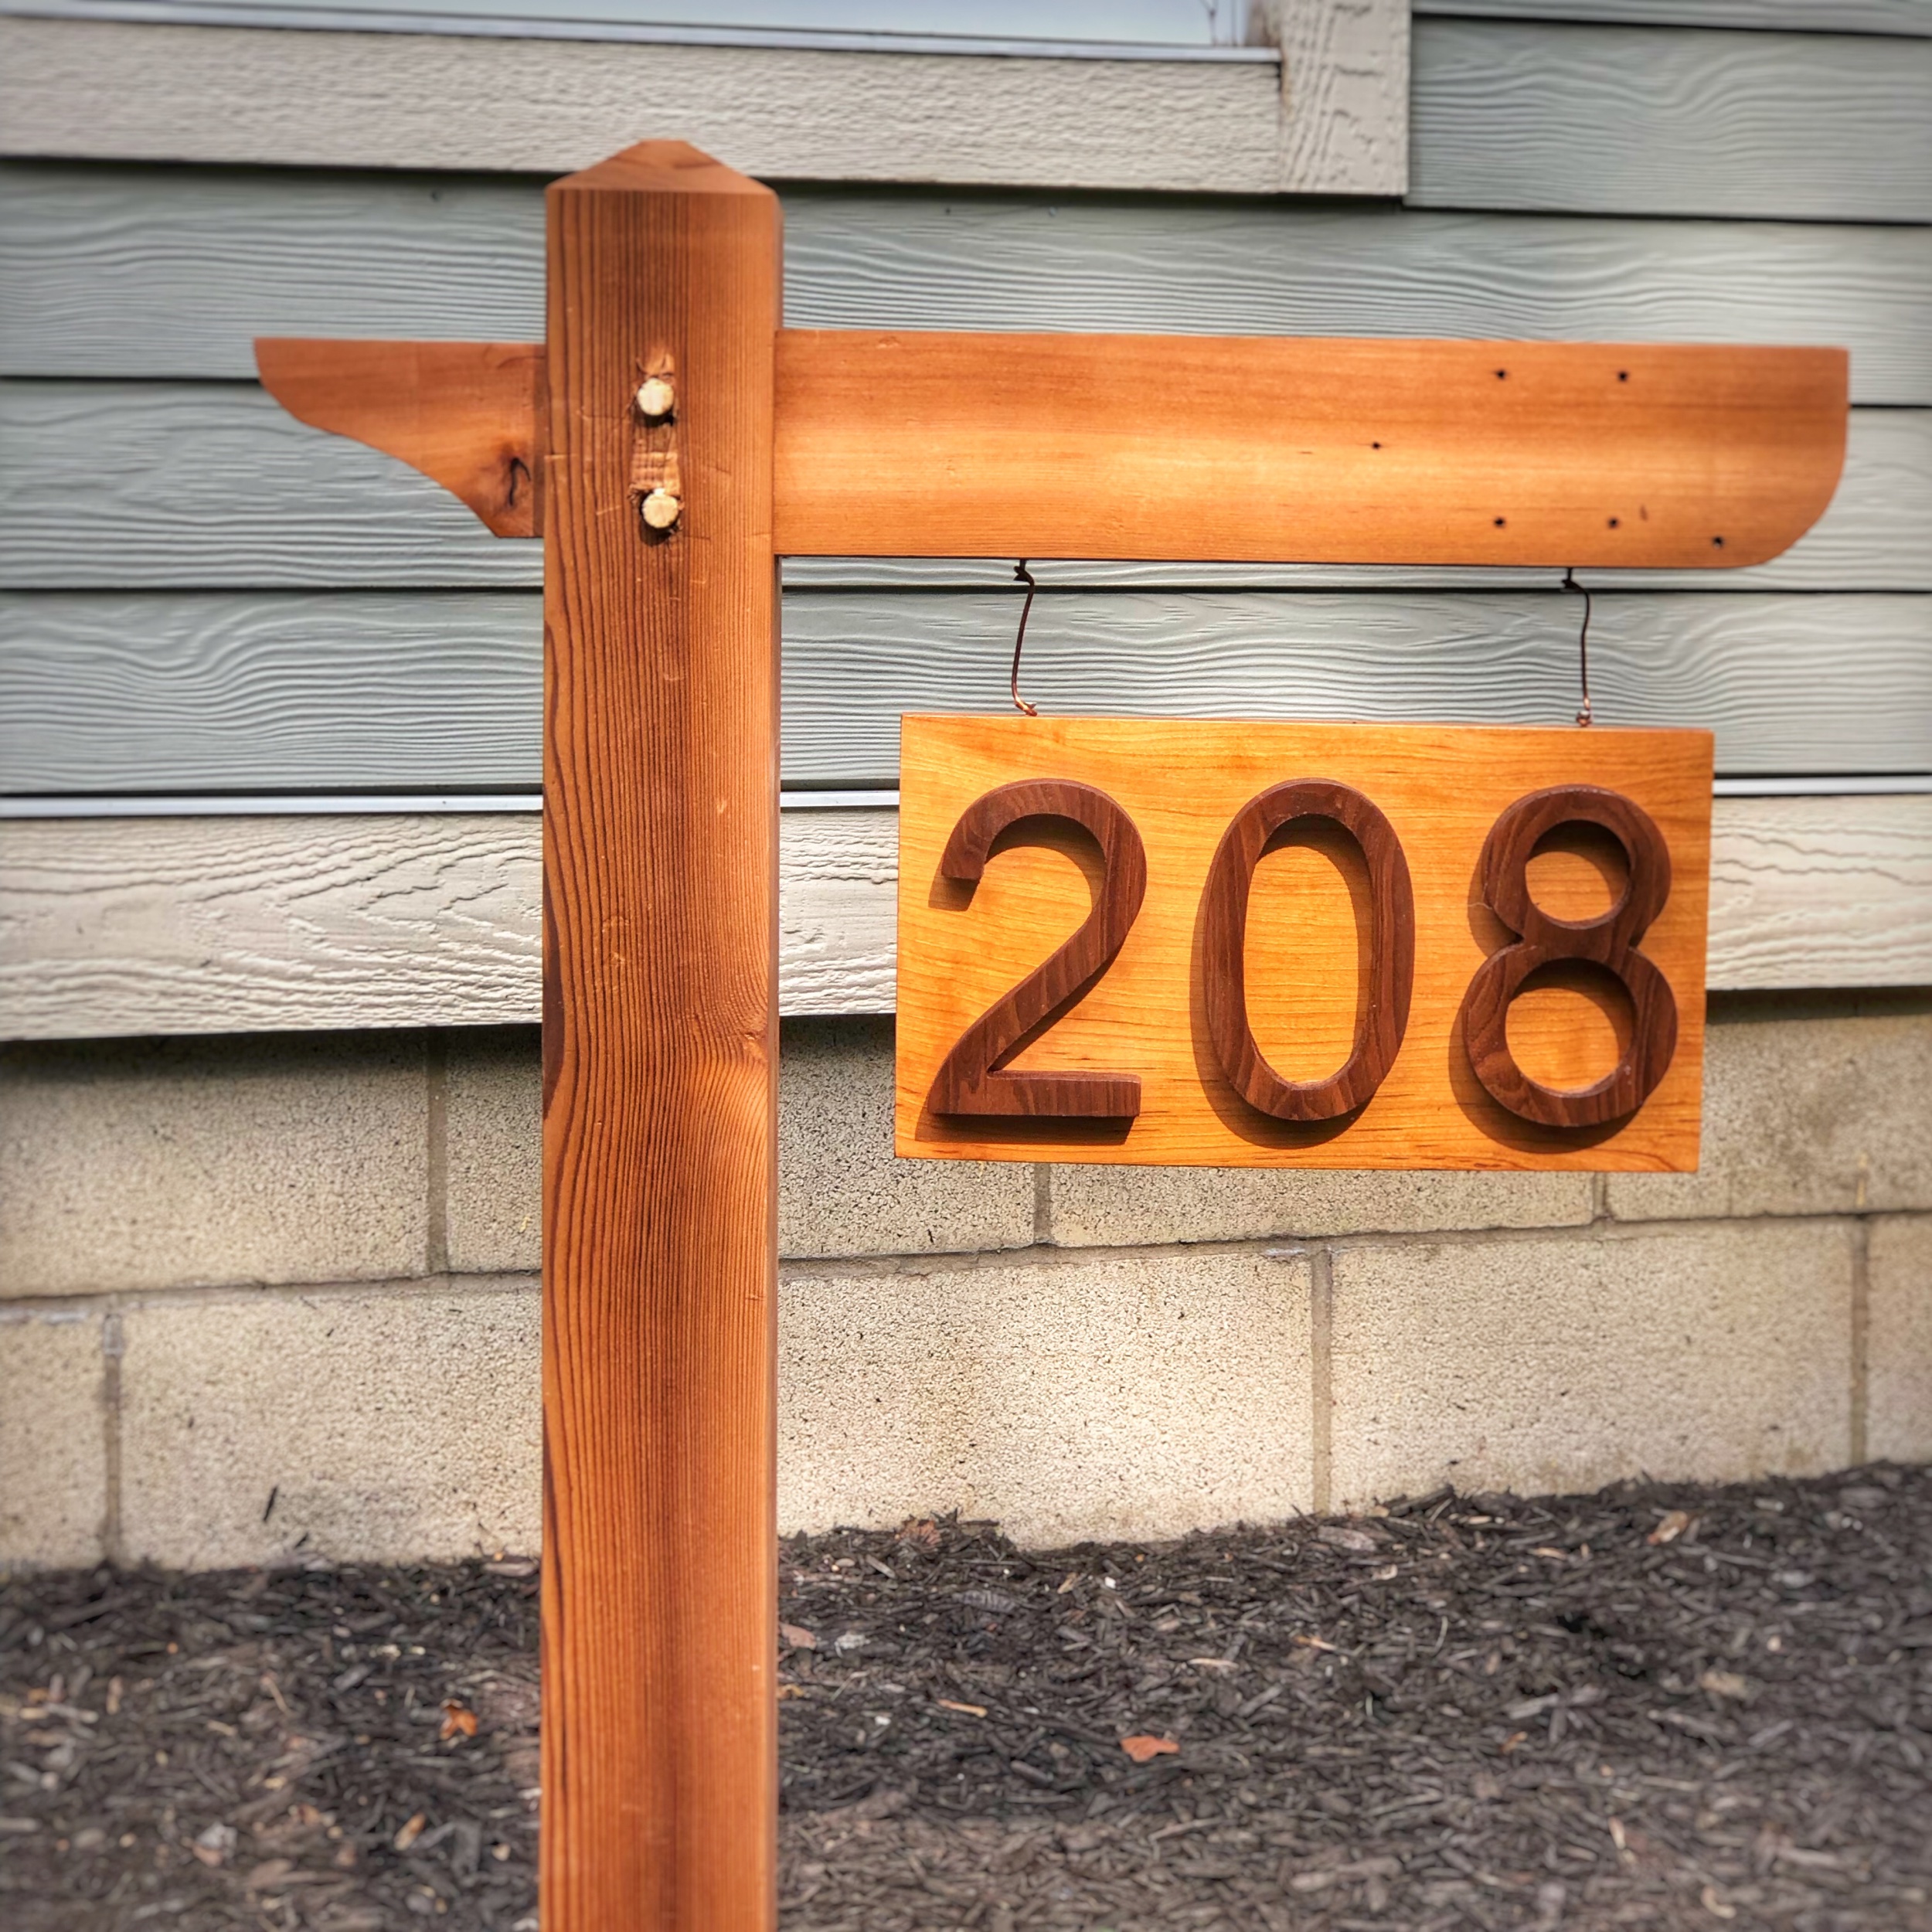
Since the old fence post was western red cedar and I have been wanting to practice traditional joinery I went to work on this simple design. I cut the rotten end off the post, a few trips through the planer, table saw, and band saw later I had pieces resembling something. I made a large mortise and fit the through tenon and secured everything with some dowel. The CNC machine went to work carving numbers out of black walnut and the plaque is made from cherry. Everything got a few coats of spar urethane and I hung the address plaque with some copper wire.

All in all I was very happy with the end result. Instead of digging a deep post hole I used a spike the post sits if we ever decided to move the post.

If you are interested in your own post and beam address sign contact us today.

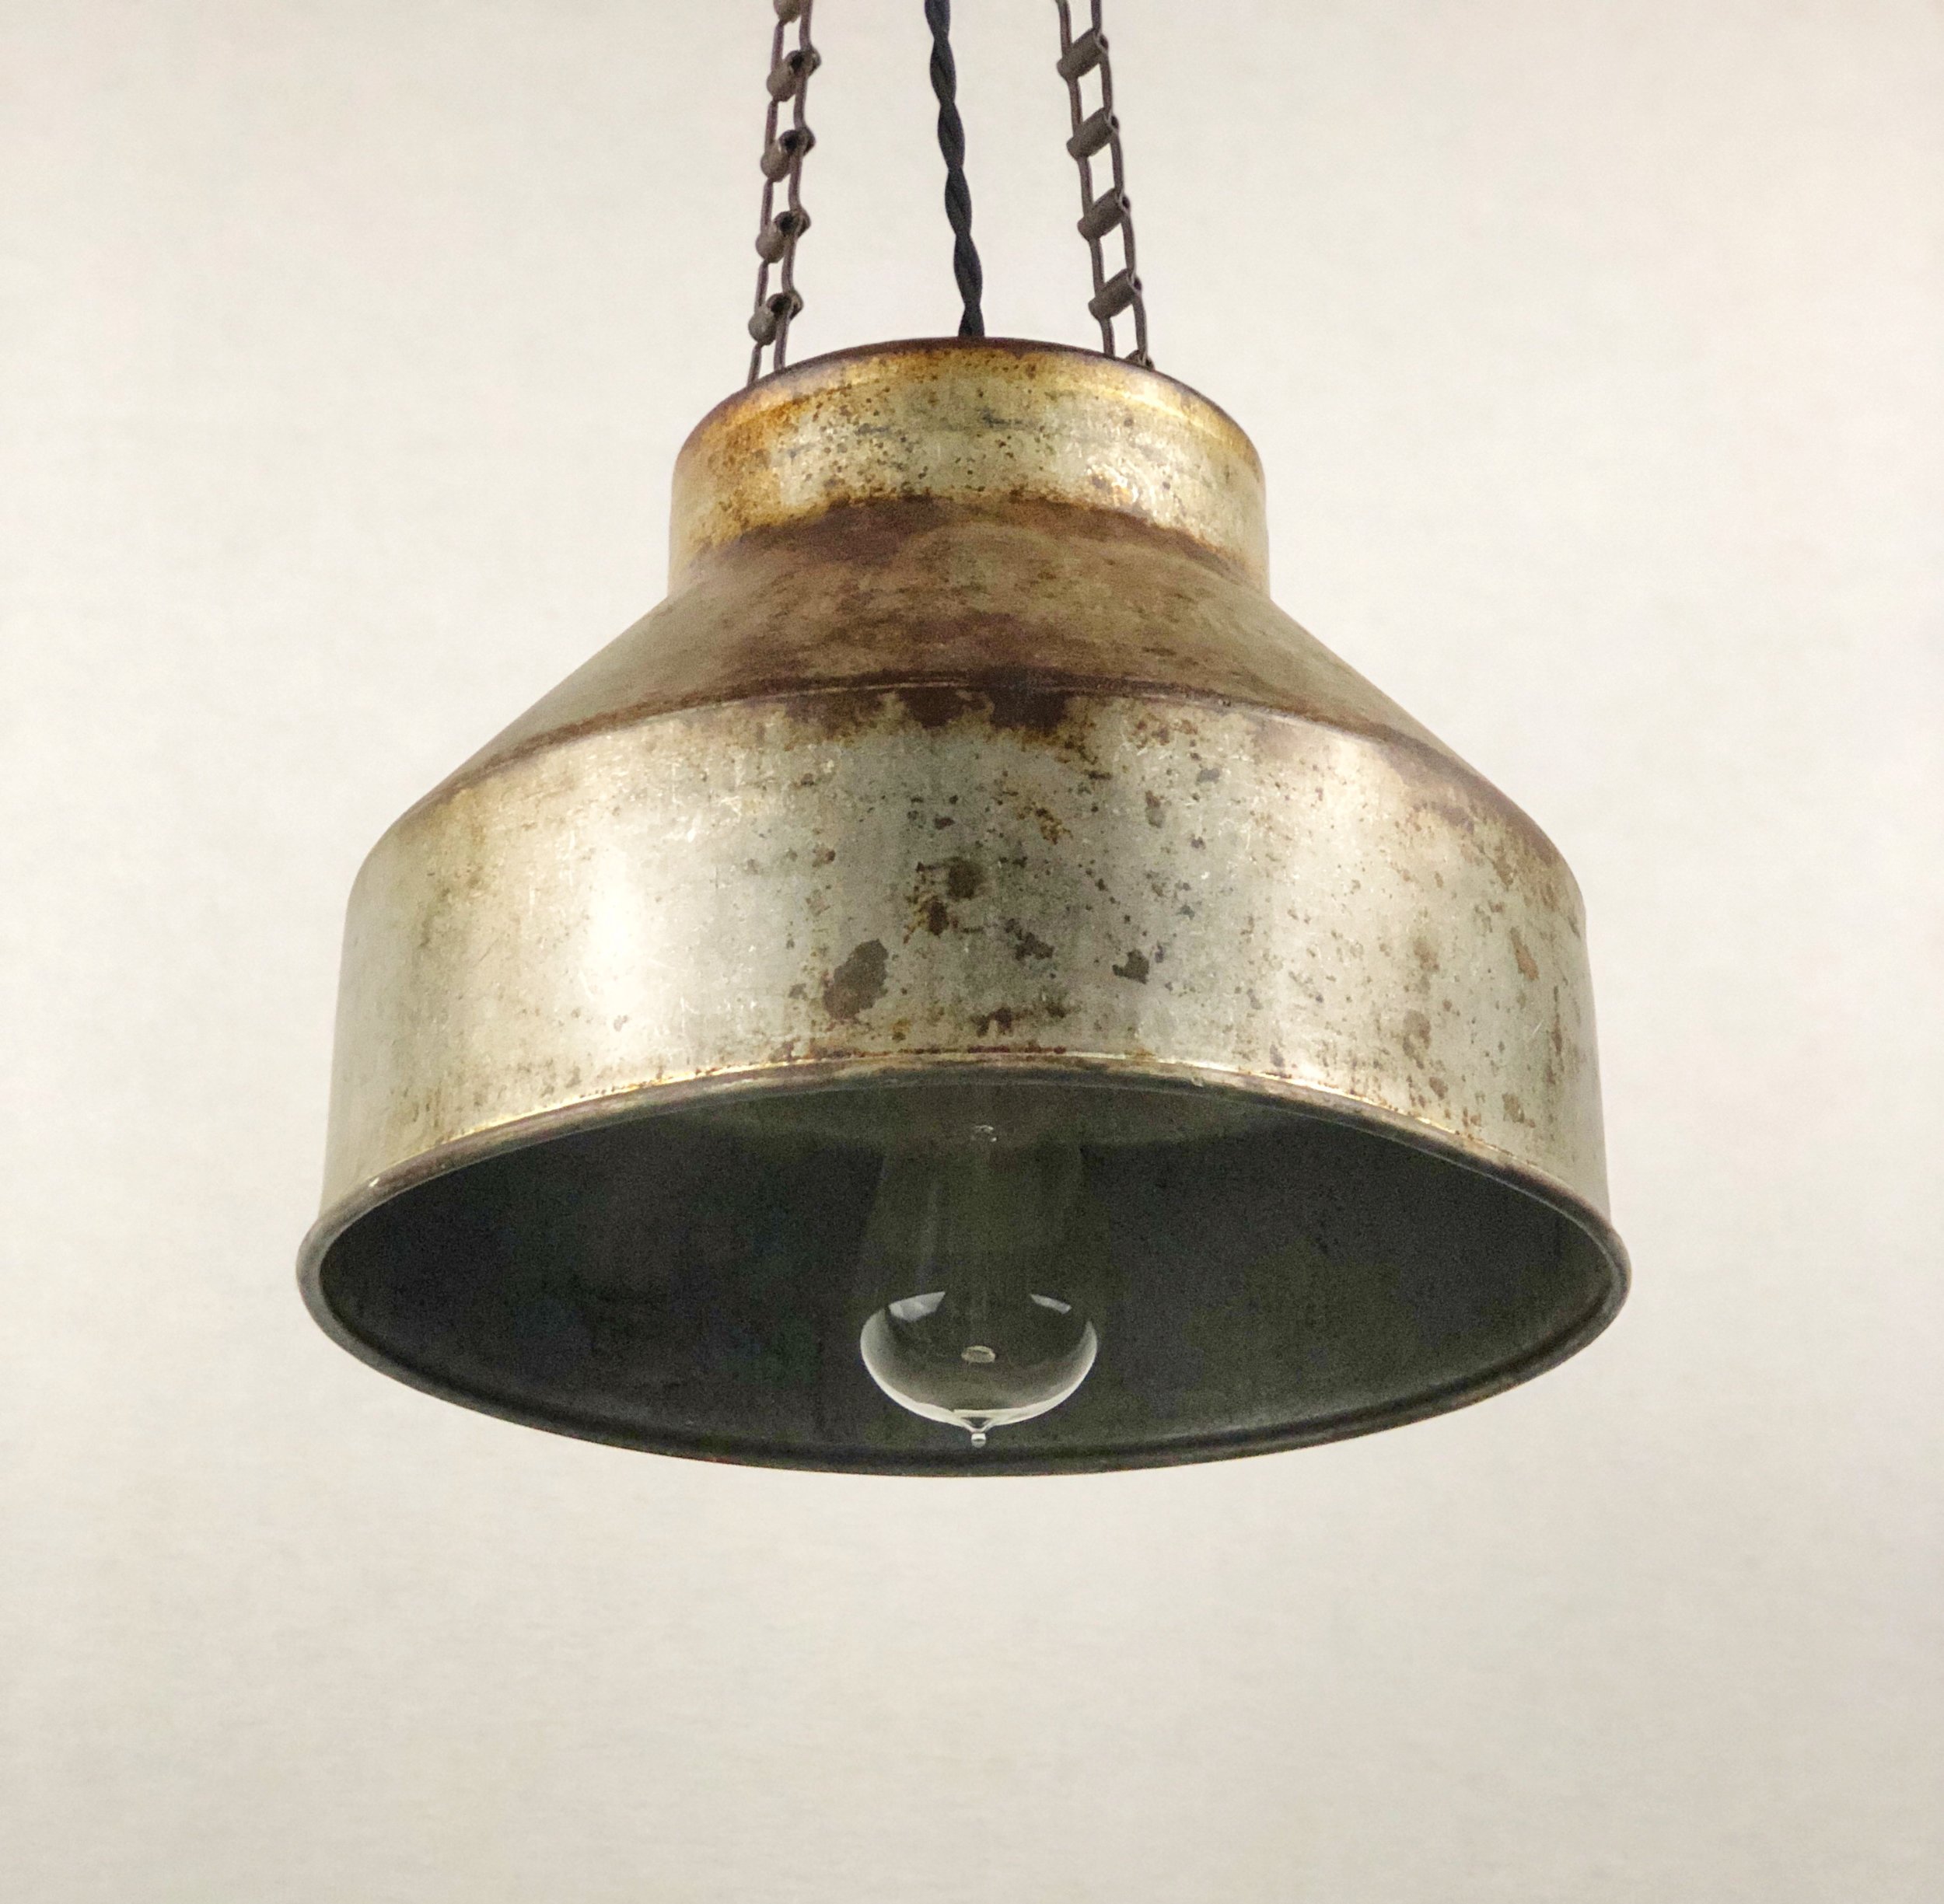
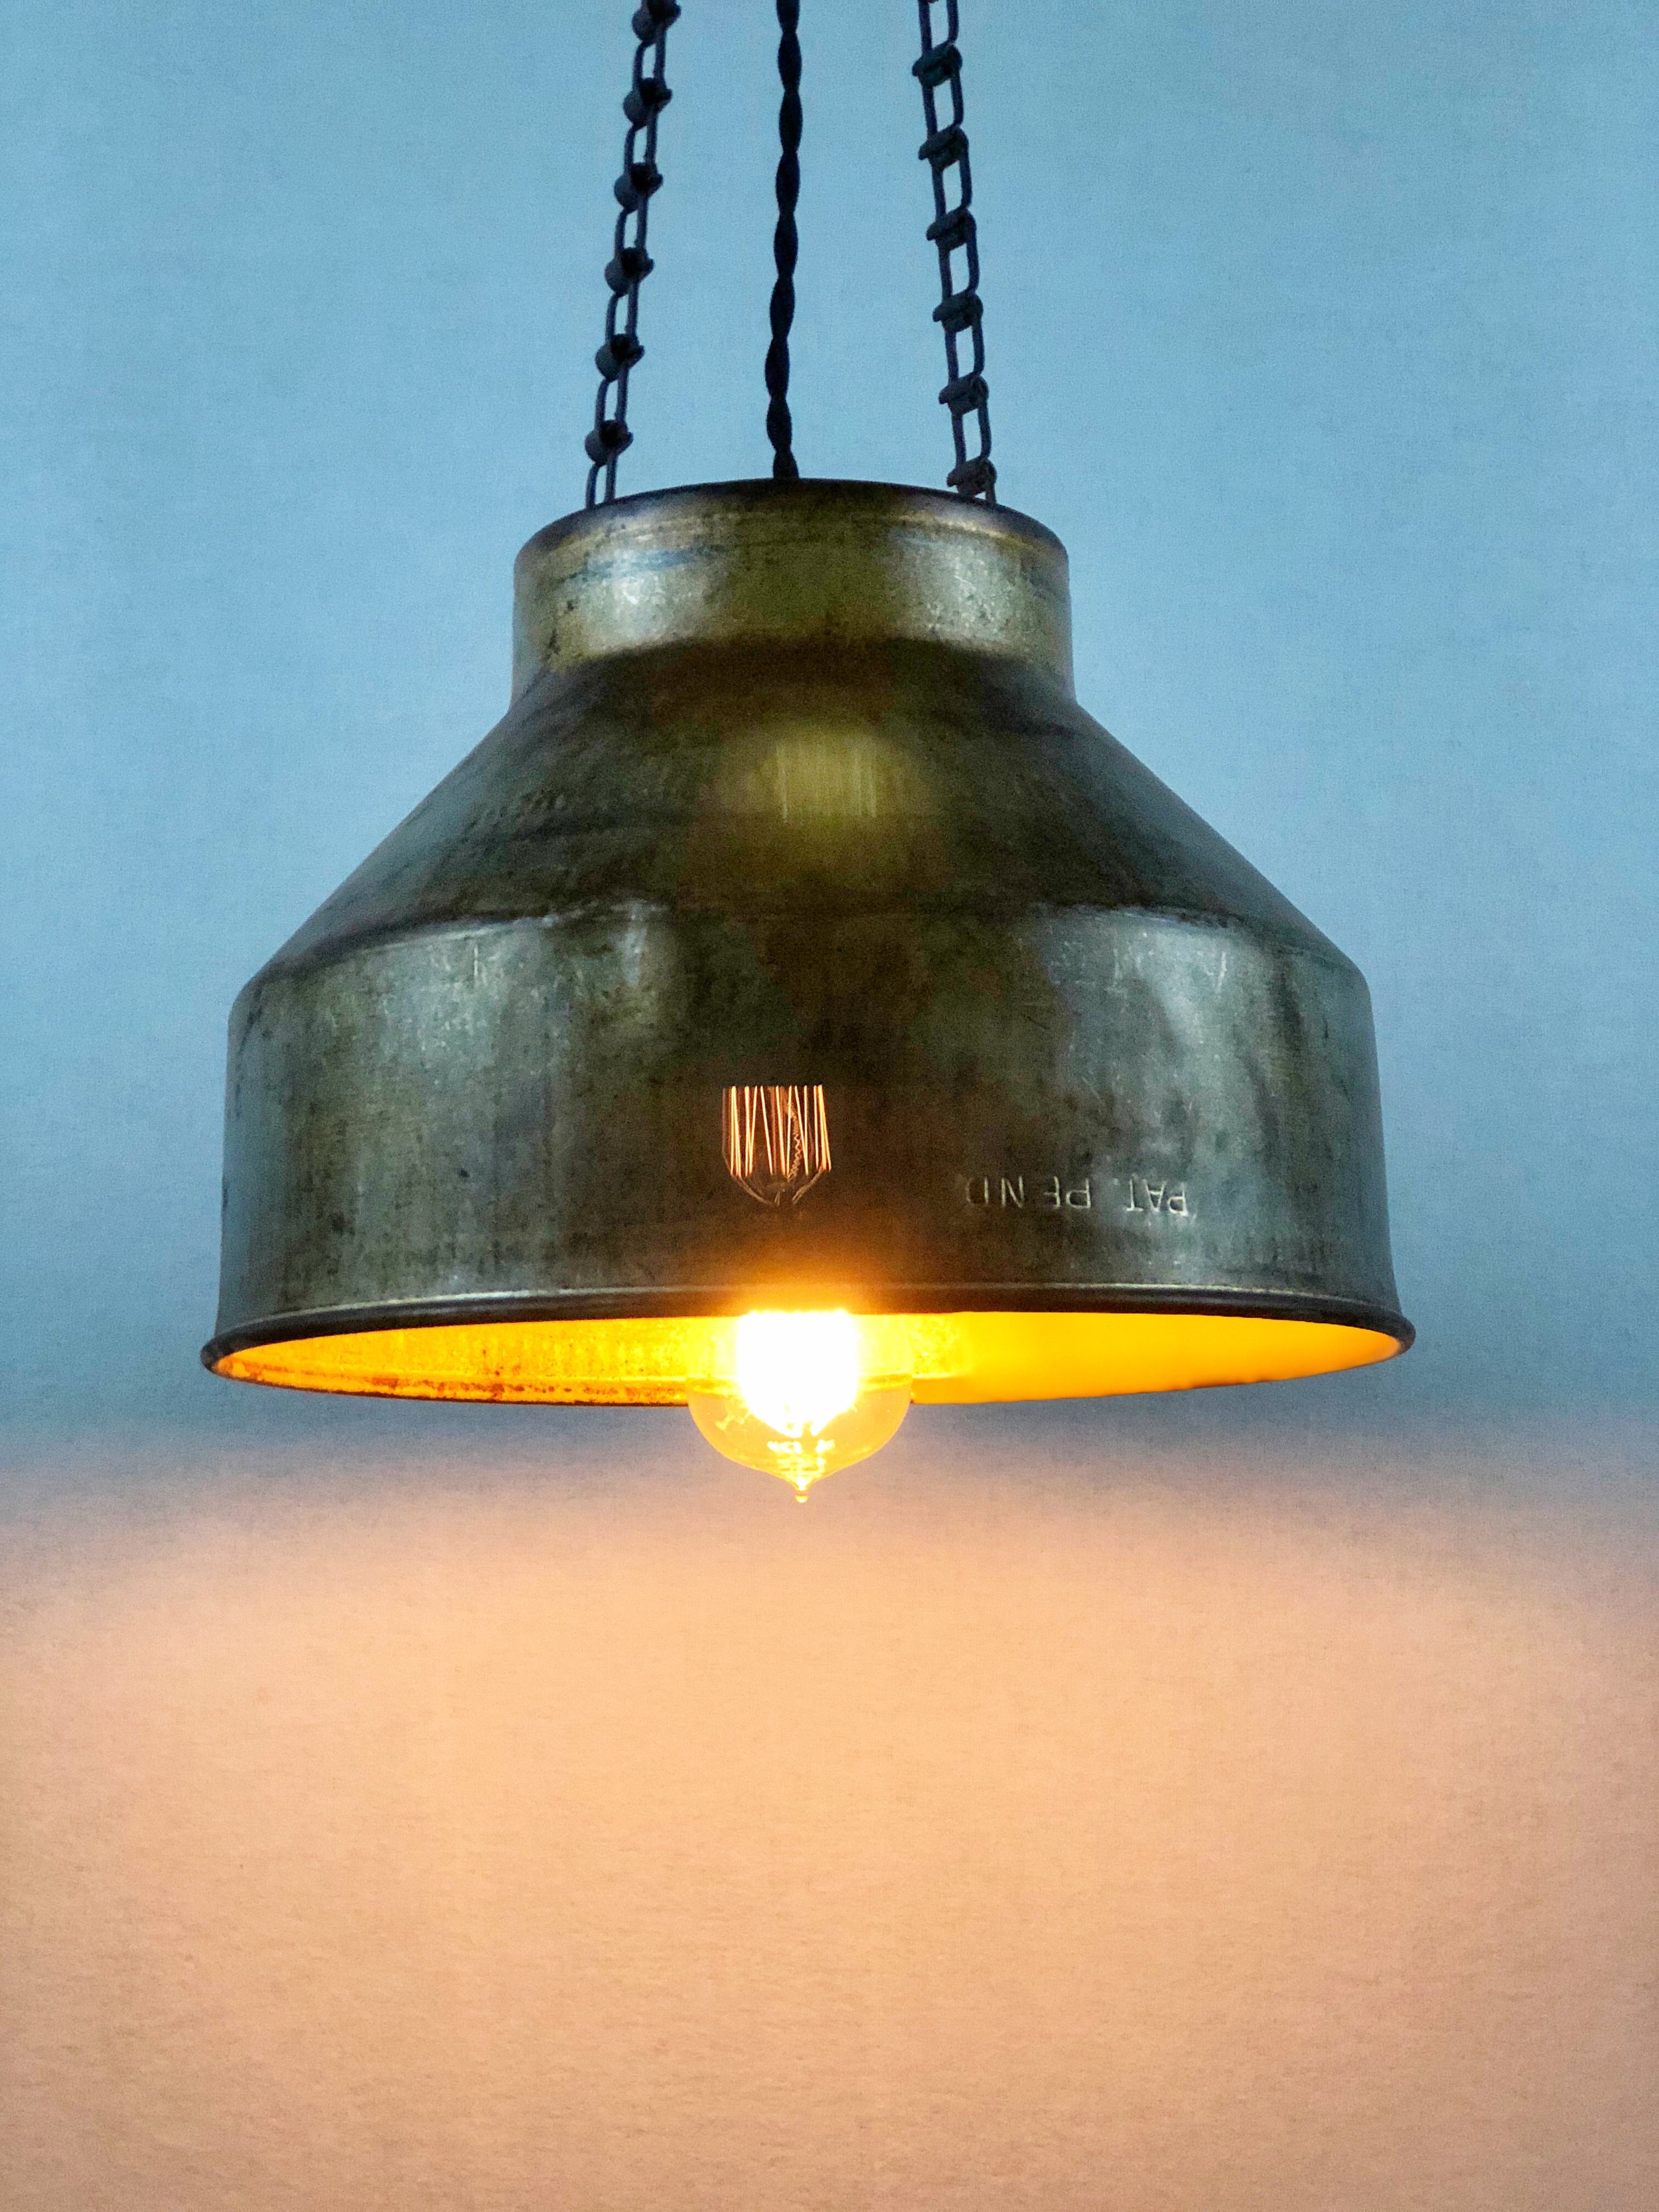
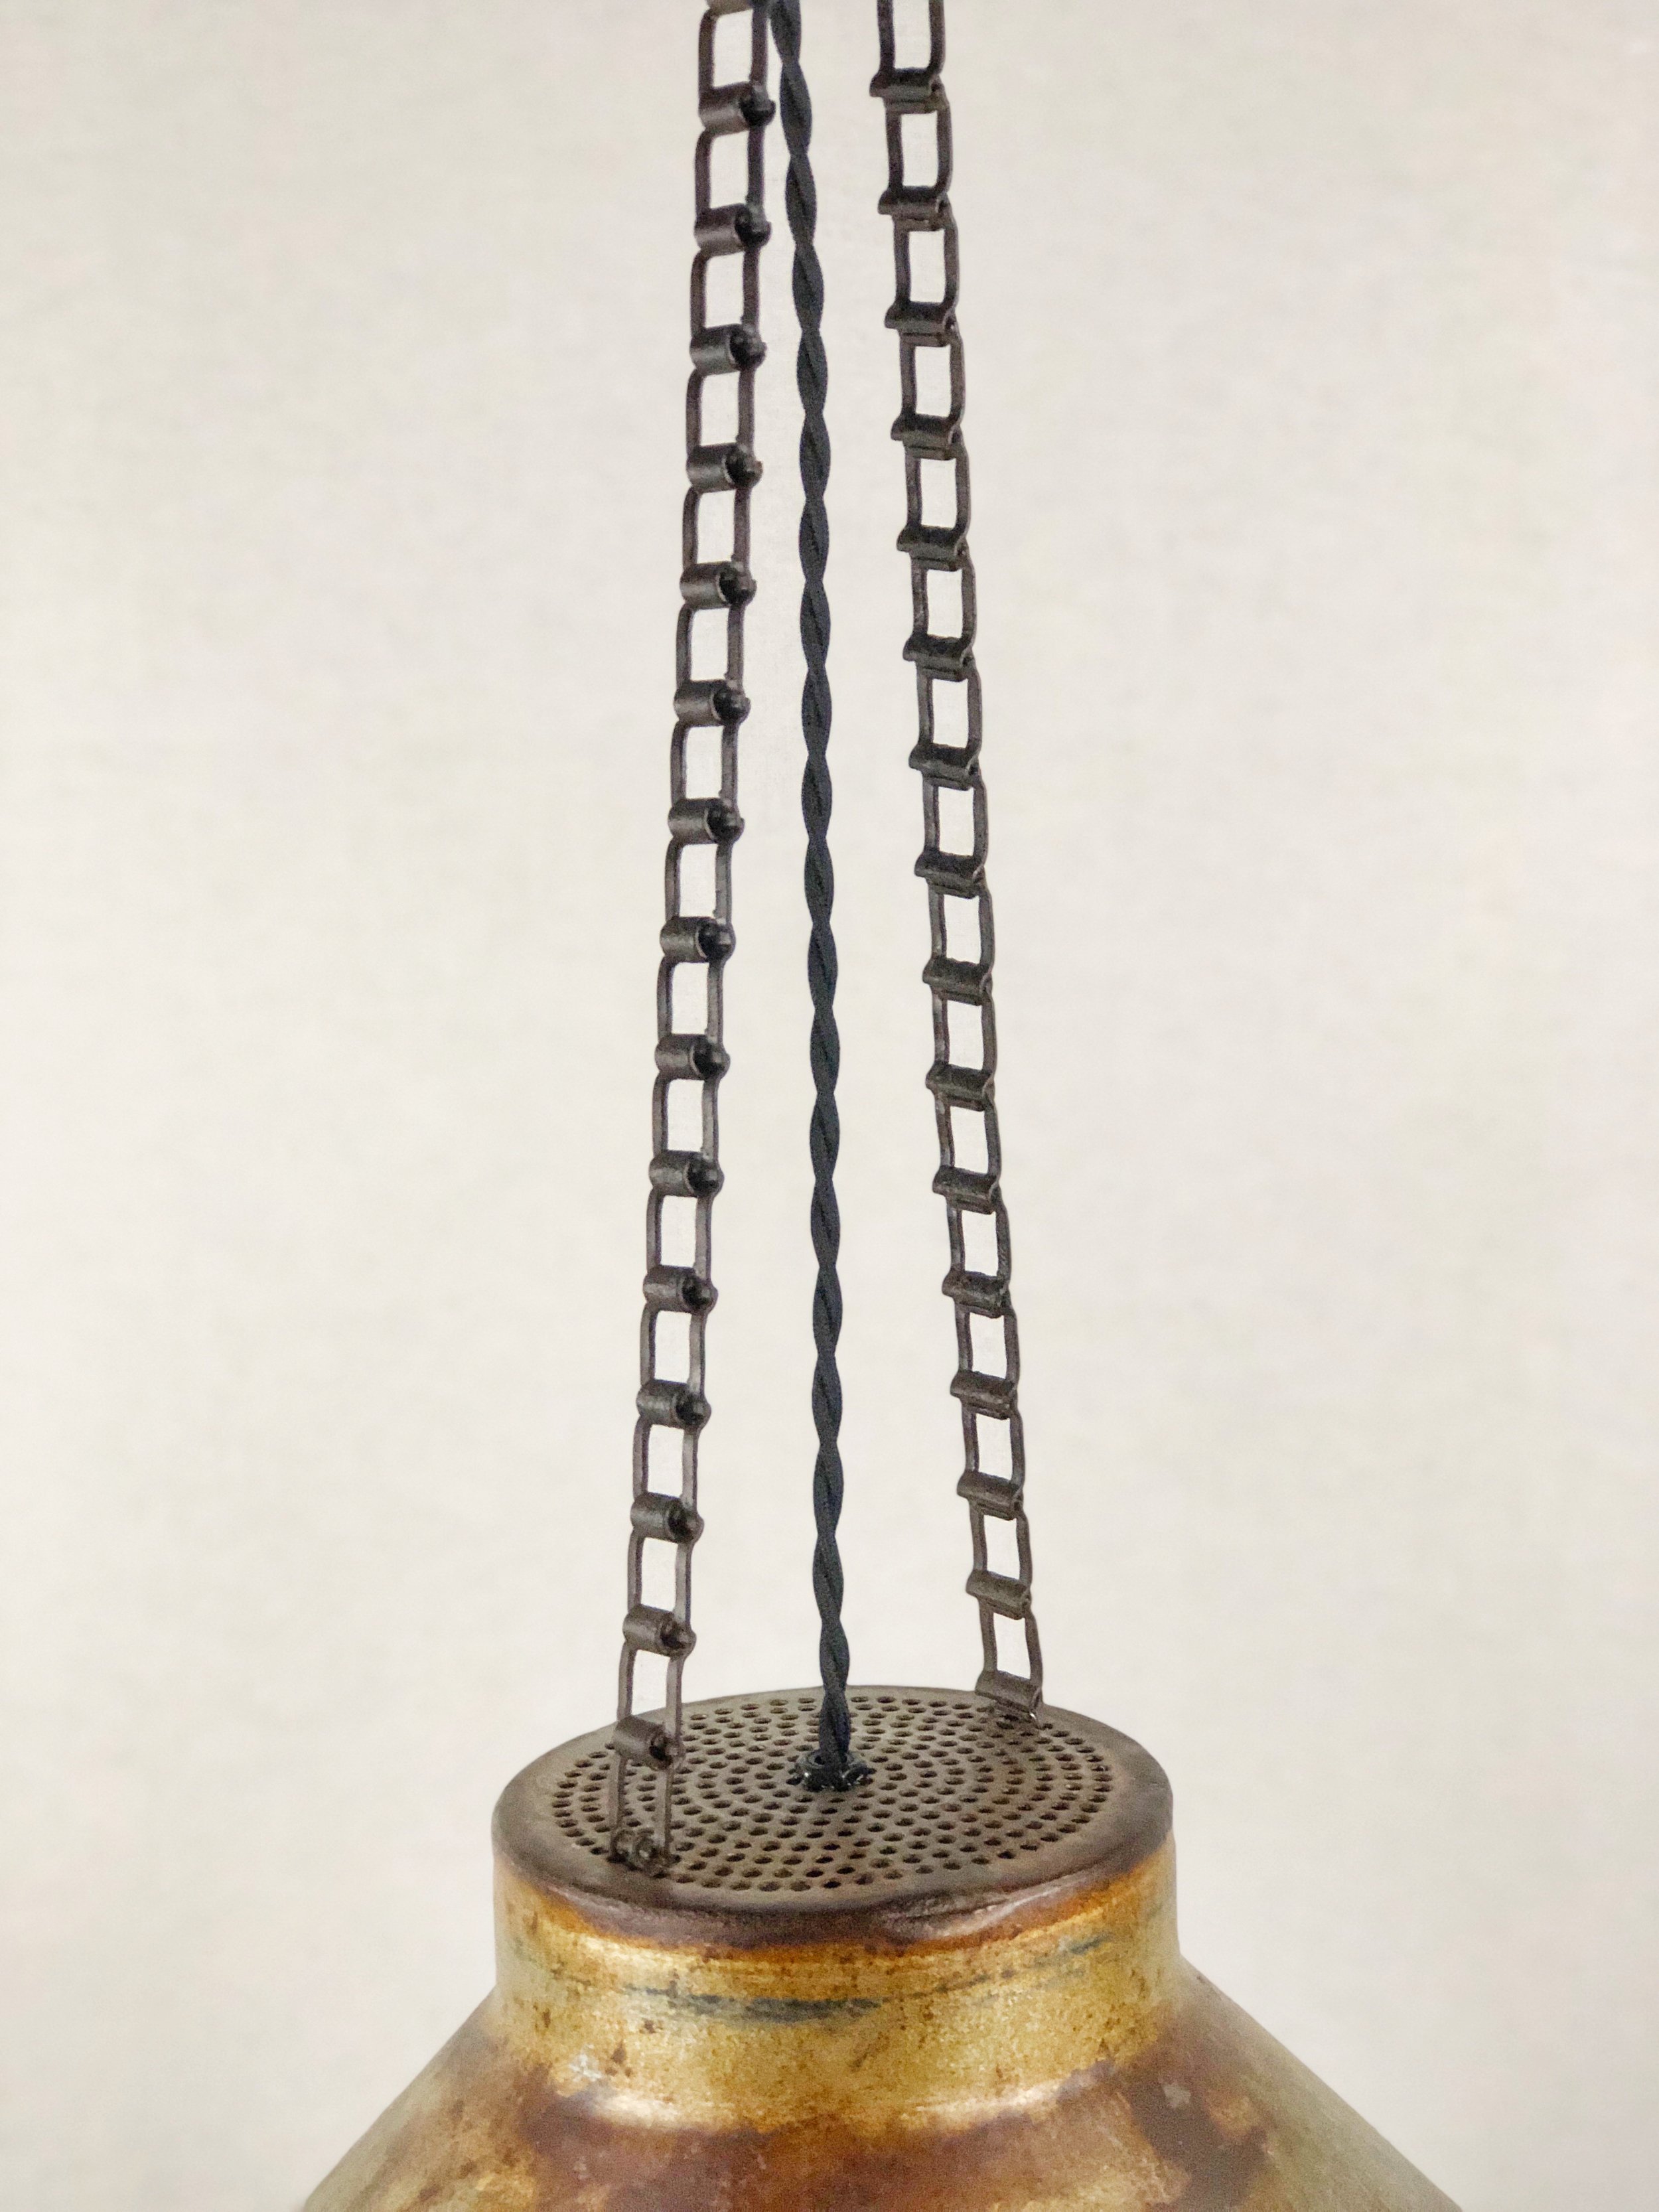
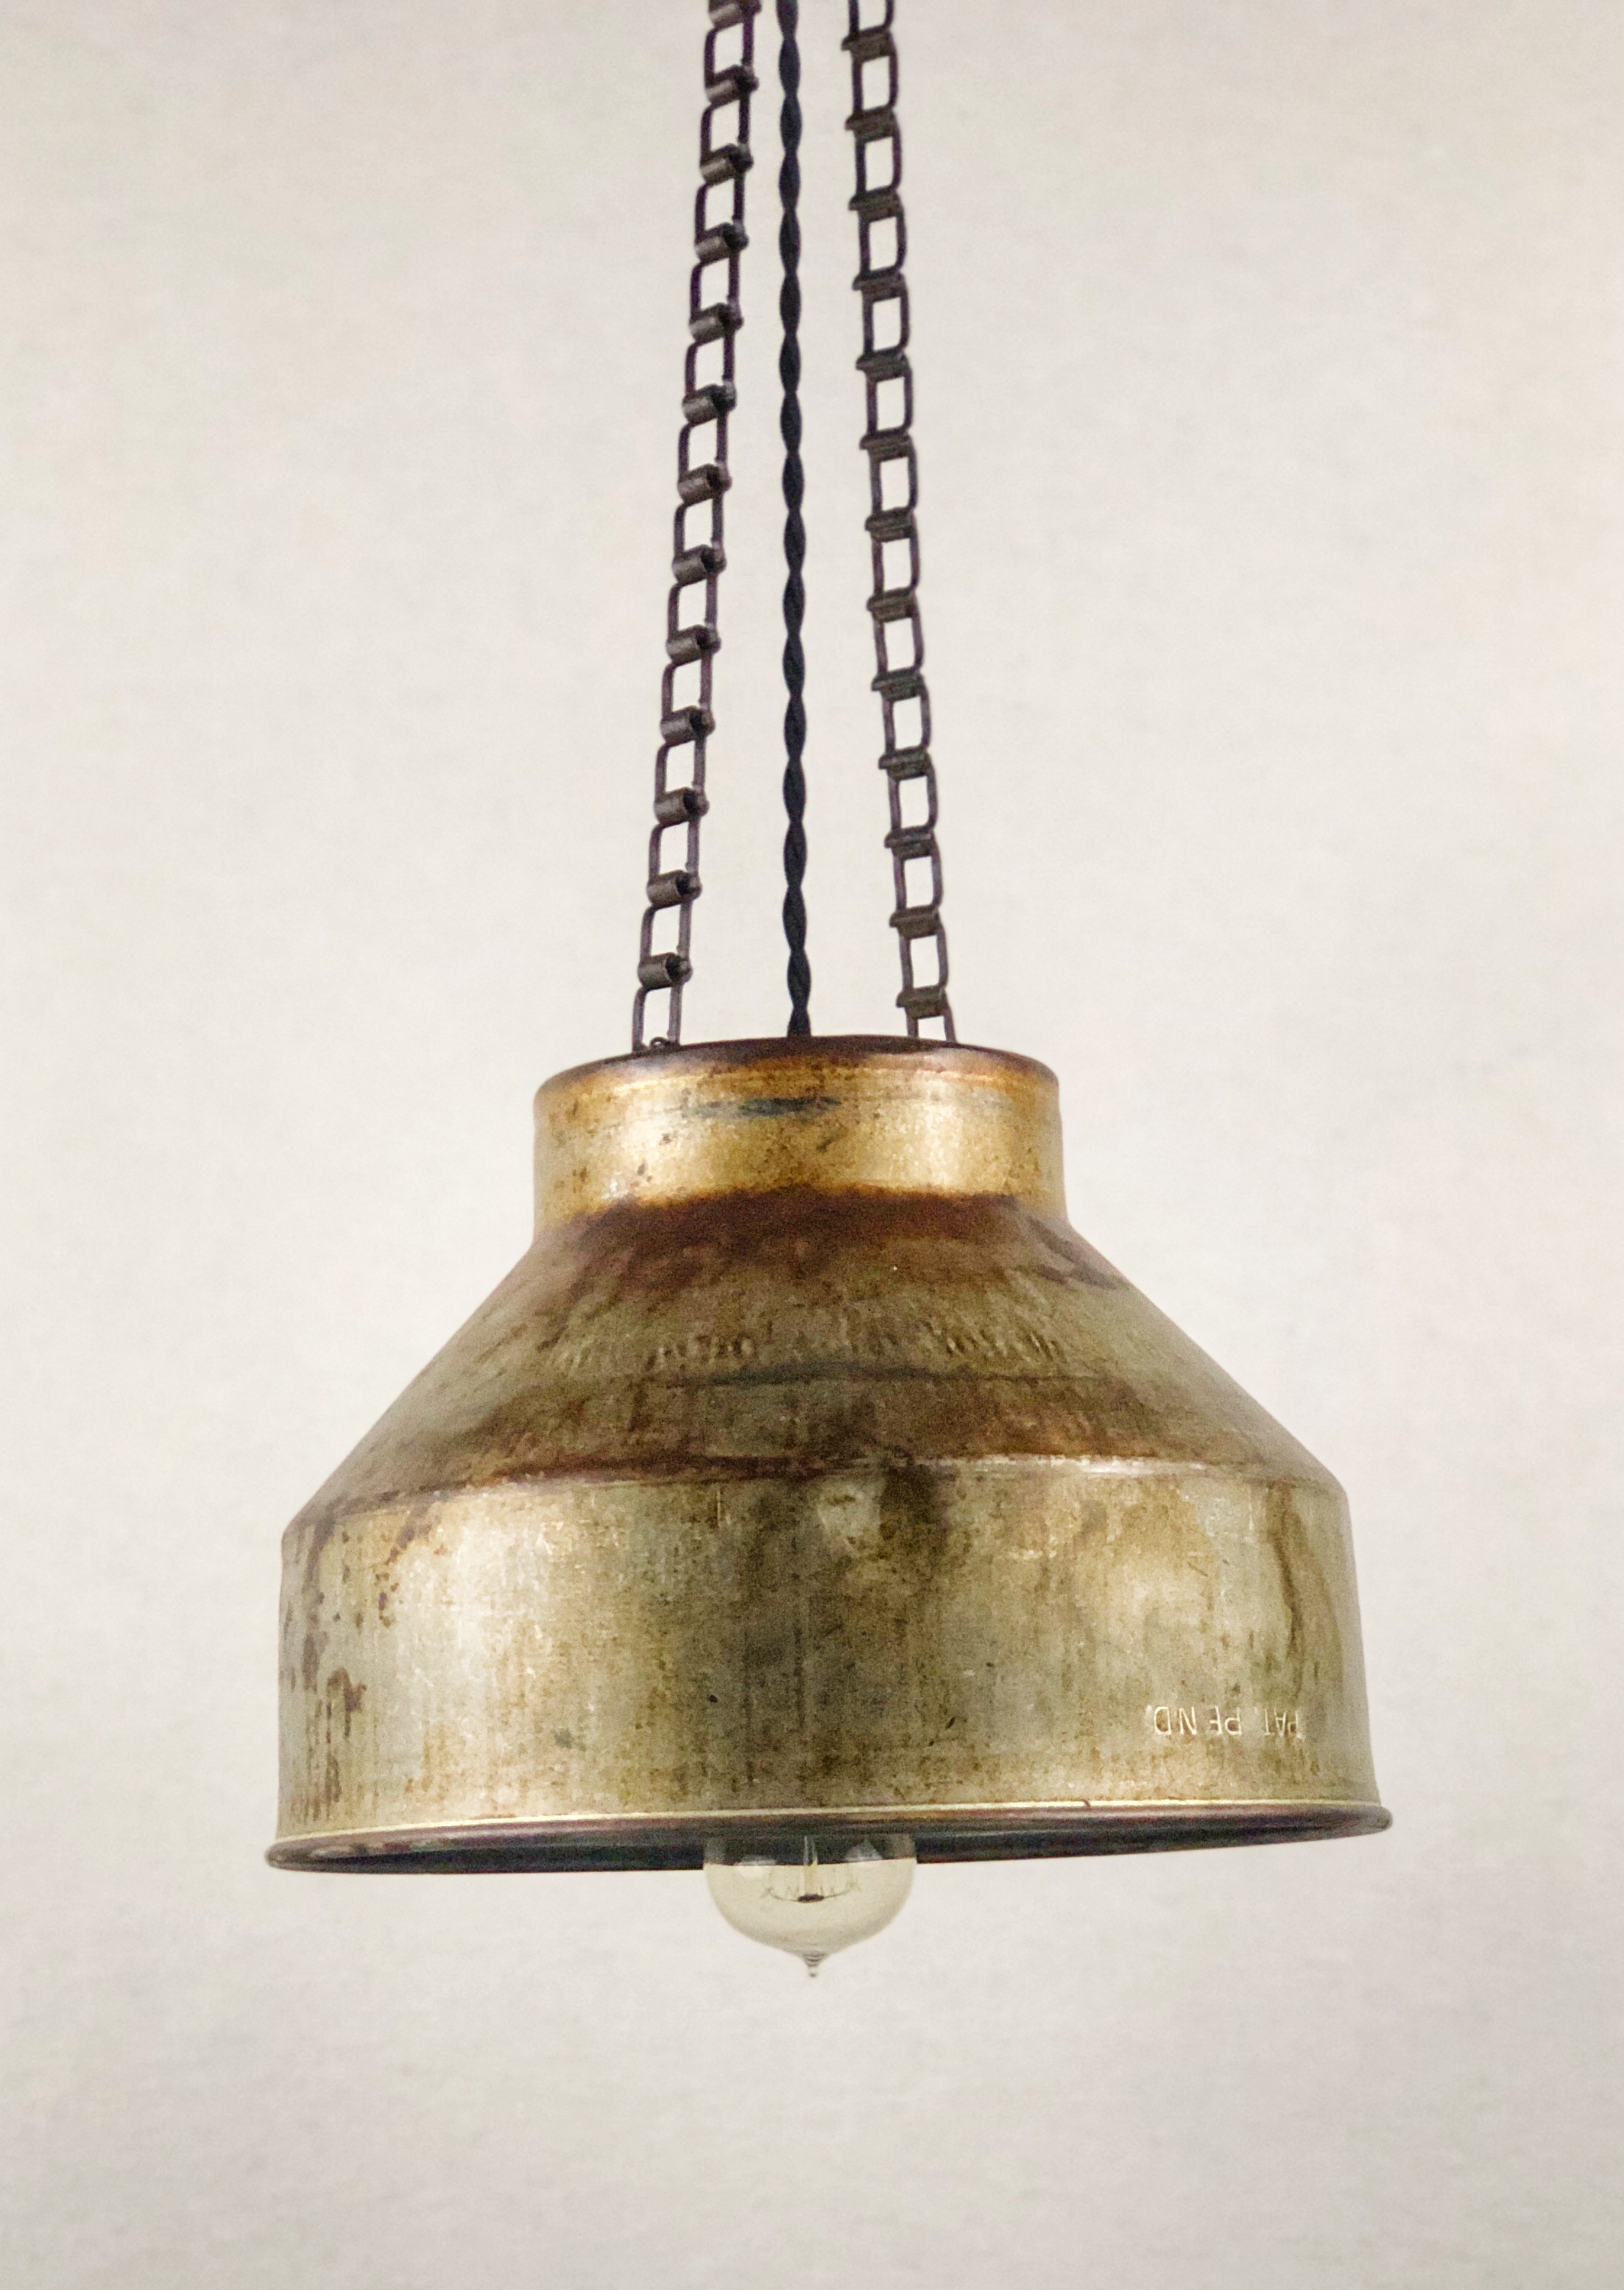
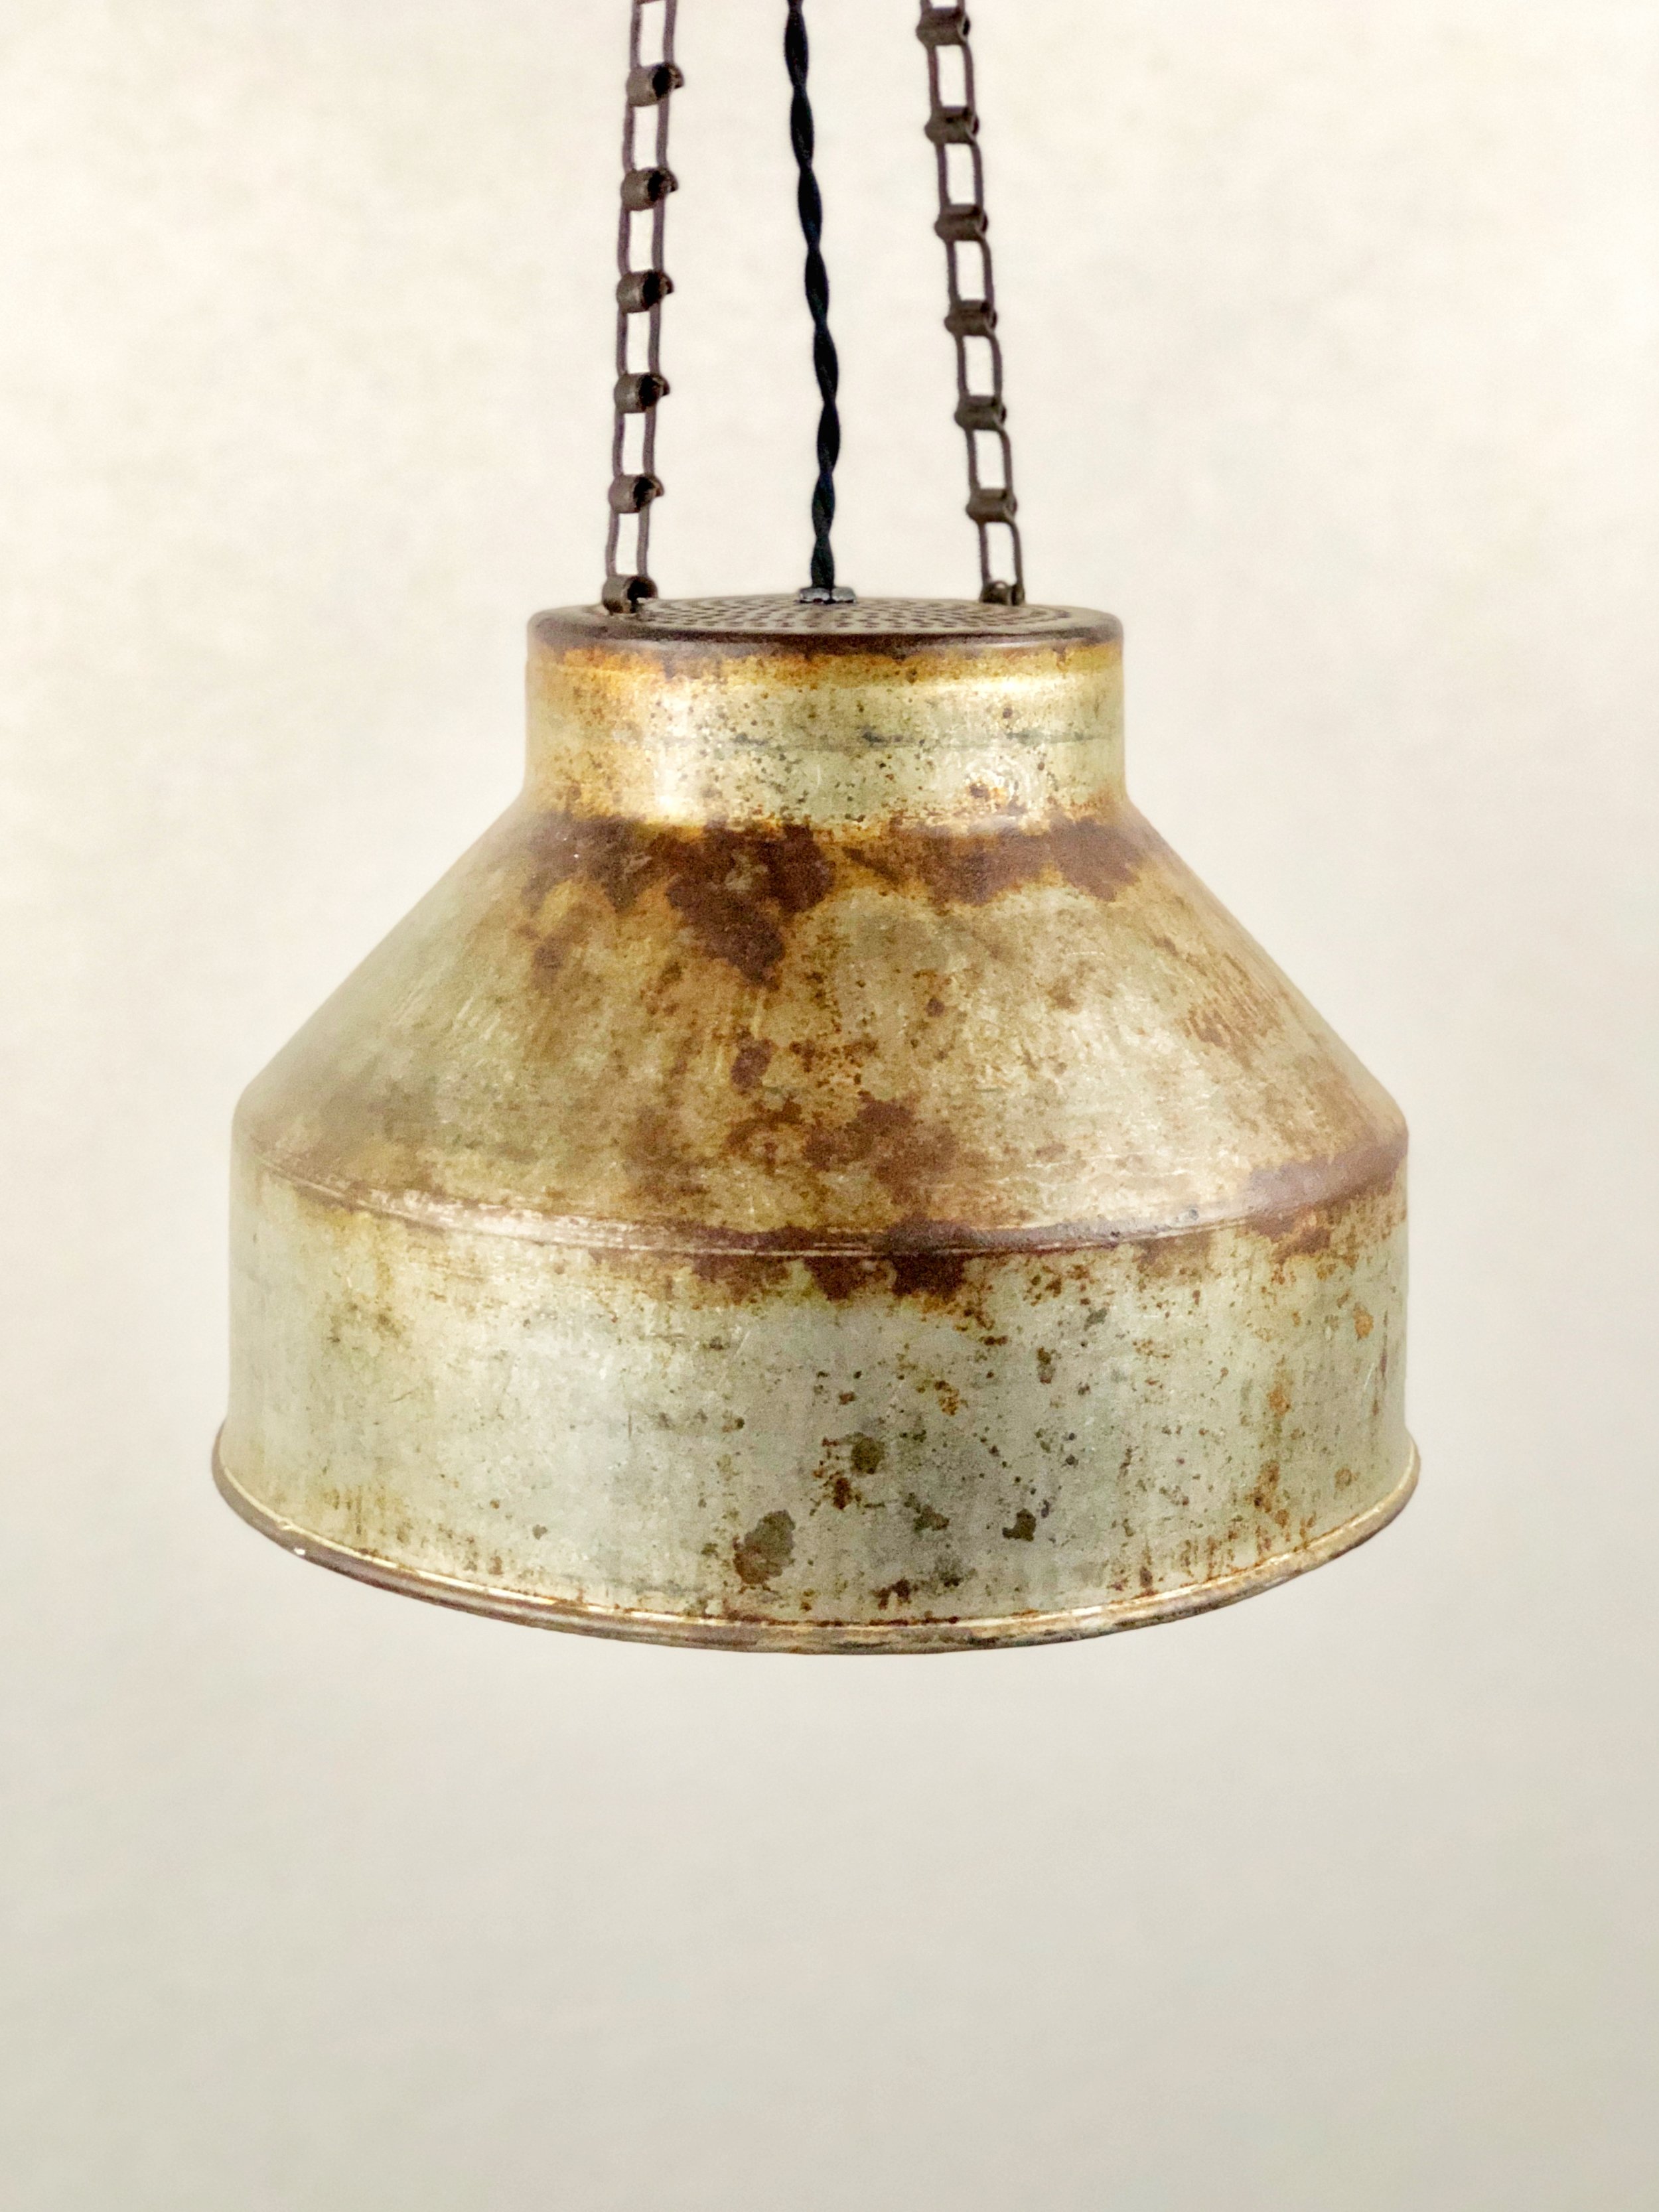
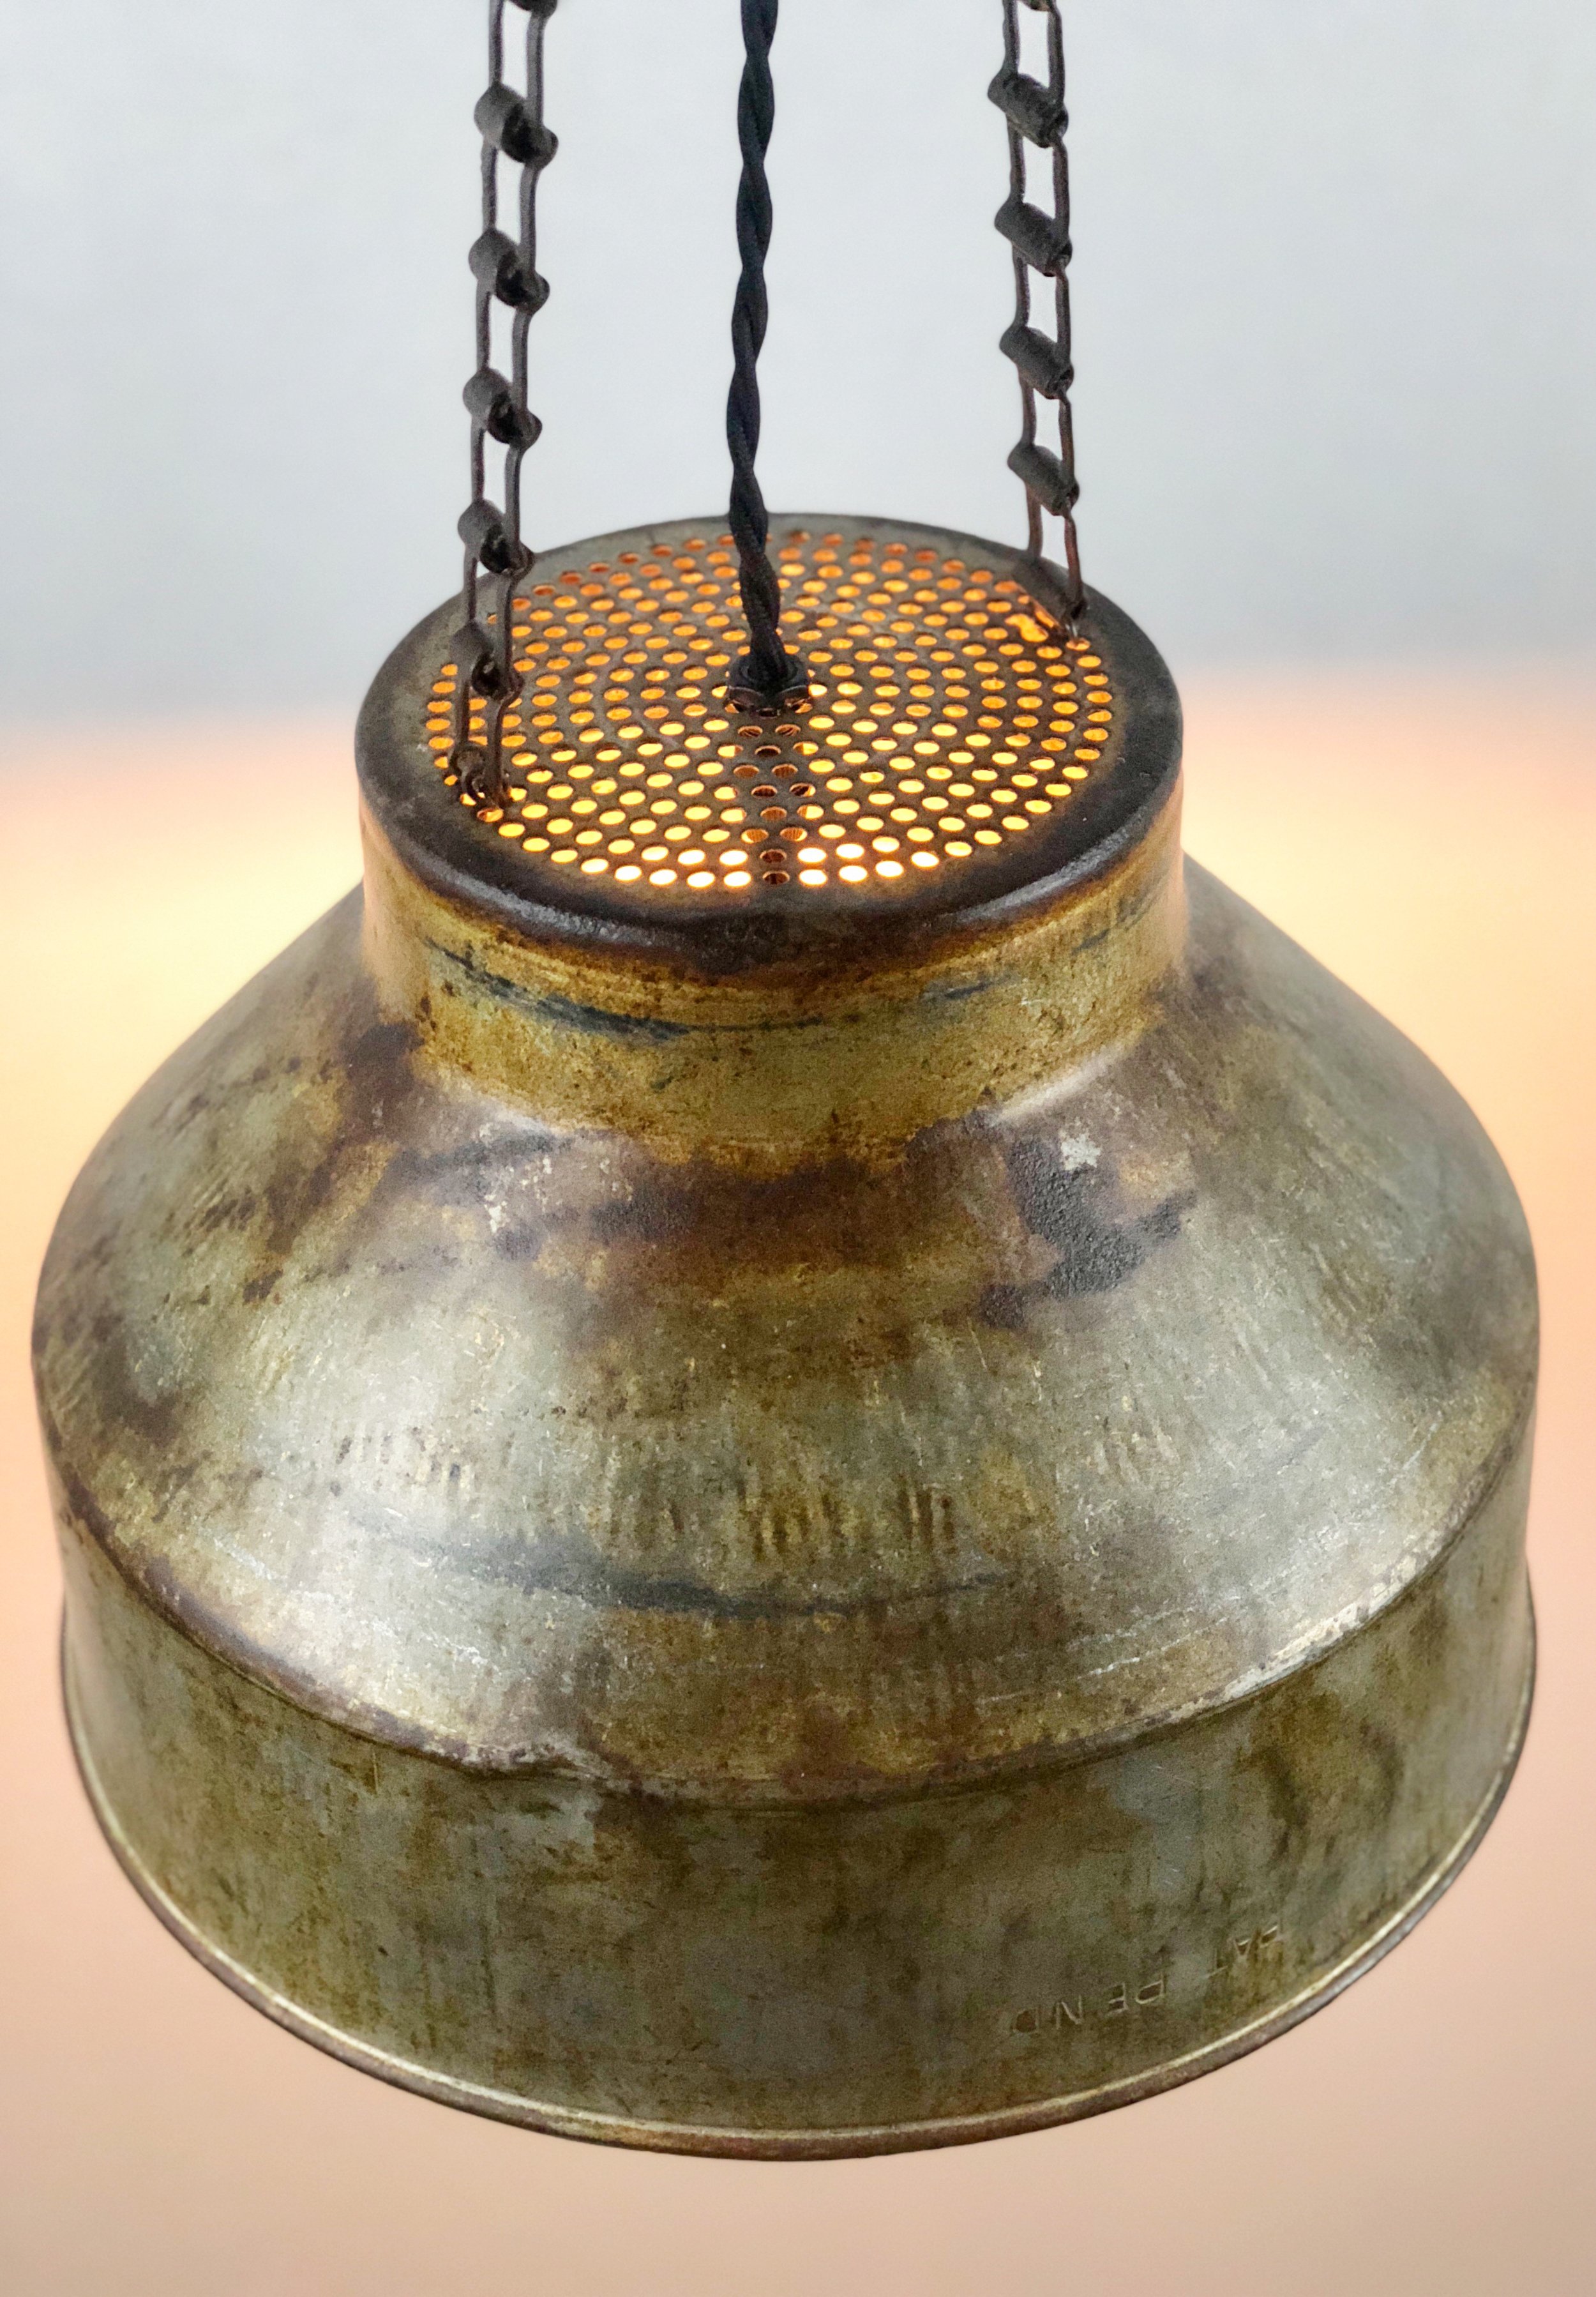
Vintage Milk Strainer Pendant Light

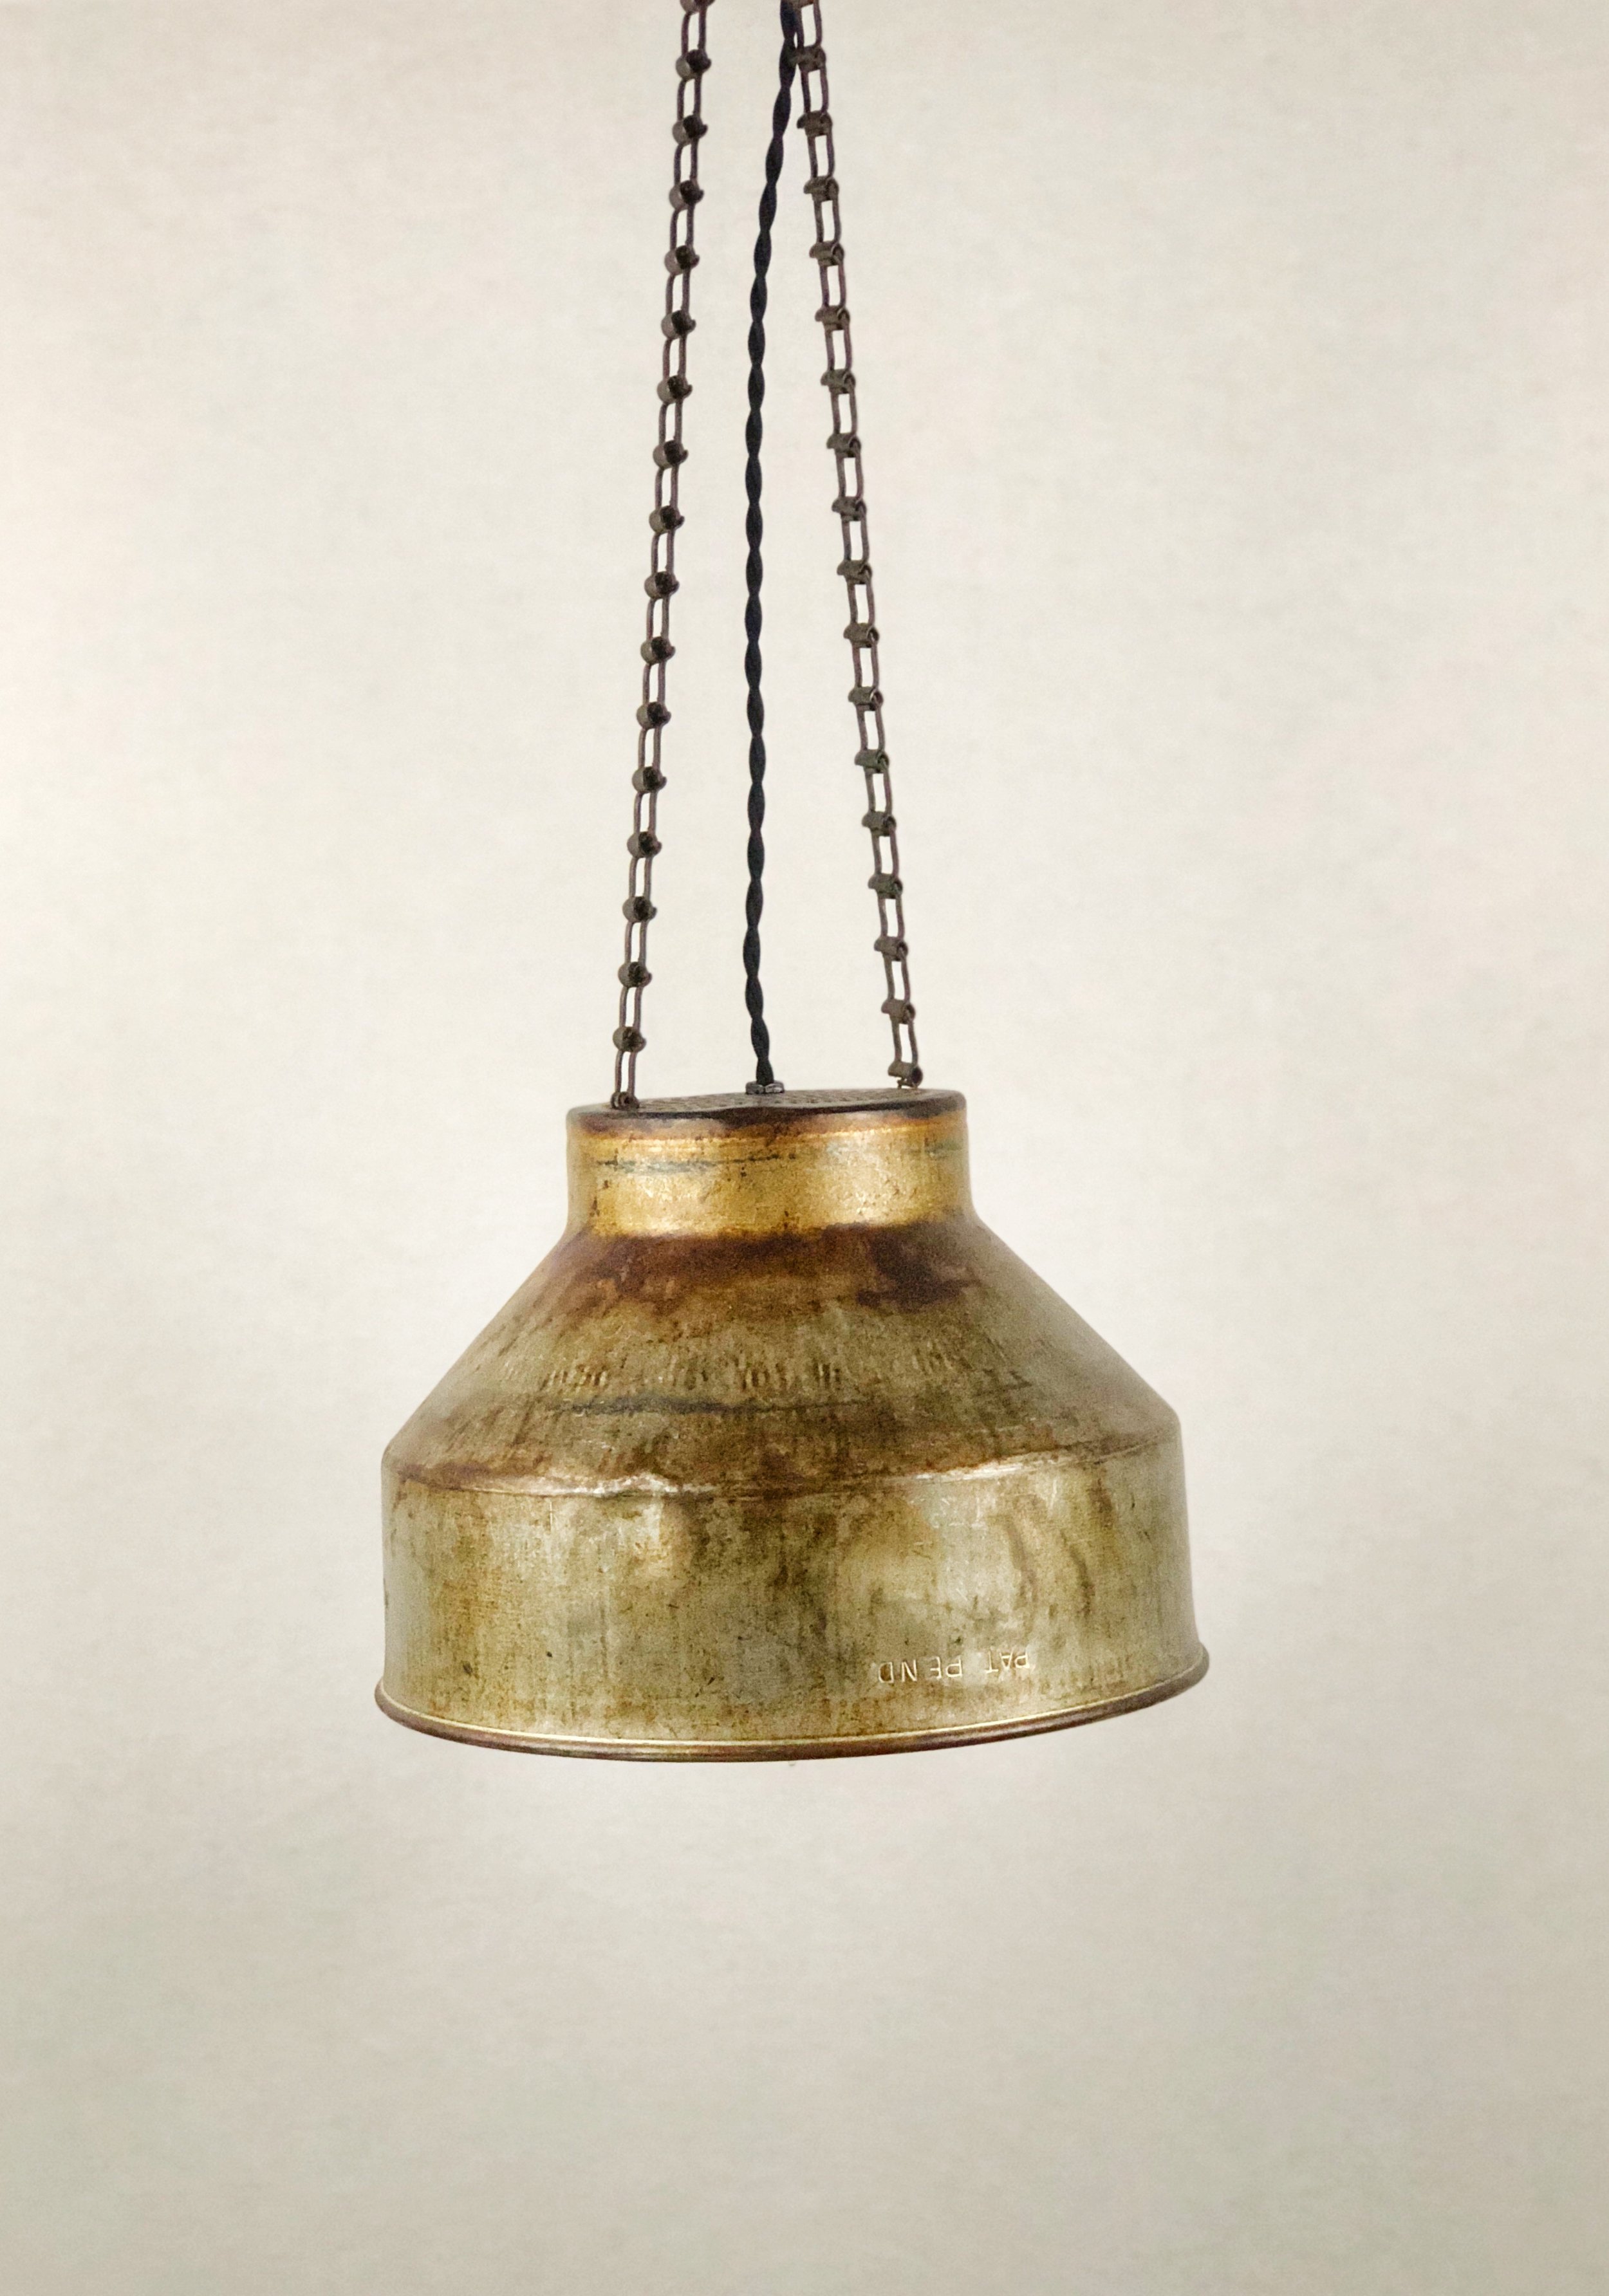
This is another piece we found from our friends Pat and Linda (P&L Rusty Iron). After a recent trip out west they invited us over to show us what they found. This old milk strainer was sitting out in front of the barn.

Immediately after seeing it I knew it would make a perfect pendant light. There was a beautiful rusty patina that would just glow with an Edison bulb. The next problem would be how to hang the light. Alongside the barn there was some old chain hanging. Pat told me it was old farm equipment chain and the milk strainer and chain made for a perfect combination.

After bringing the parts home I went to work creating this pendant light from the pieces we found. This light would look amazing hanging in a farmhouse kitchen, or in a restaurant.

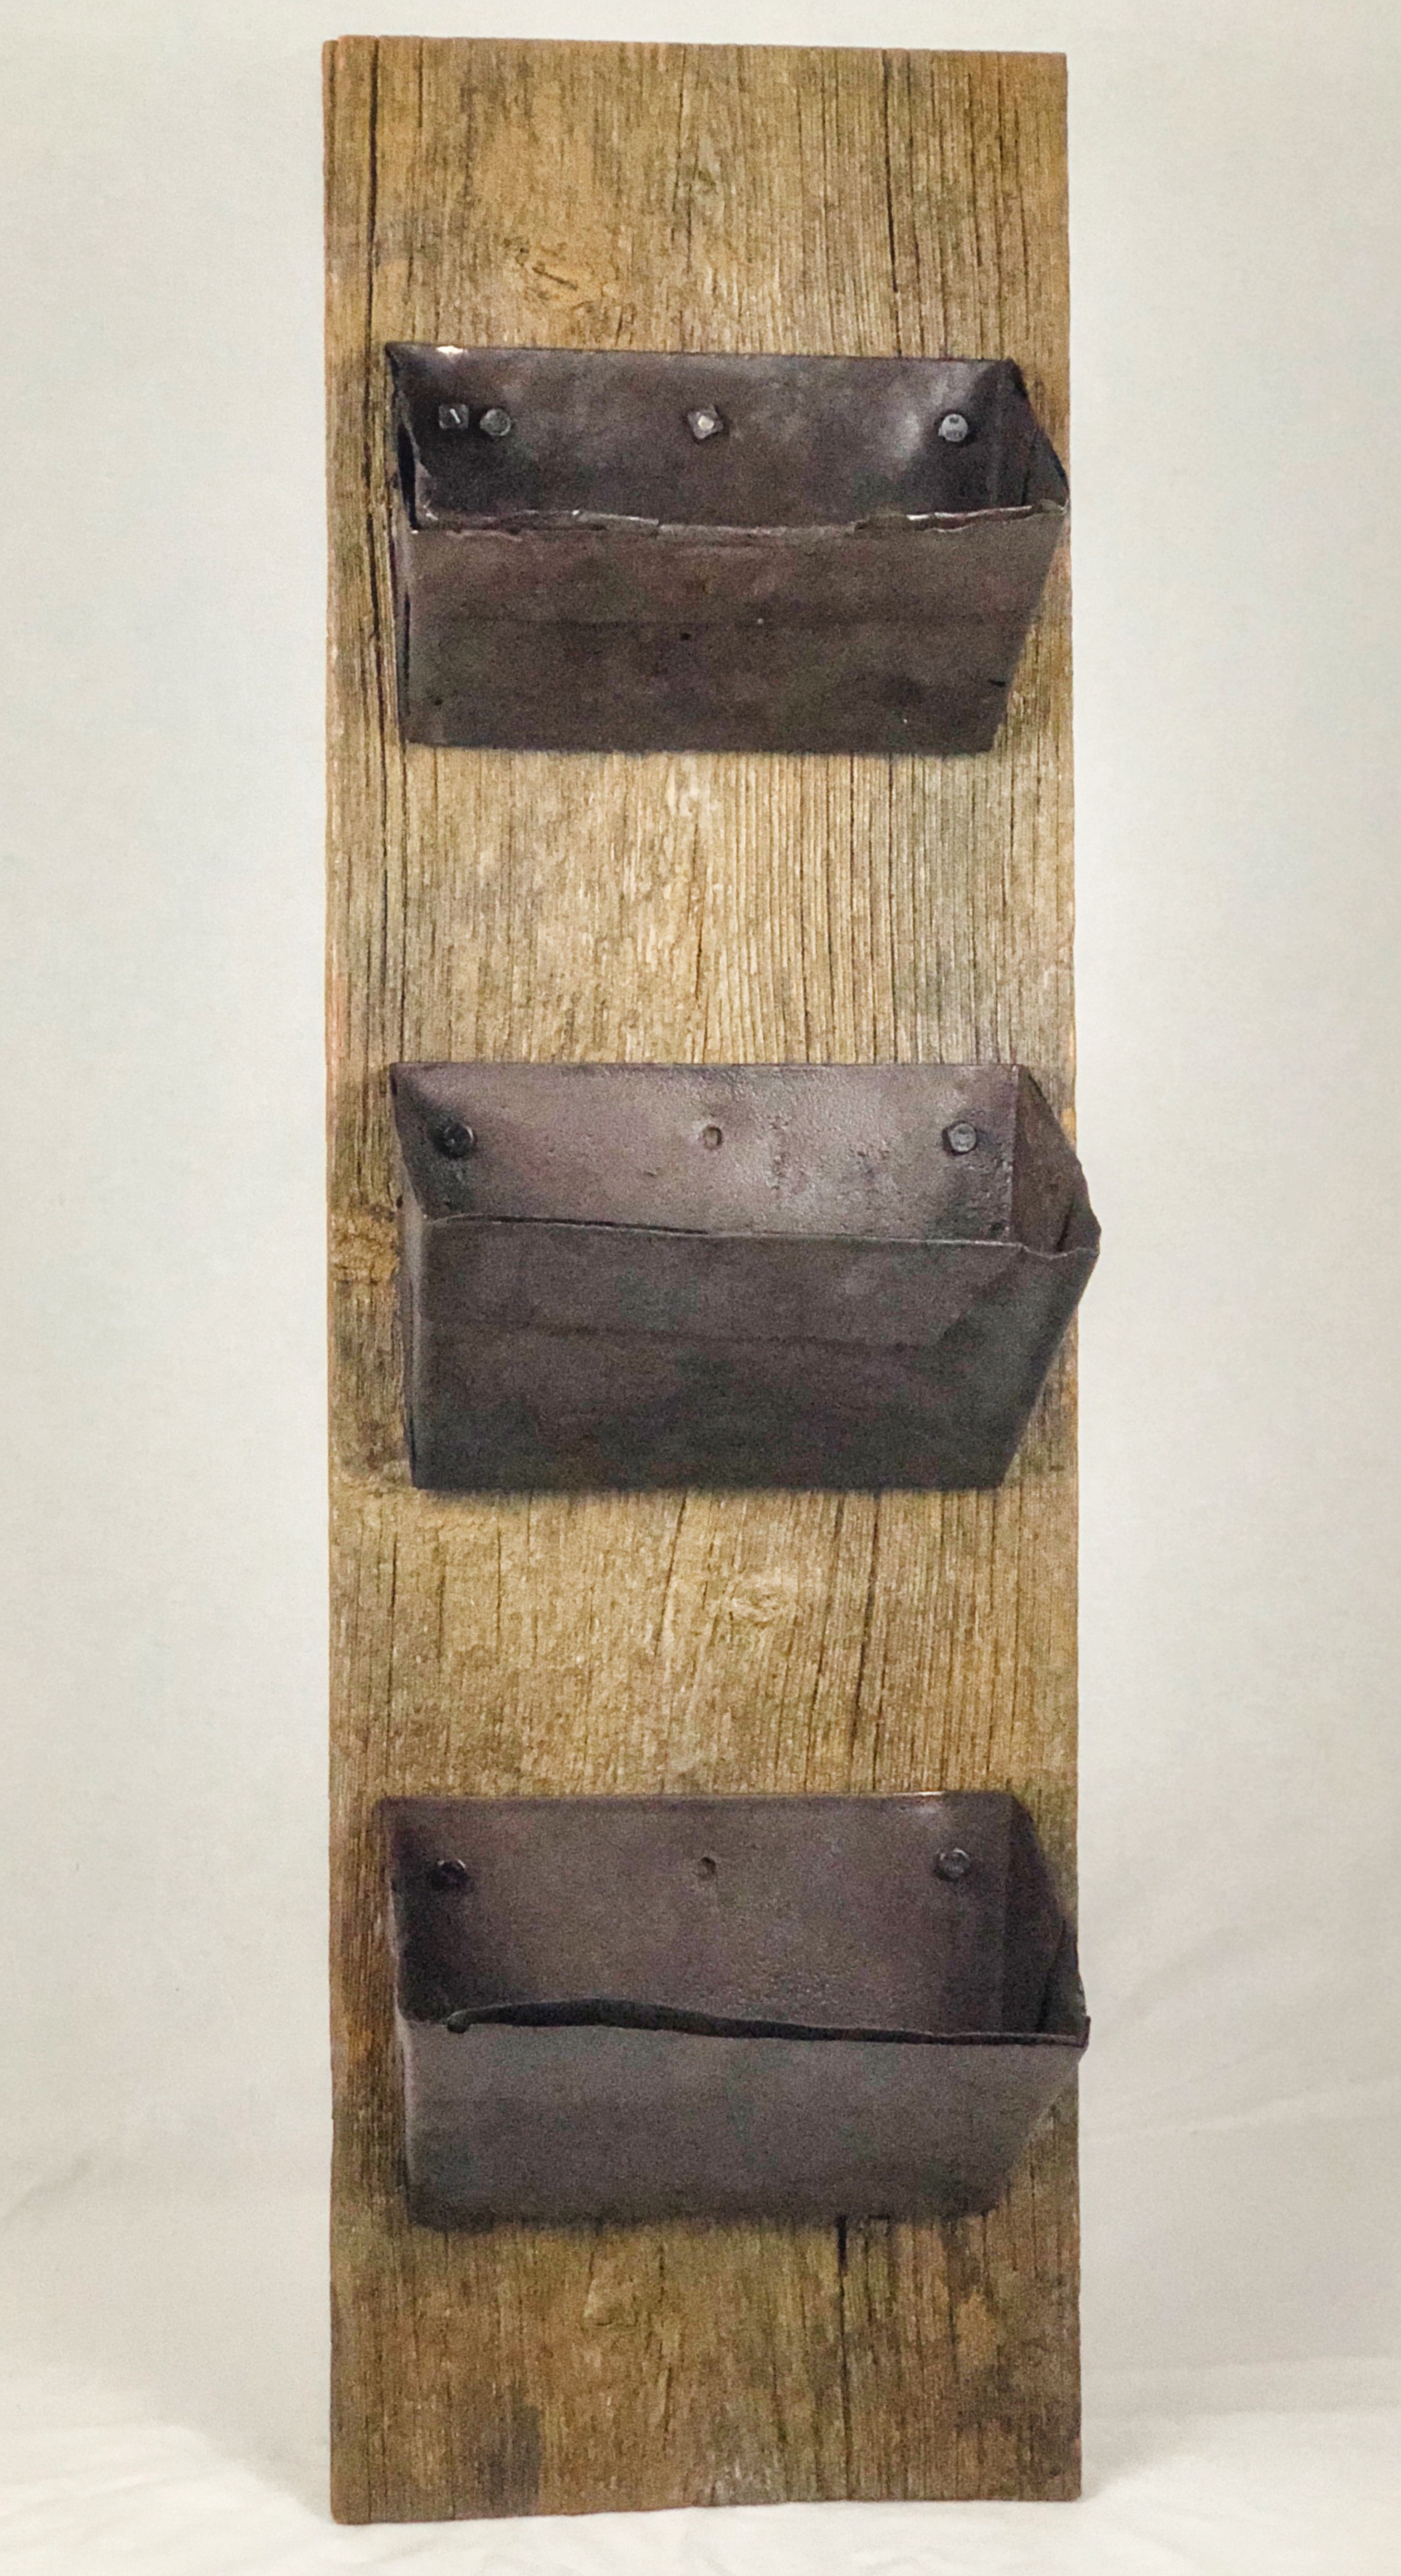
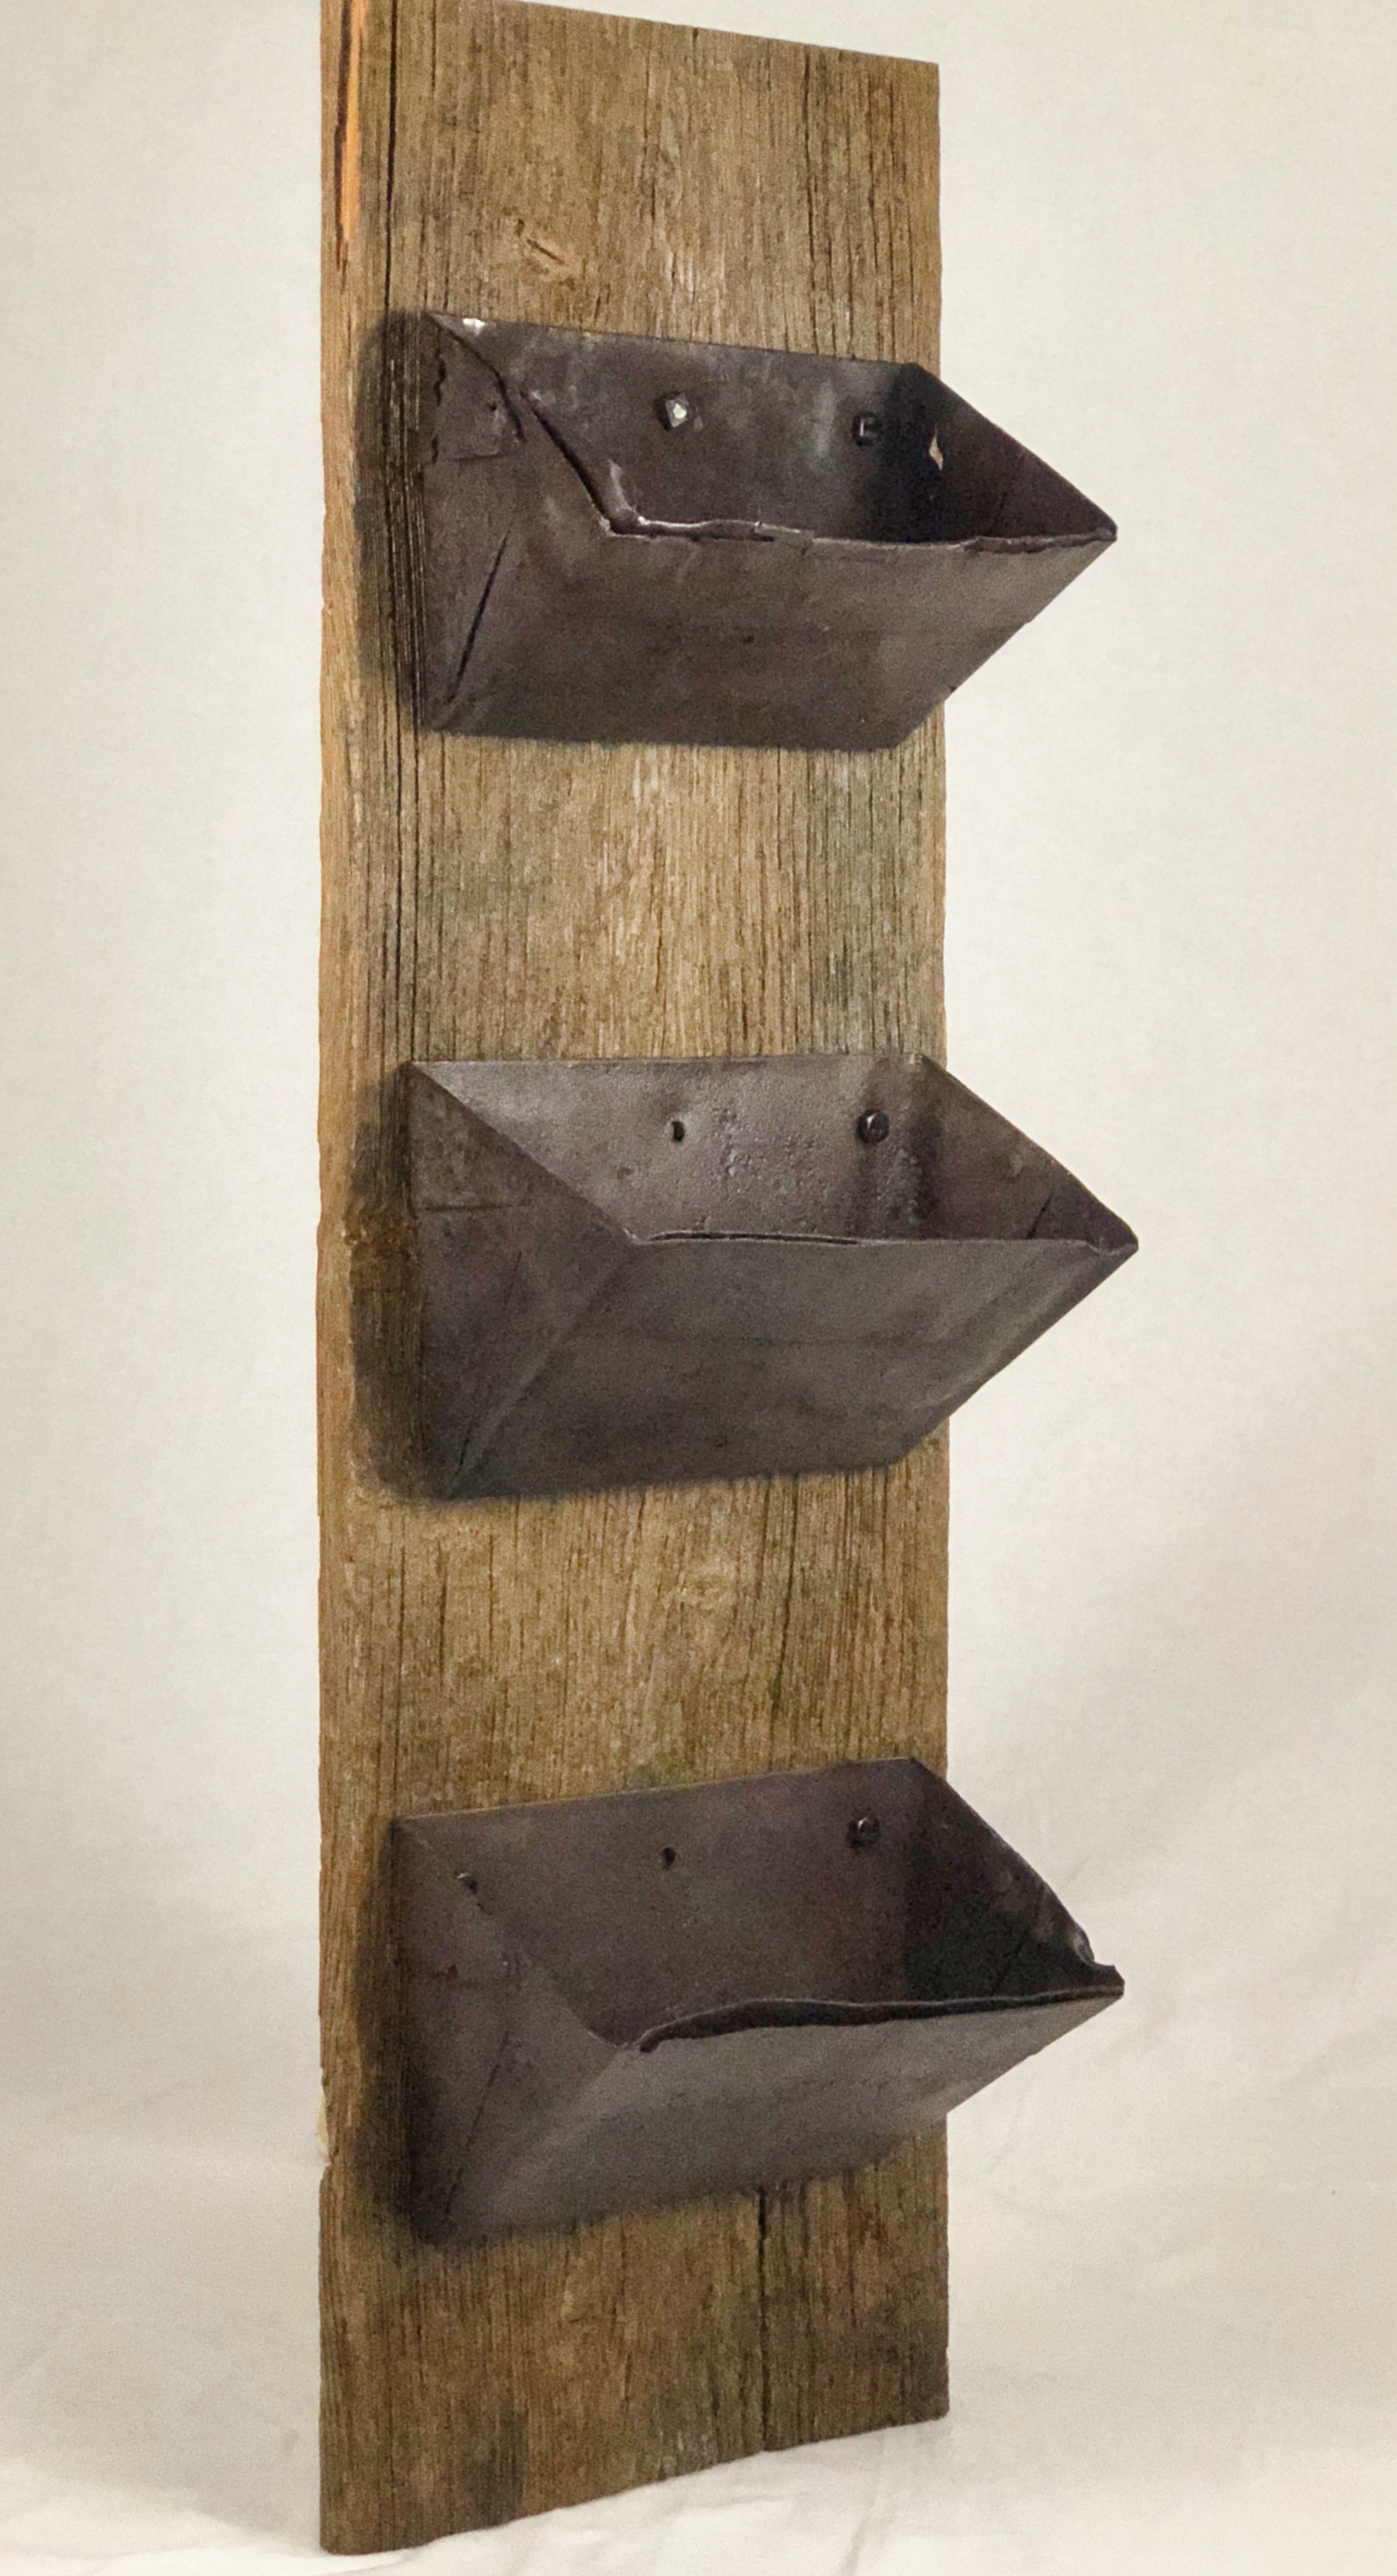
Barn Wood Mail Organizer

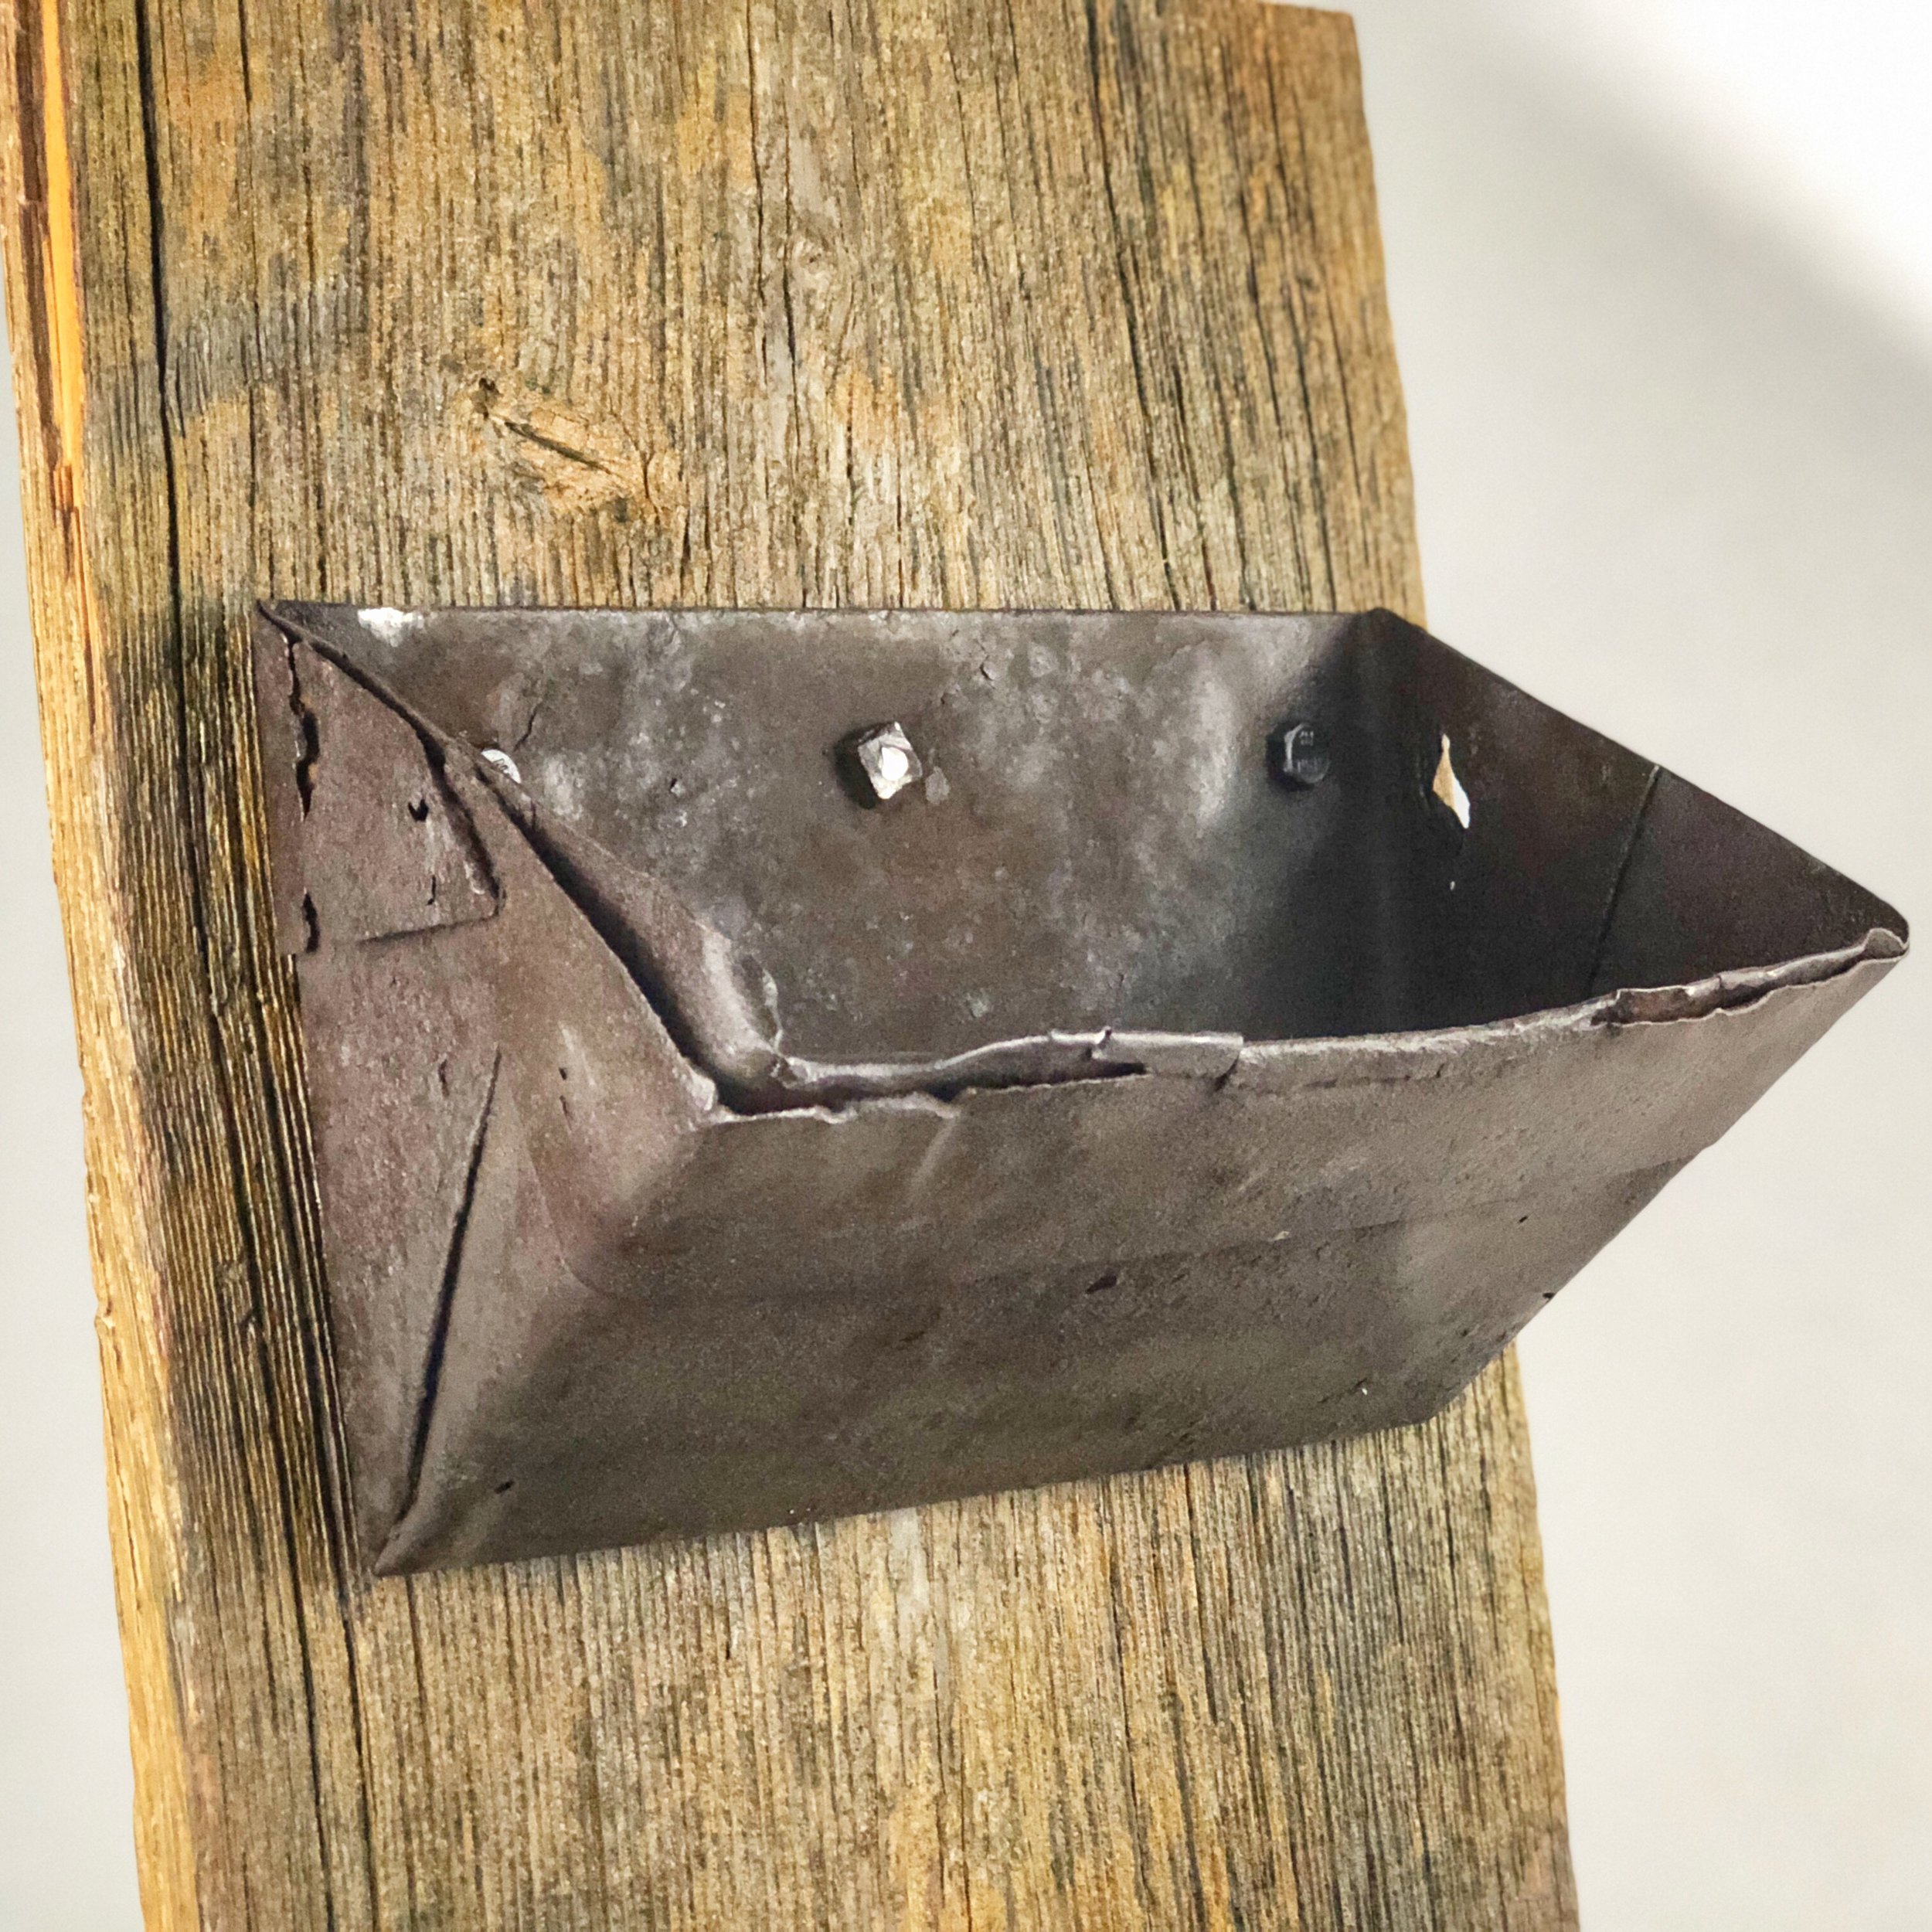
Our friends Pat and Linda from P&L Rusty Iron, go out west a couple times a year and pick old homesteads bringing back found treasures. While picking through their recent haul, we found some old rusty bins, some barn wood, among other things. We brought everything home and tucked it away in the shop. Like most things I make, I don’t start until I have some sort of vision in my head. How neat would it be to make a mail organizer from the bins and barn wood. The bins are believed to be from an old grain conveyor, lying in a field just rusting away. The barn wood has a beautiful weathered patina. The combination of the bins and wood is gorgeous.

Two seeming ordinary “junky” things wasting away in a field brought together to live another repurposed life. This is why I love what I do and is the spirit behind Maker and Finder. Make. Find. Create.